
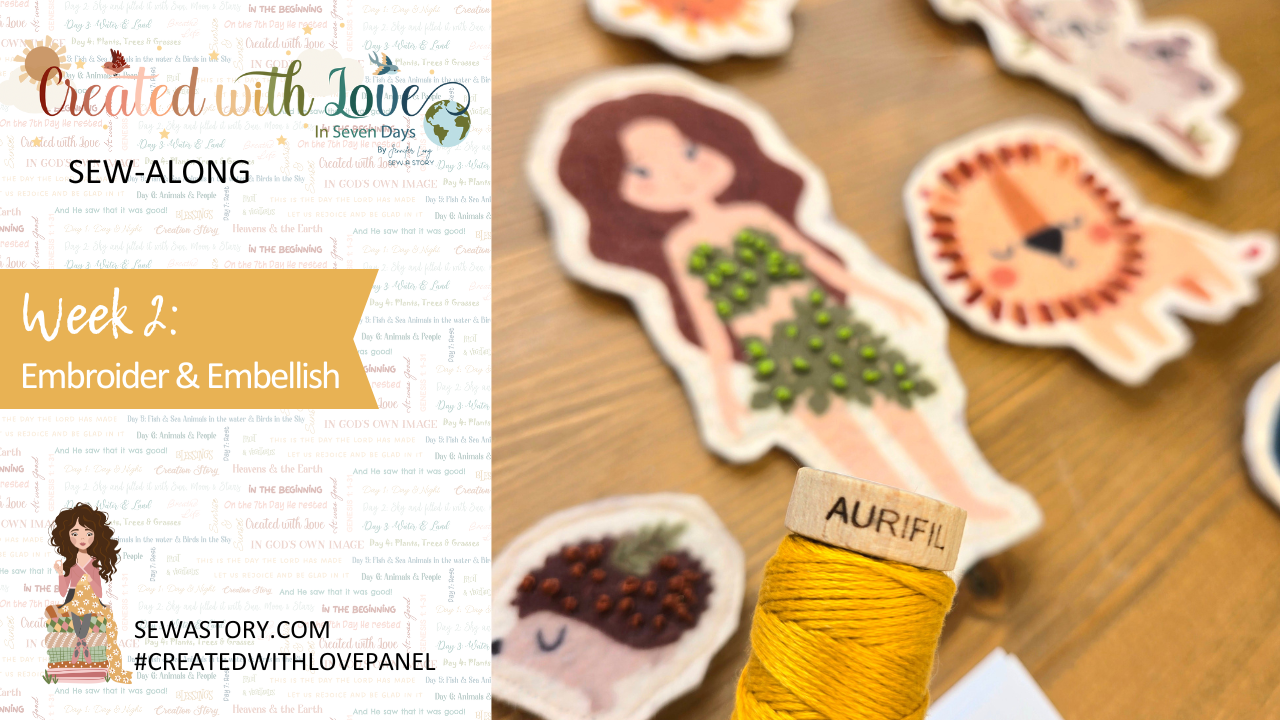
Created With Love Felt Panel SAL: Week 2
Embroider, Embellish and Prepare the Pieces
Welcome to Week 2 of the Created With Love Felt Panel Sew-Along. I hope the first week gave you a joyful start. This week is when your characters begin to come to life. With a few simple stitches and some thoughtful layering, you’ll start to see the magic take shape.
In this stage, we’ll work on reinforcing the felt pieces, adding optional embroidery or embellishments, and preparing the figures for final assembly next week.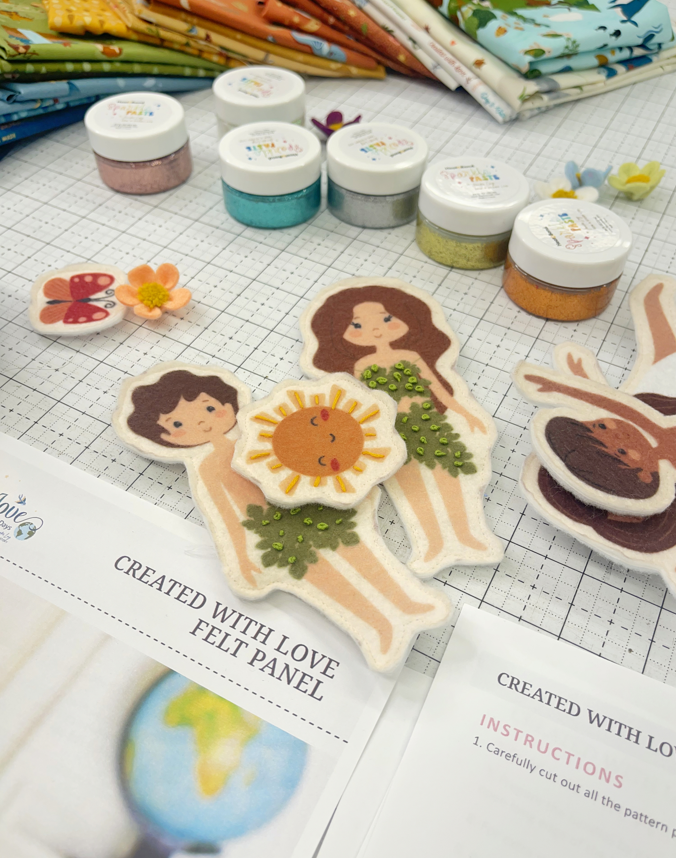
This Week’s Focus
- Layer each felt doll, animal, and accessory with backing and optional stabilizer
- Add hand embroidery or sparkle embellishments
- Sew around the seam allowance to secure each figure
- Trim the shapes for clean, smooth edges
These steps help add structure, durability, and charm to each handmade piece.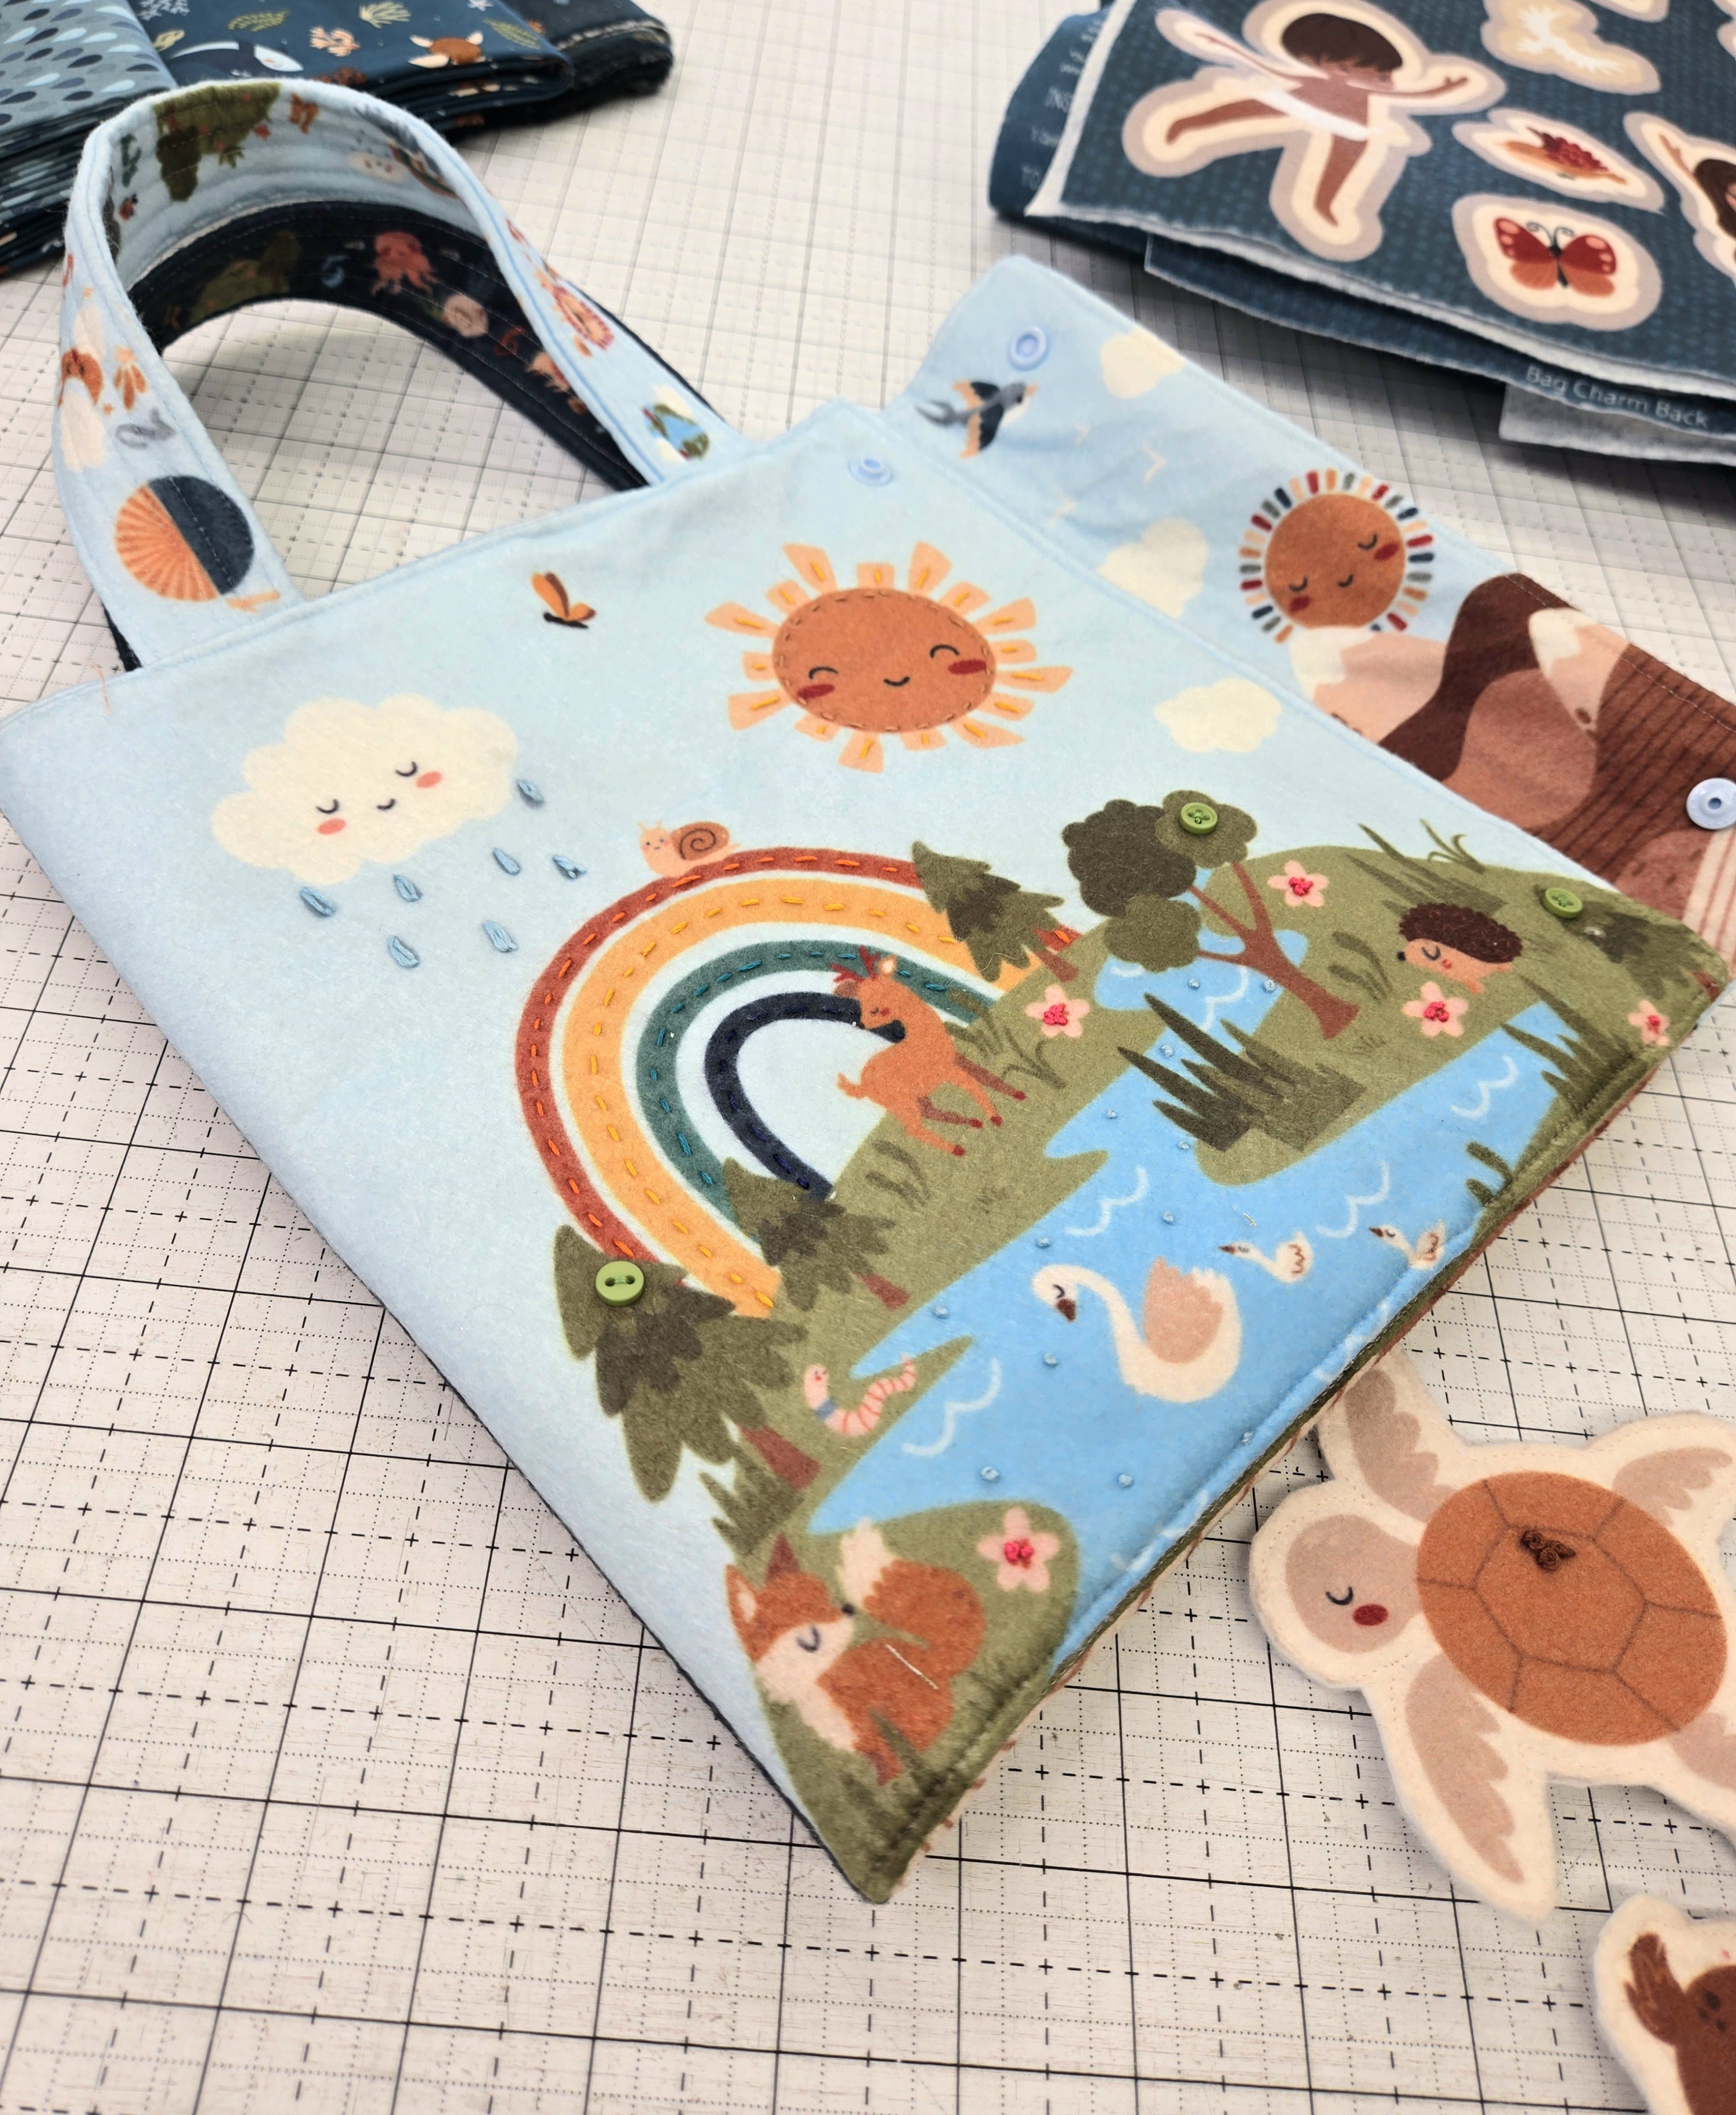
Supplies Checklist
Make sure you have these materials on hand:
Required:
- Your cut felt dolls and figures from Week 1
- Sewing machine and white bobbin thread
- Small sharp fabric scissors
Optional:
- HeatnBond Craft Extra Firm Fusible Stabilizer
- White craft felt (for backing)
- Hand sewing needle and embroidery floss
- Sparkle Paste, buttons, or sewn-on sequins
You may also find a turning tool or Quilty™ Hemostat helpful when manipulating smaller pieces.
Week 2 Instructions
1. Layer Your Pieces
Place each felt figure with the right side facing out. Add a layer of fusible stabilizer (or sew-in, if preferred), followed by a piece of white craft felt as the backing. Pin in place or use clips to keep layers aligned.
Designer Note: The white craft felt helps hide embroidery threads and gives a finished look to the back side.
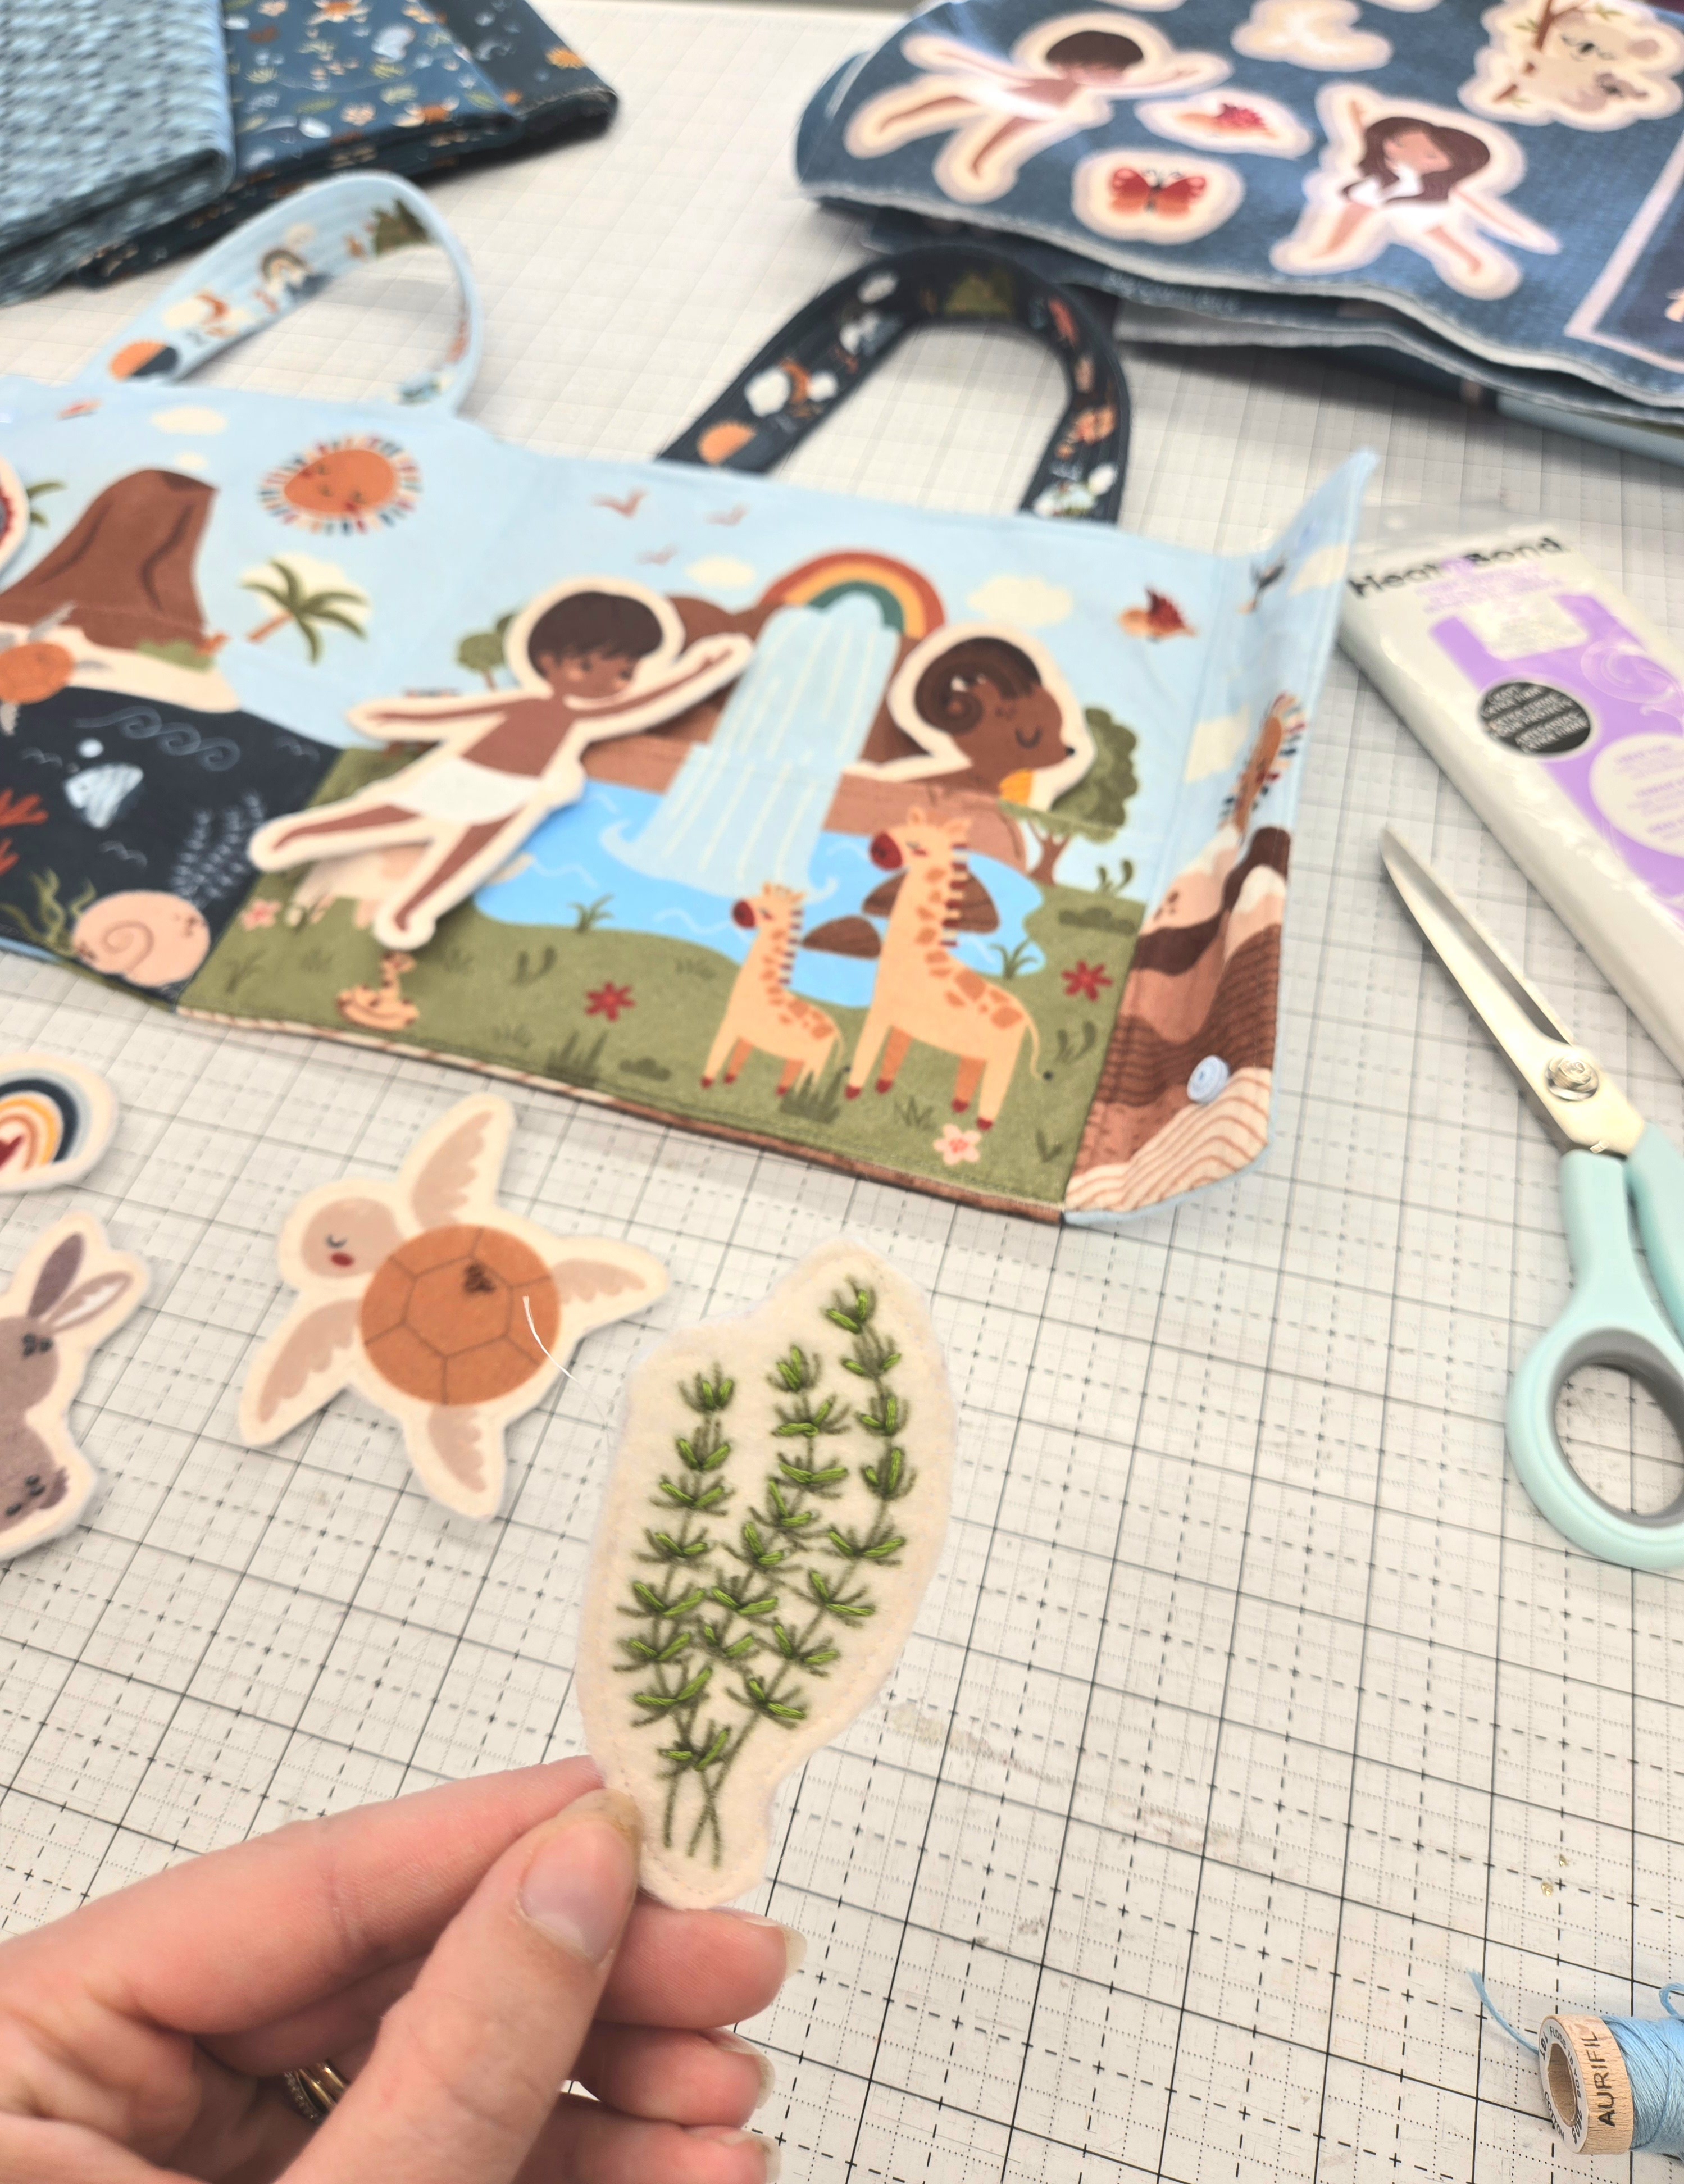
2. Embellish with Embroidery or Sparkle
Now is the perfect time to personalize. Add decorative stitching to clothing, hair, or features using embroidery floss. Apply Sparkle Paste or stitch on sequins and buttons, based on age-appropriateness.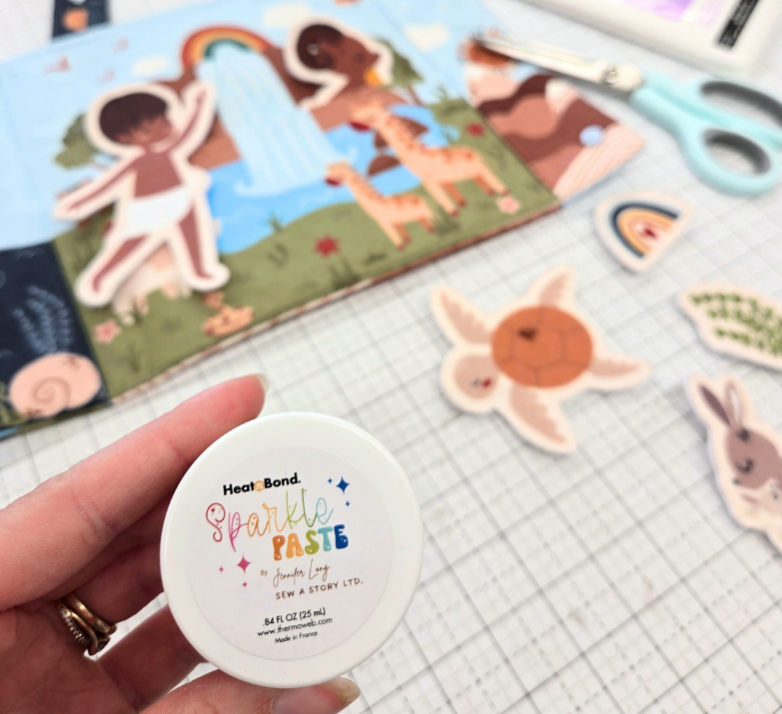
3. Sew the Layers Together
Using a shortened stitch length (1.5 to 2 mm), sew around the printed seam allowance of each figure. Match your top thread to the most visible color in the design and use white in the bobbin.
Choose either a ¼" or ½" seam allowance, depending on the age of the child or your personal preference.
4. Trim Carefully
Once stitched, trim away the stabilizer and backing felt so the layers match the outline of the printed panel. Take your time and use small, sharp scissors for a clean finish.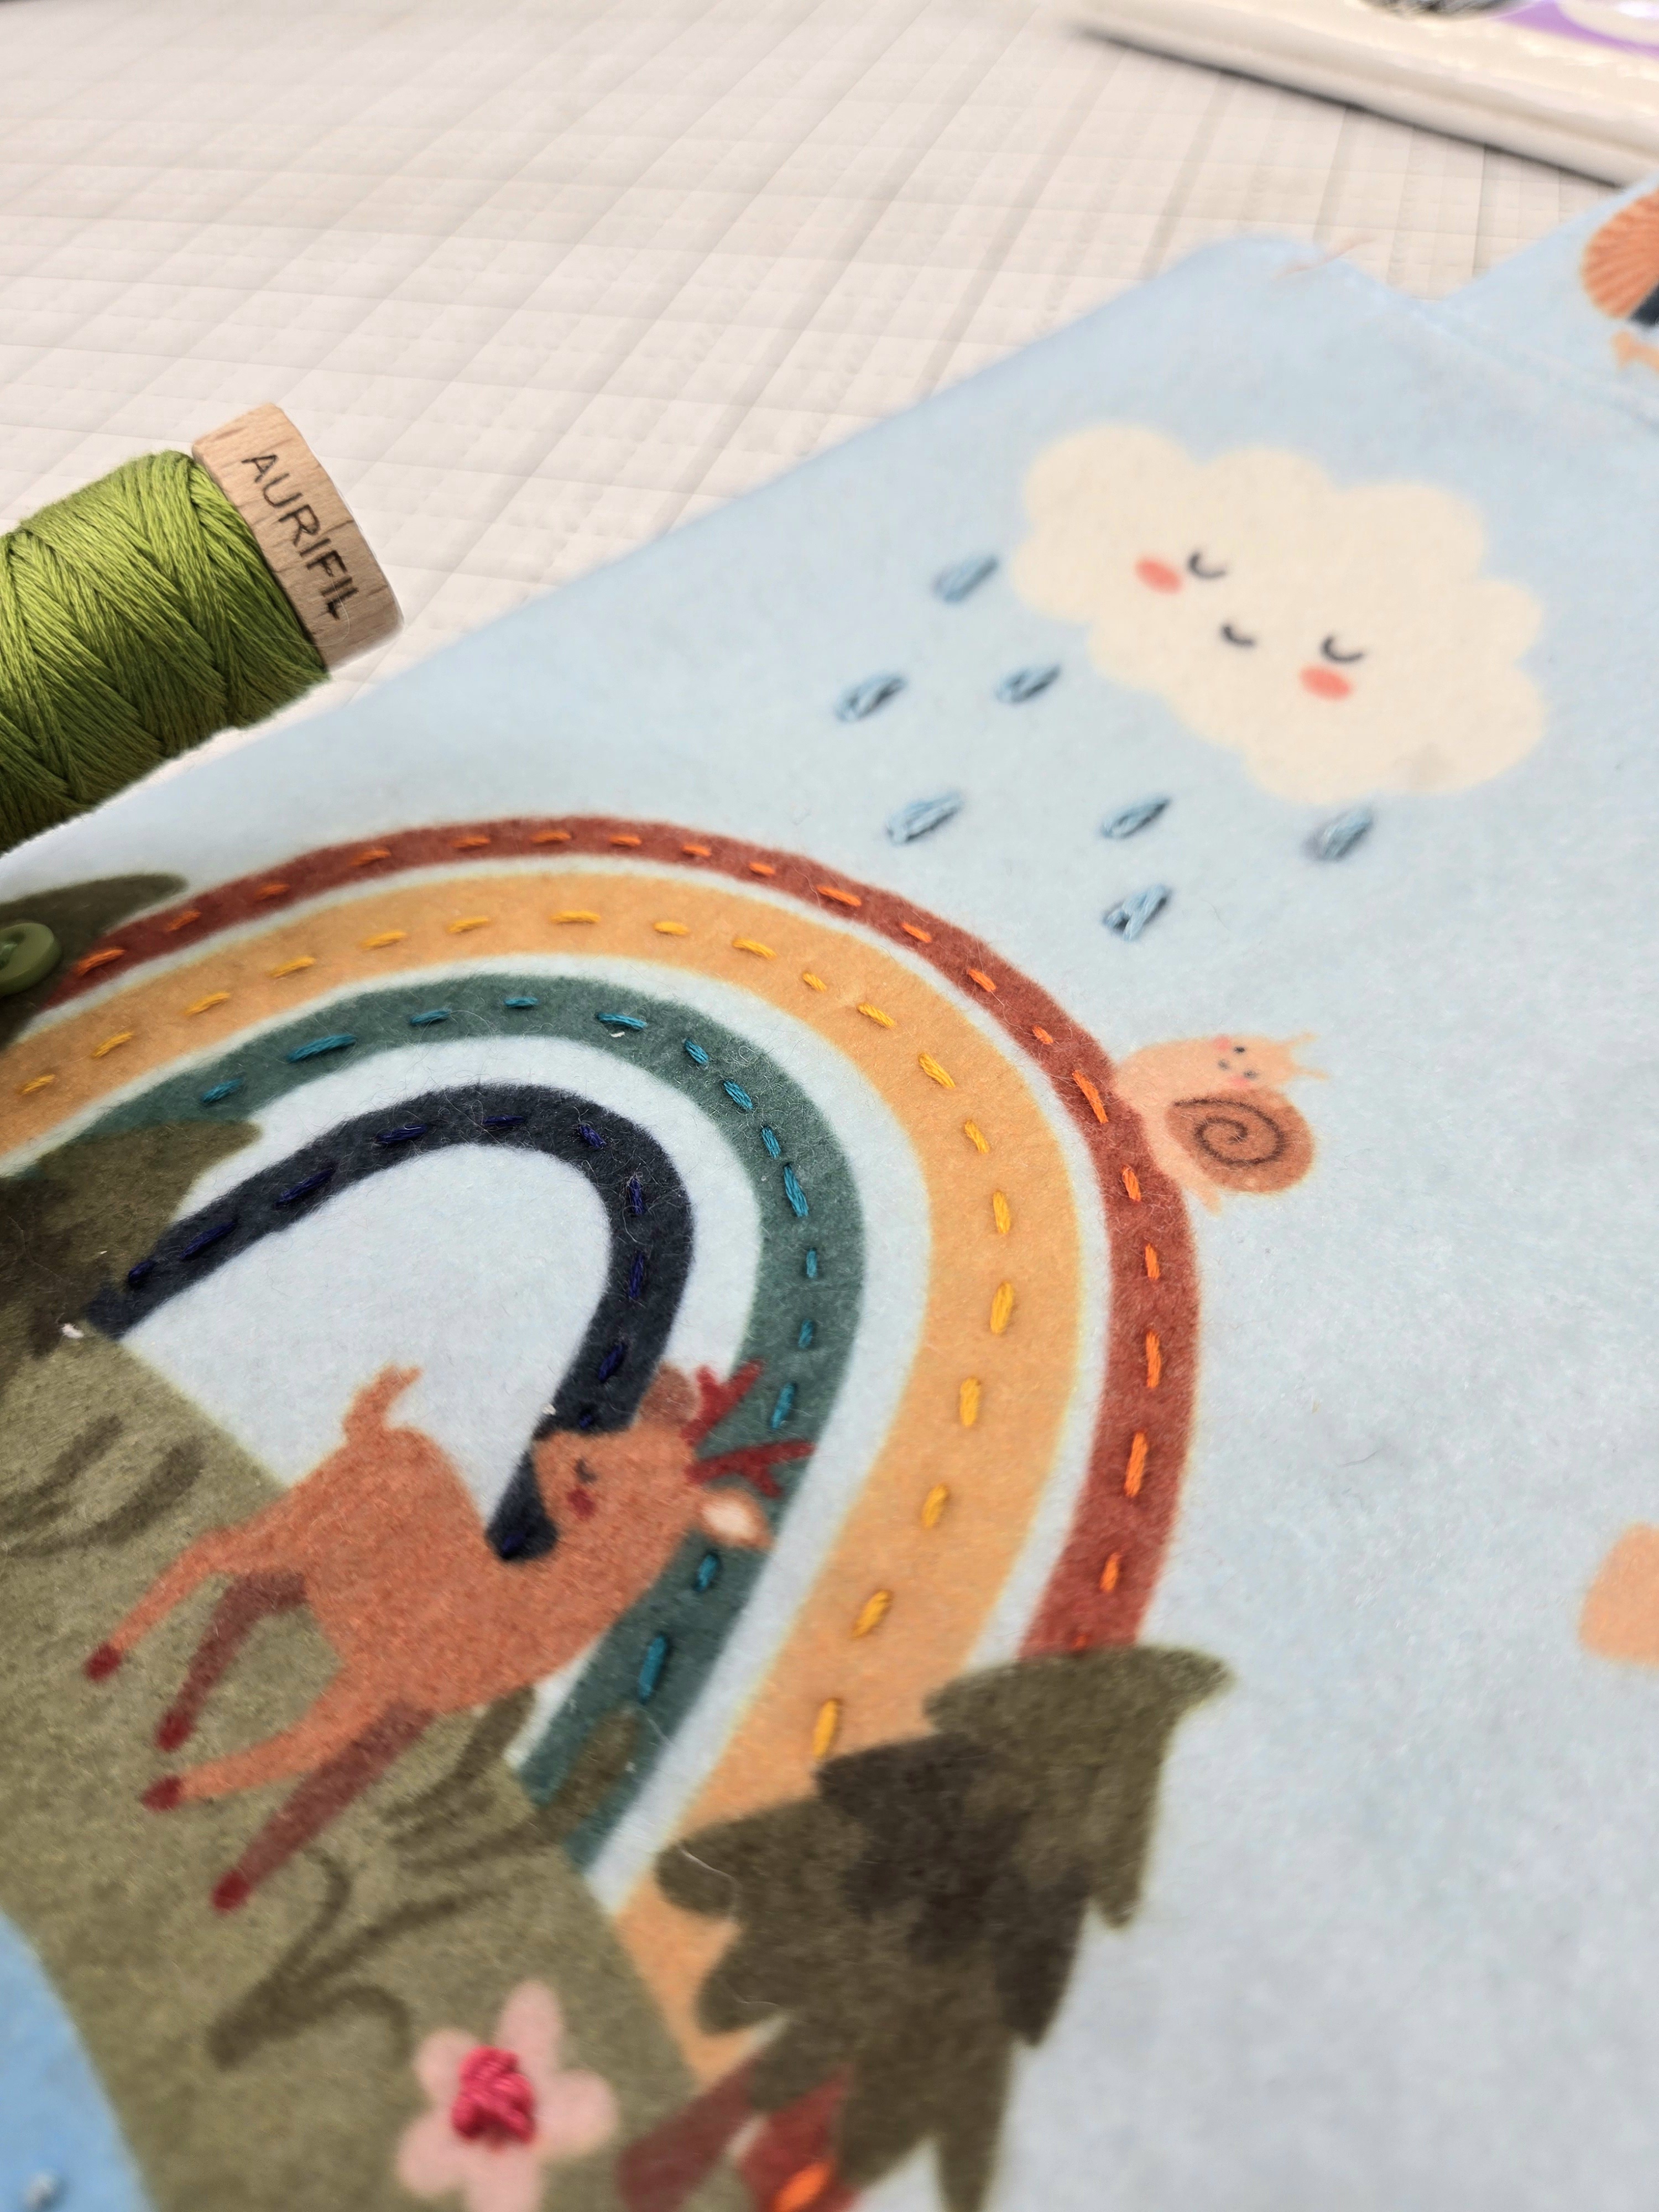
Looking Ahead
Next week we’ll begin assembling the playmat bag and adding pockets and handles. That’s when the project really starts to take shape. Finishing your felt dolls and accessories this week will make that next stage smooth and rewarding.
Share Your Progress
We would love to see what you are stitching. Share in the Sew A Story Facebook Group and tag your posts so we can all celebrate your progress.
Use hashtags:
#createdwithlovefeltpanel #createdwithlovefabrics #sewastory
Tag me: @sewastory_jenniferlong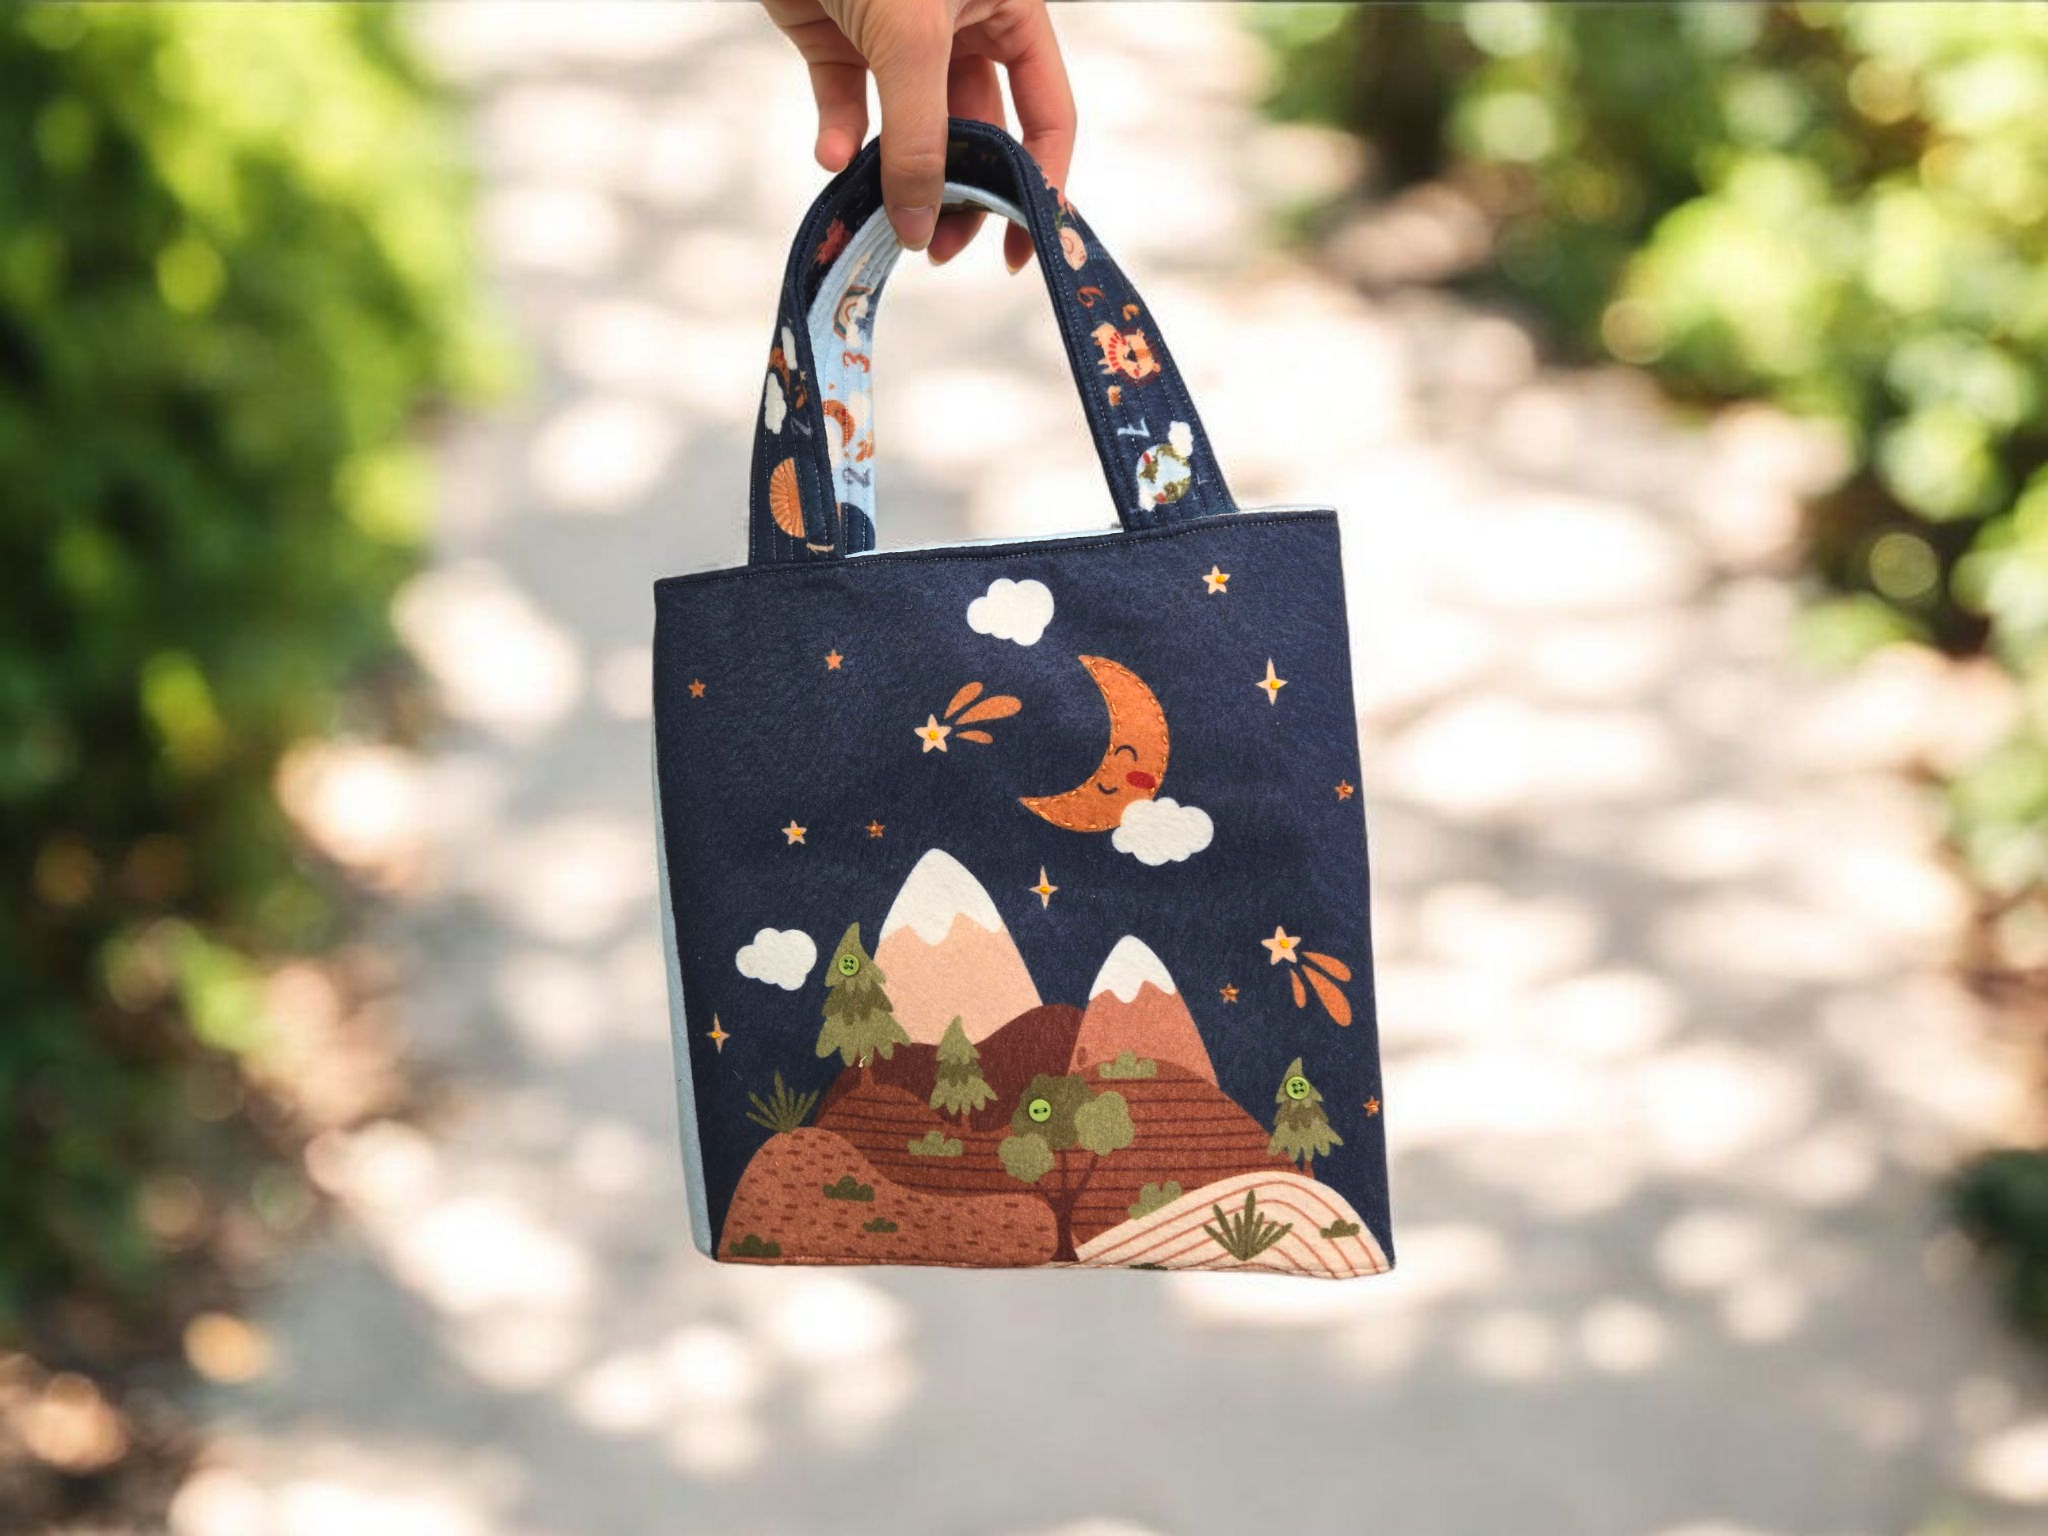
Keep Up With the SAL
If you haven’t yet, make sure you’re signed up for weekly emails and reminders:
- Sign up here!
Each piece you embellish this week becomes part of a story. There’s something incredibly meaningful about preparing these small characters with care. I am so glad you’re here.![]()


