
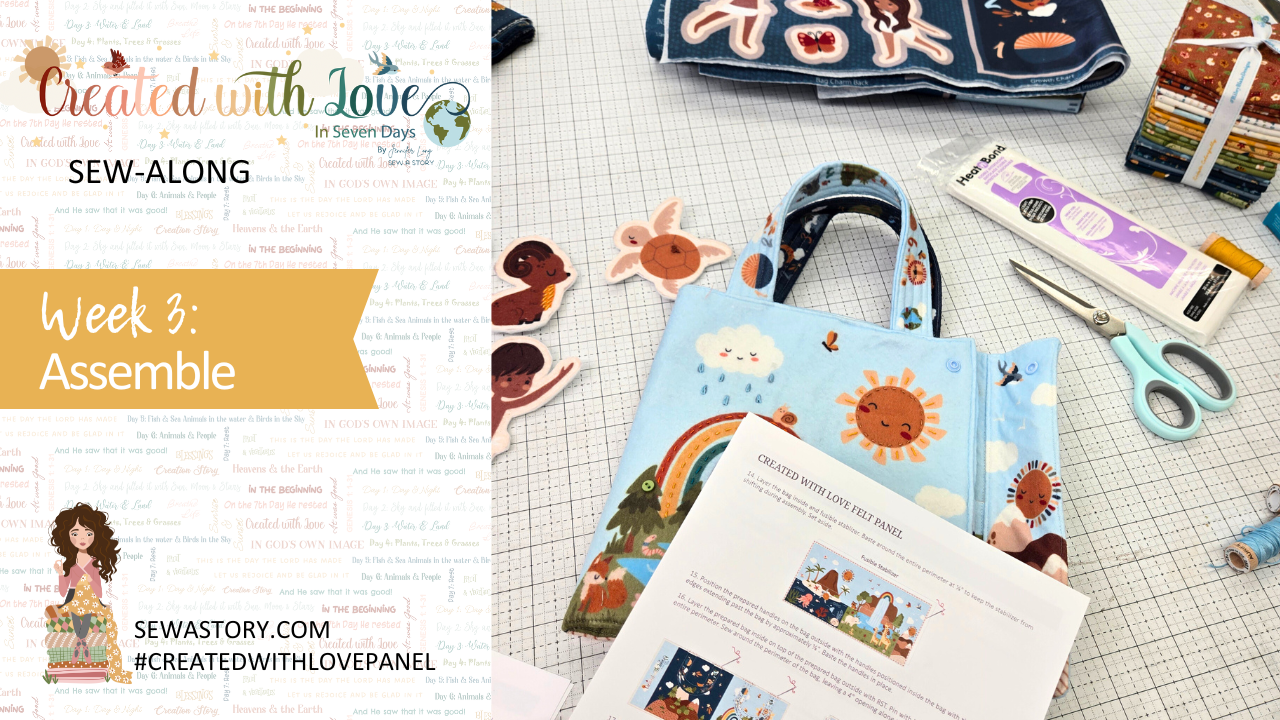
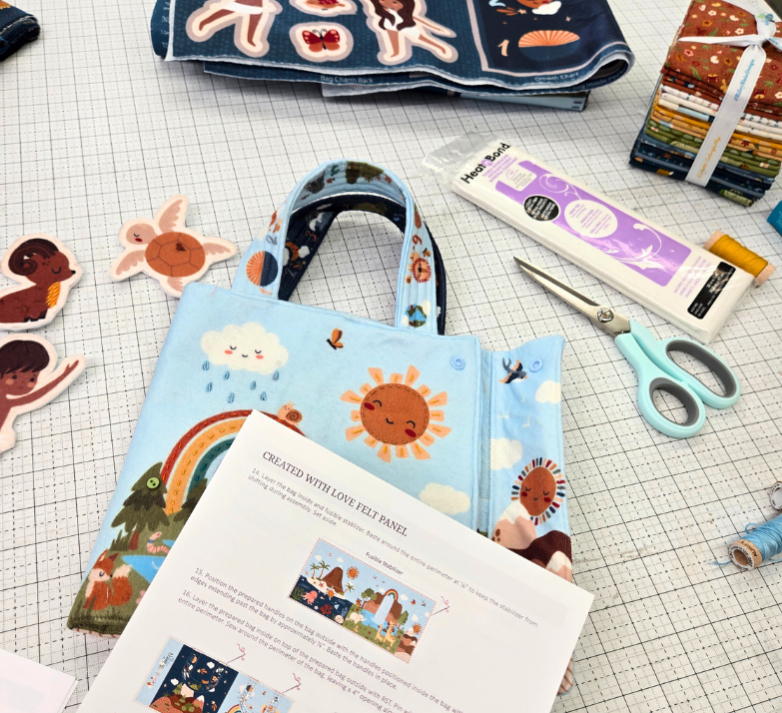
Created With Love Felt Panel SAL: Week 3
Assemble and Bring Your Creation to Life
We’ve arrived at one of the most exciting parts of the sew-along. This week, you’ll take the felt dolls and figures you’ve lovingly prepared and begin assembling the coordinating playmat bag. This step brings everything together into a project that is not only beautiful, but also functional for hours of storytelling and play.
By the end of this week, you’ll have a finished or nearly finished bag, ready to hold the pieces you created in the first two weeks.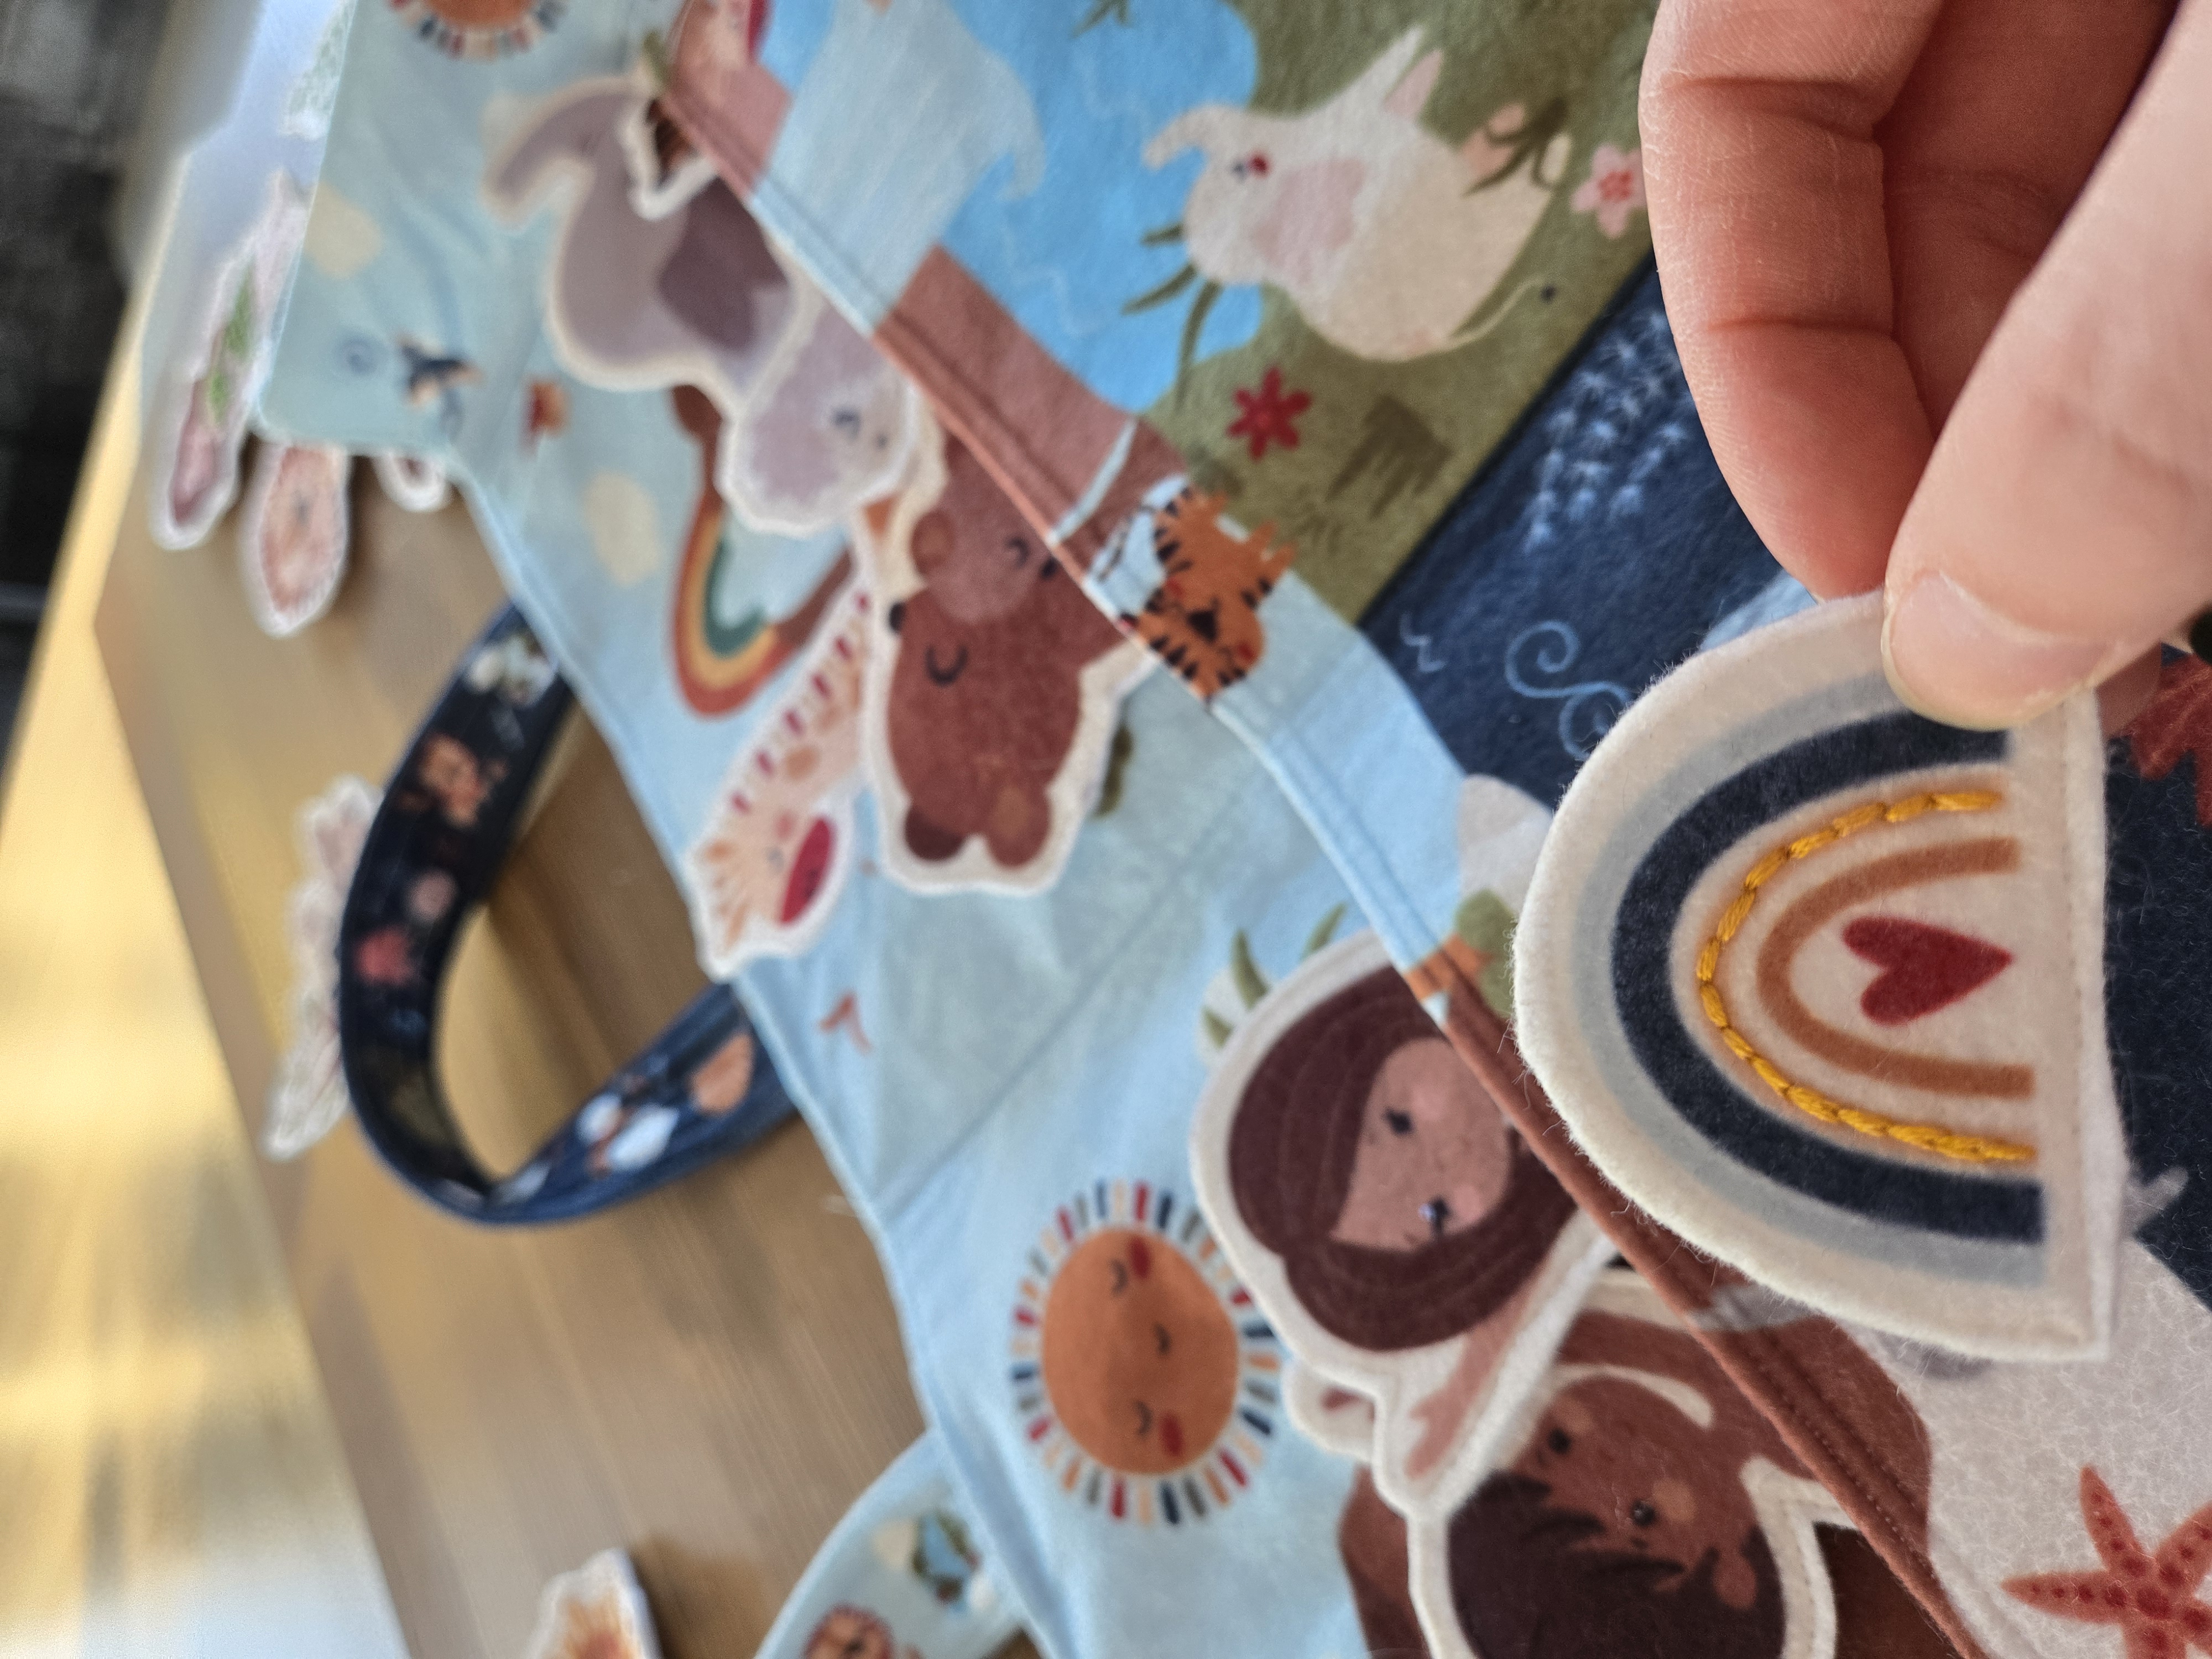
This Week’s Focus
- Prepare and sew the bag handles
- Create and attach the pocket lining
- Layer and stitch the bag interior and exterior
- Turn the bag right side out and press
You’ll be working with larger fabric pieces this week, so a clean work surface and a bit of patience will go a long way.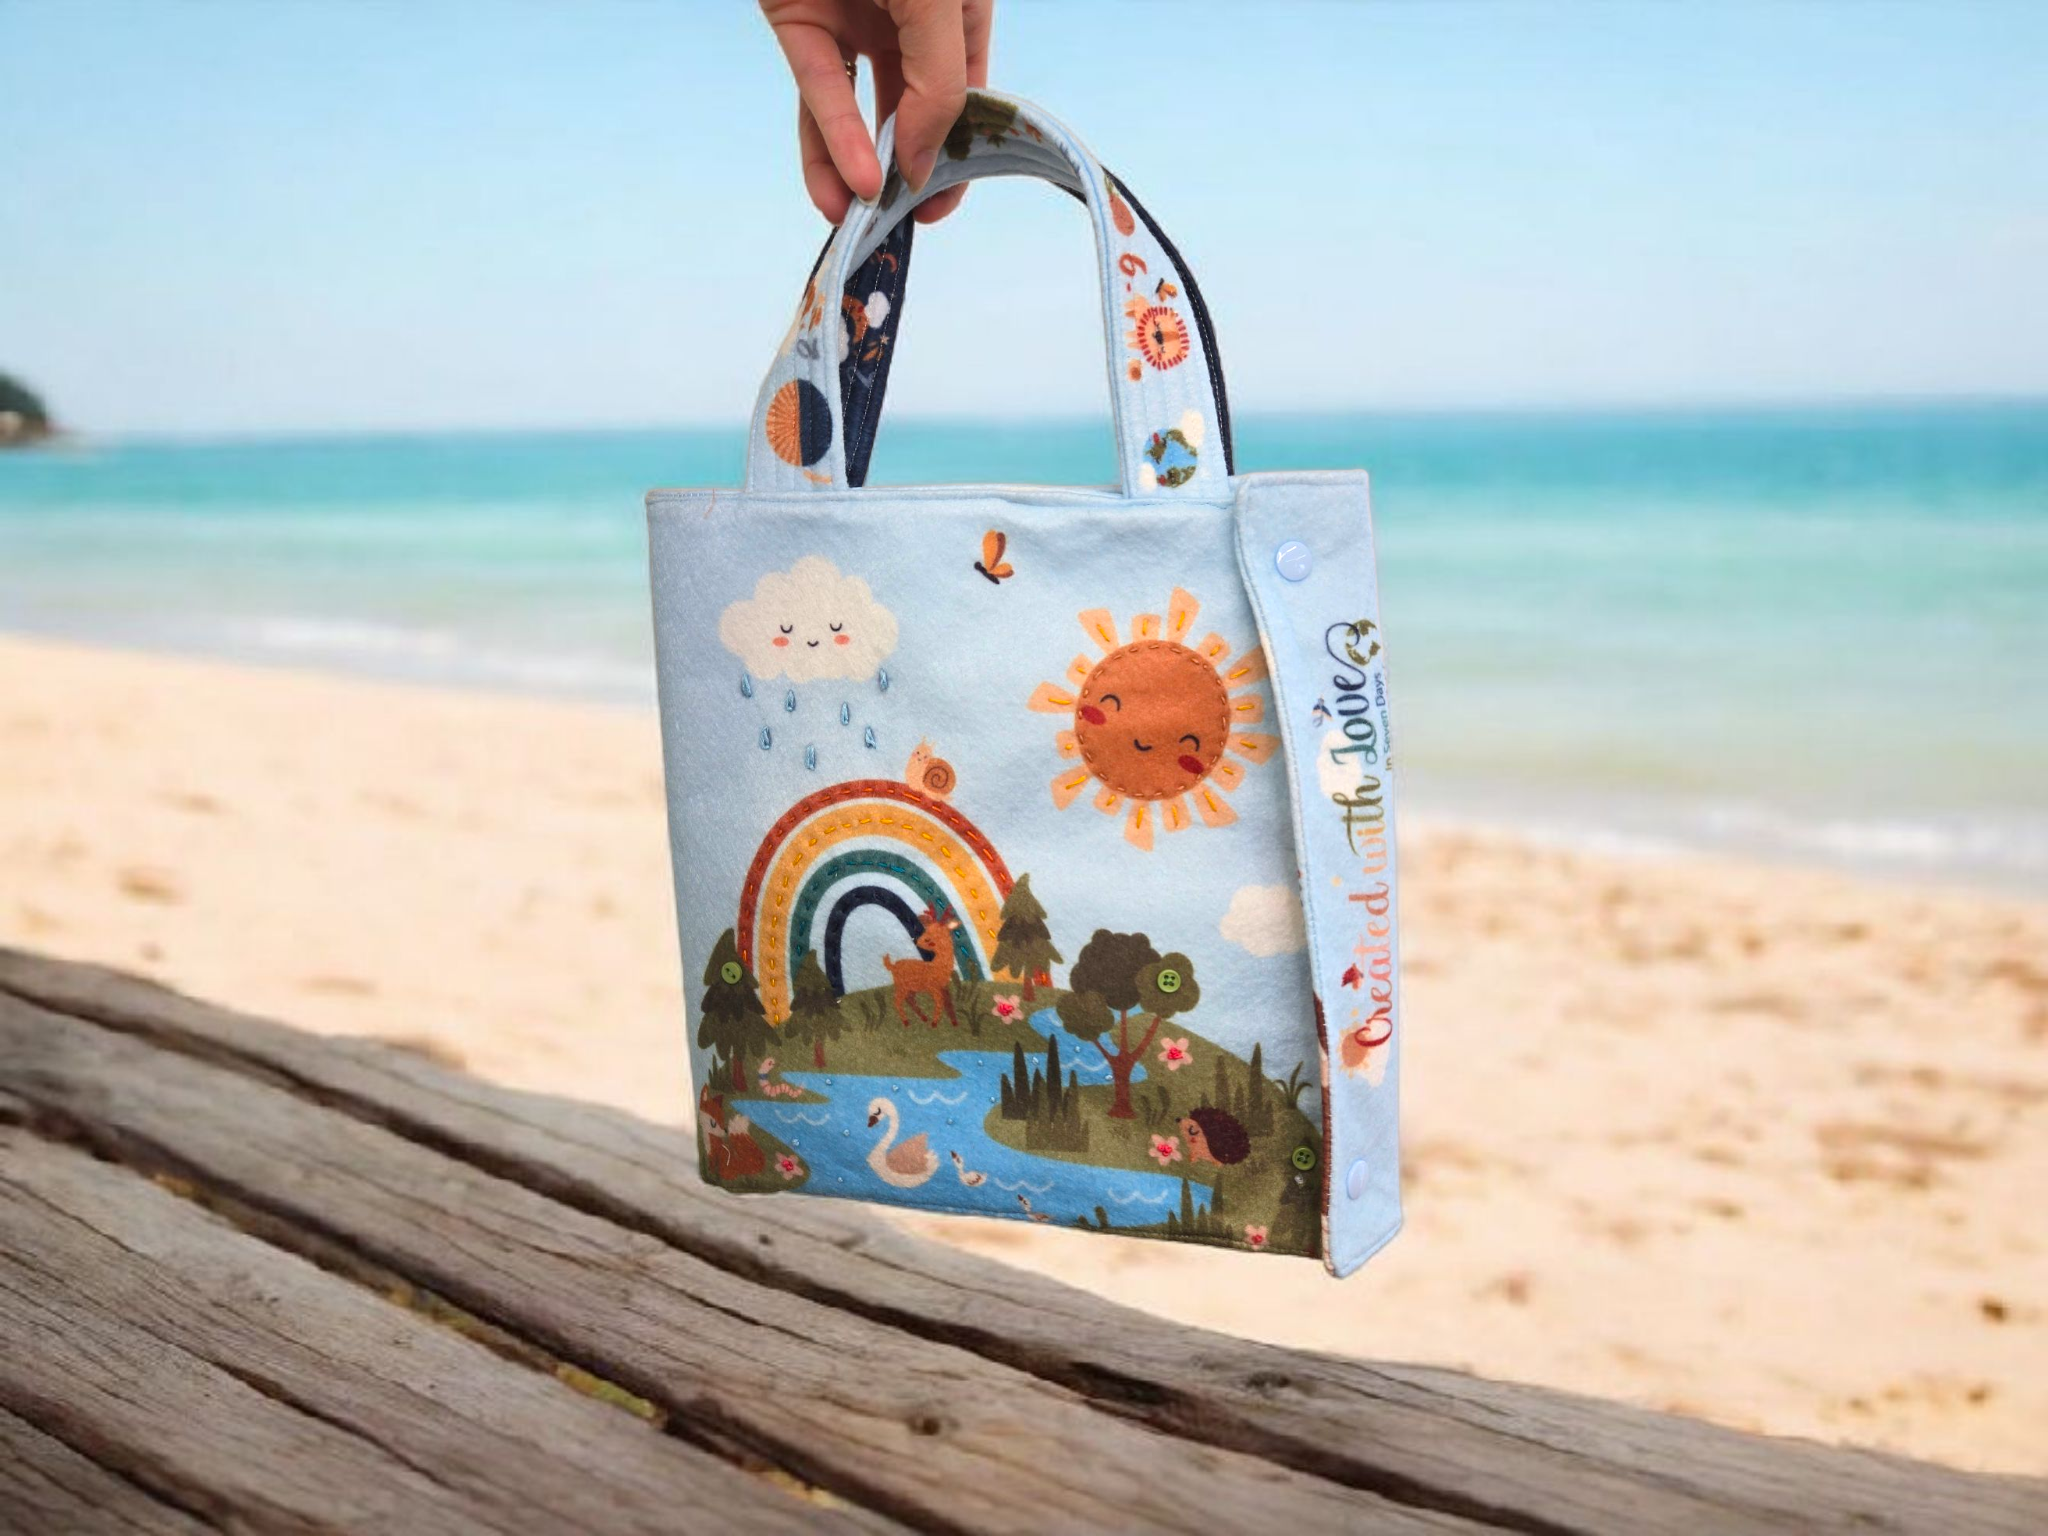
Supplies Checklist
Have these items nearby before you begin:
Required:
- Bag pieces cut from your Created With Love Felt Panel
- Coordinating cotton fabric (for pocket lining)
- Quilty™ Hemostat
- Sewing machine and matching thread
- Fabric scissors and pins or clips
Optional:
- Batting or fusible stabilizer for the bag and handles
- Ribbon or tag accessories (for bag charm attachment)
Week 3 Instructions
1. Make the Handles
Cut and prepare the handles by backing each one with batting or stabilizer. Fold each handle right sides together and sew along the long edge. Use your Hemostat to turn the handles right side out.
Add vertical topstitching for extra strength and a polished look.
2. Line and Attach the Pocket
Use the printed pocket piece from the panel as a guide to cut a matching piece of coordinating cotton fabric. Place the two pieces right sides together and sew along the top edge. Press open.
Pin the pocket to the interior panel of the bag, aligning with printed guides. Stitch down the center to divide it into two pockets.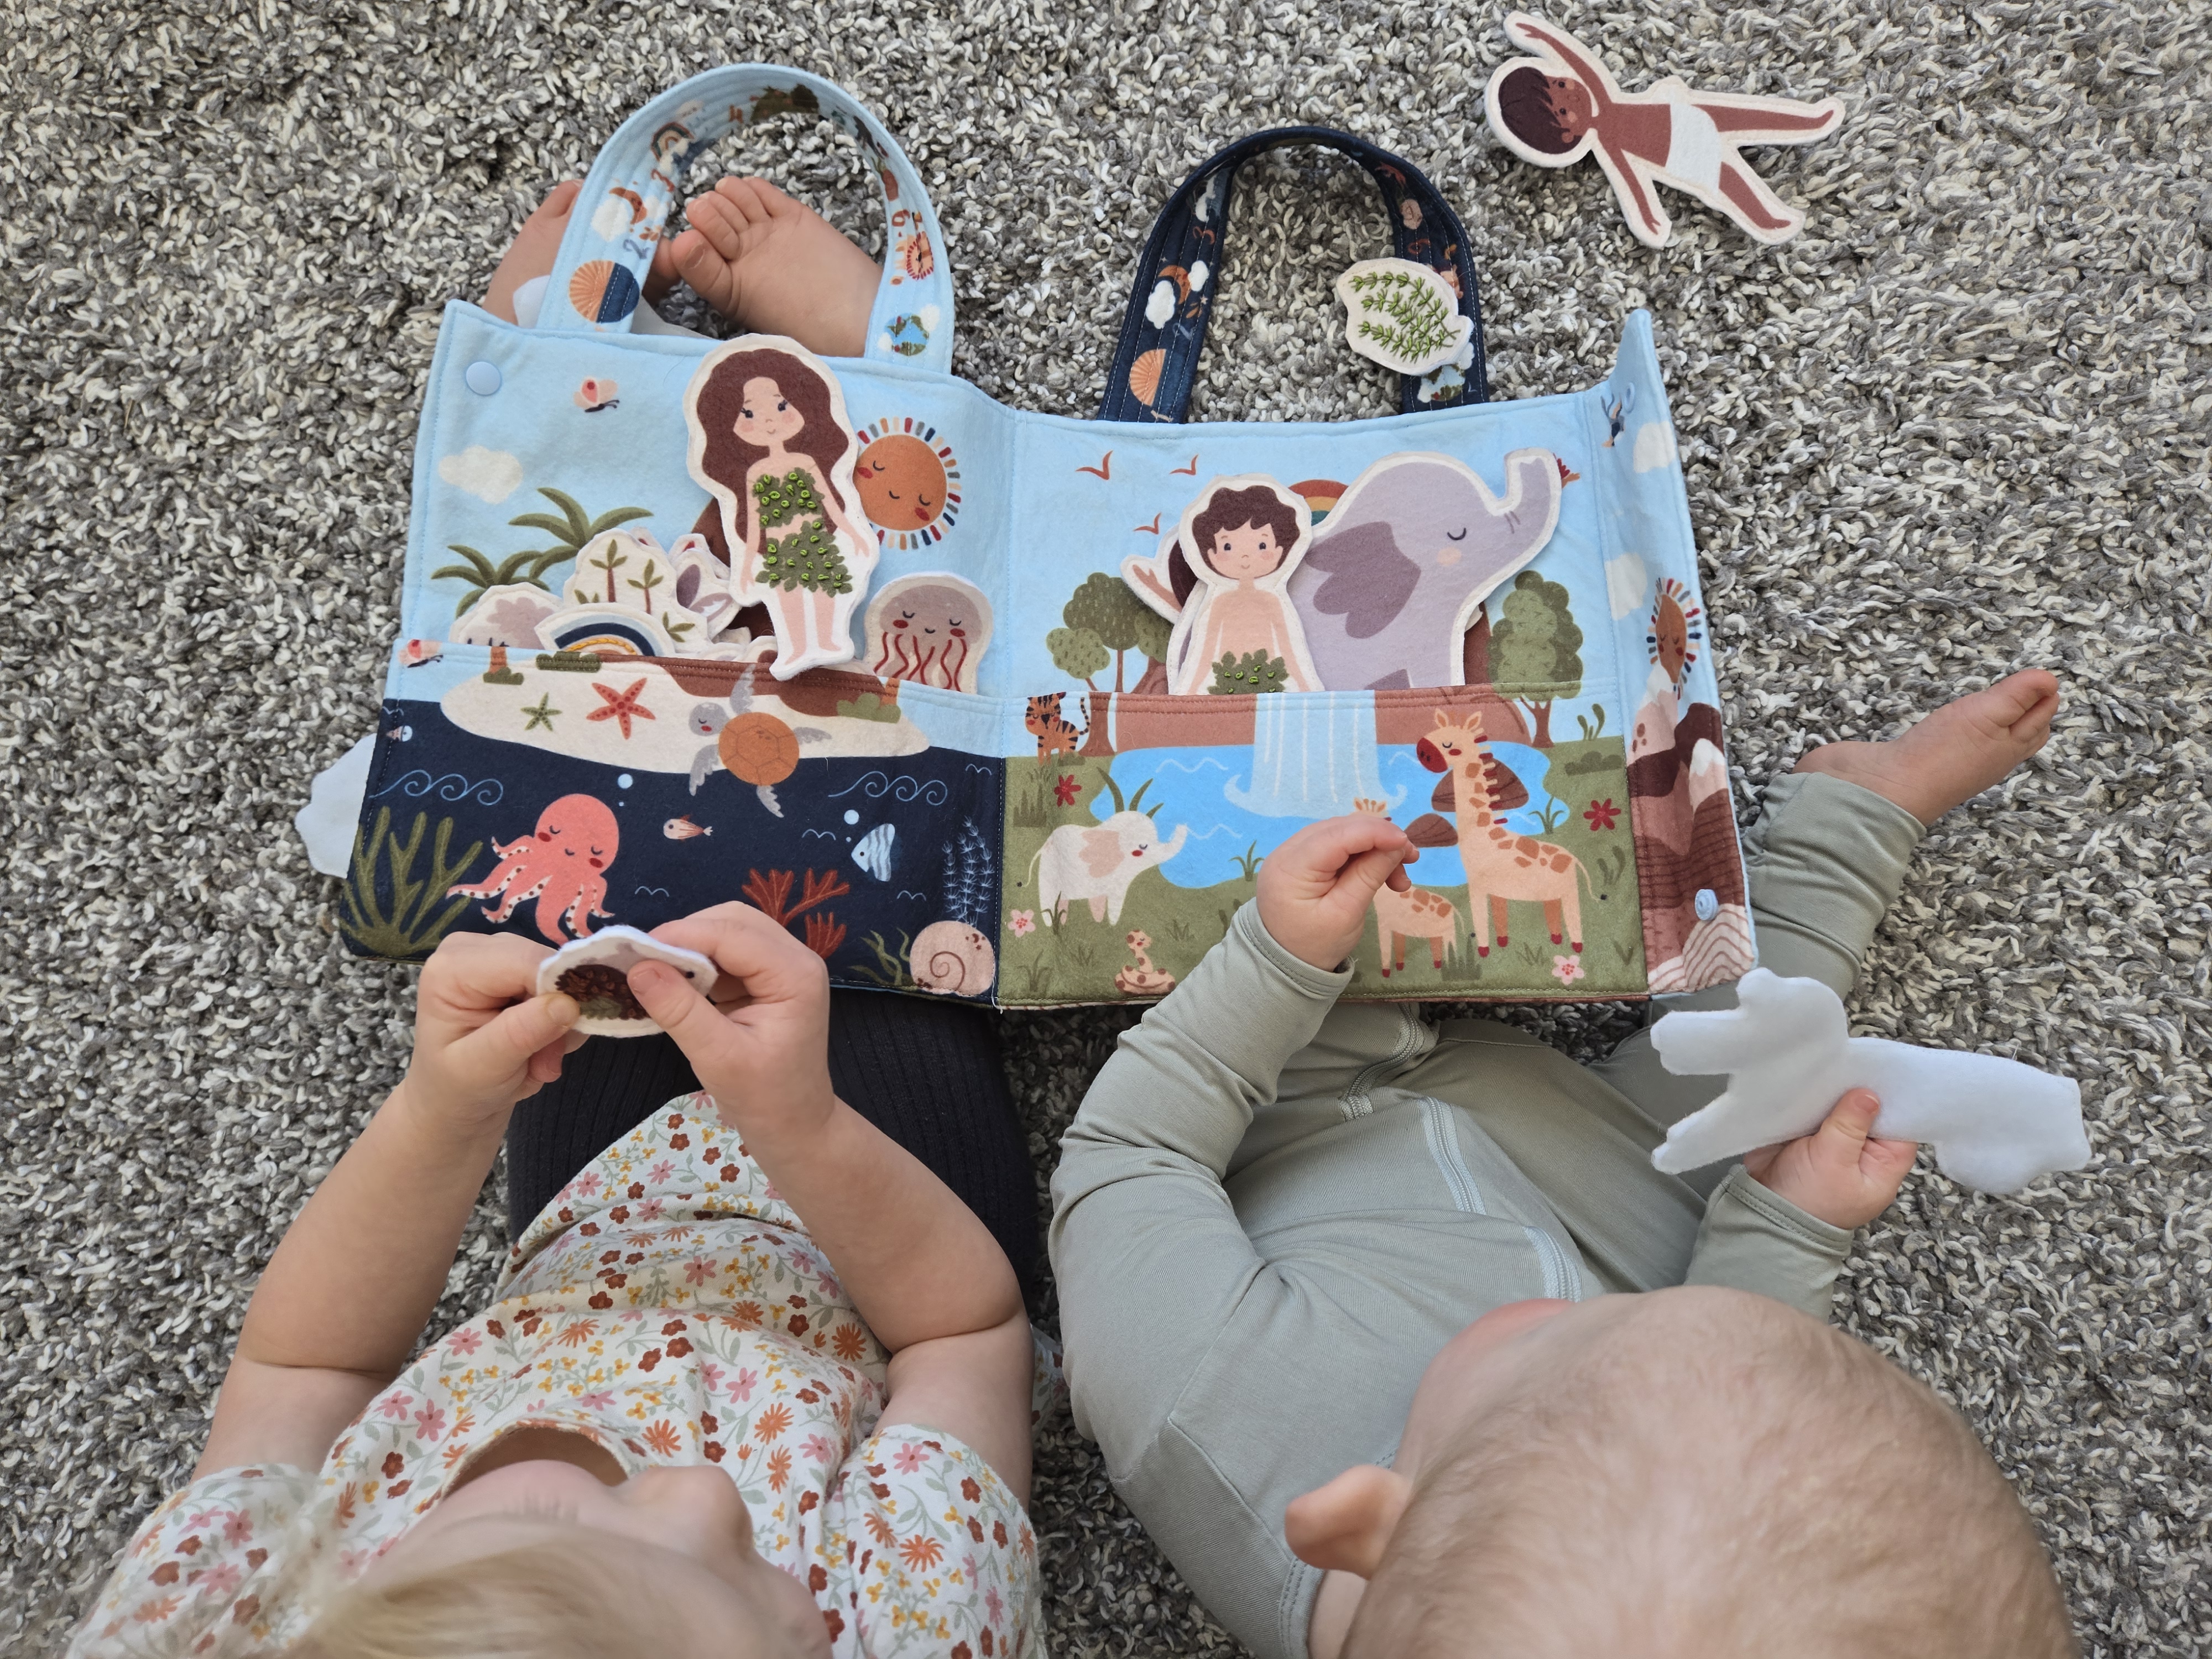
3. Assemble the Bag
Pin the bag flap to the top of the bag interior. Baste it in place.
Layer the bag interior with stabilizer and baste around the edges. Then, position the handles on the bag exterior, with raw ends extending ⅛ inch beyond the edge. Baste in place.
Now layer the interior and exterior of the bag with right sides together. Pin around the perimeter and sew, leaving a 4" opening at the bottom for turning.
4. Clip, Turn and Press
Clip around the entire seam allowance, notch corners, and turn the bag right side out through the opening. Use your Hemostat to help push out corners.
Carefully finger press the seams. You may lightly press with a cool iron if needed, but be sure to test first as acrylic felt can melt with high heat.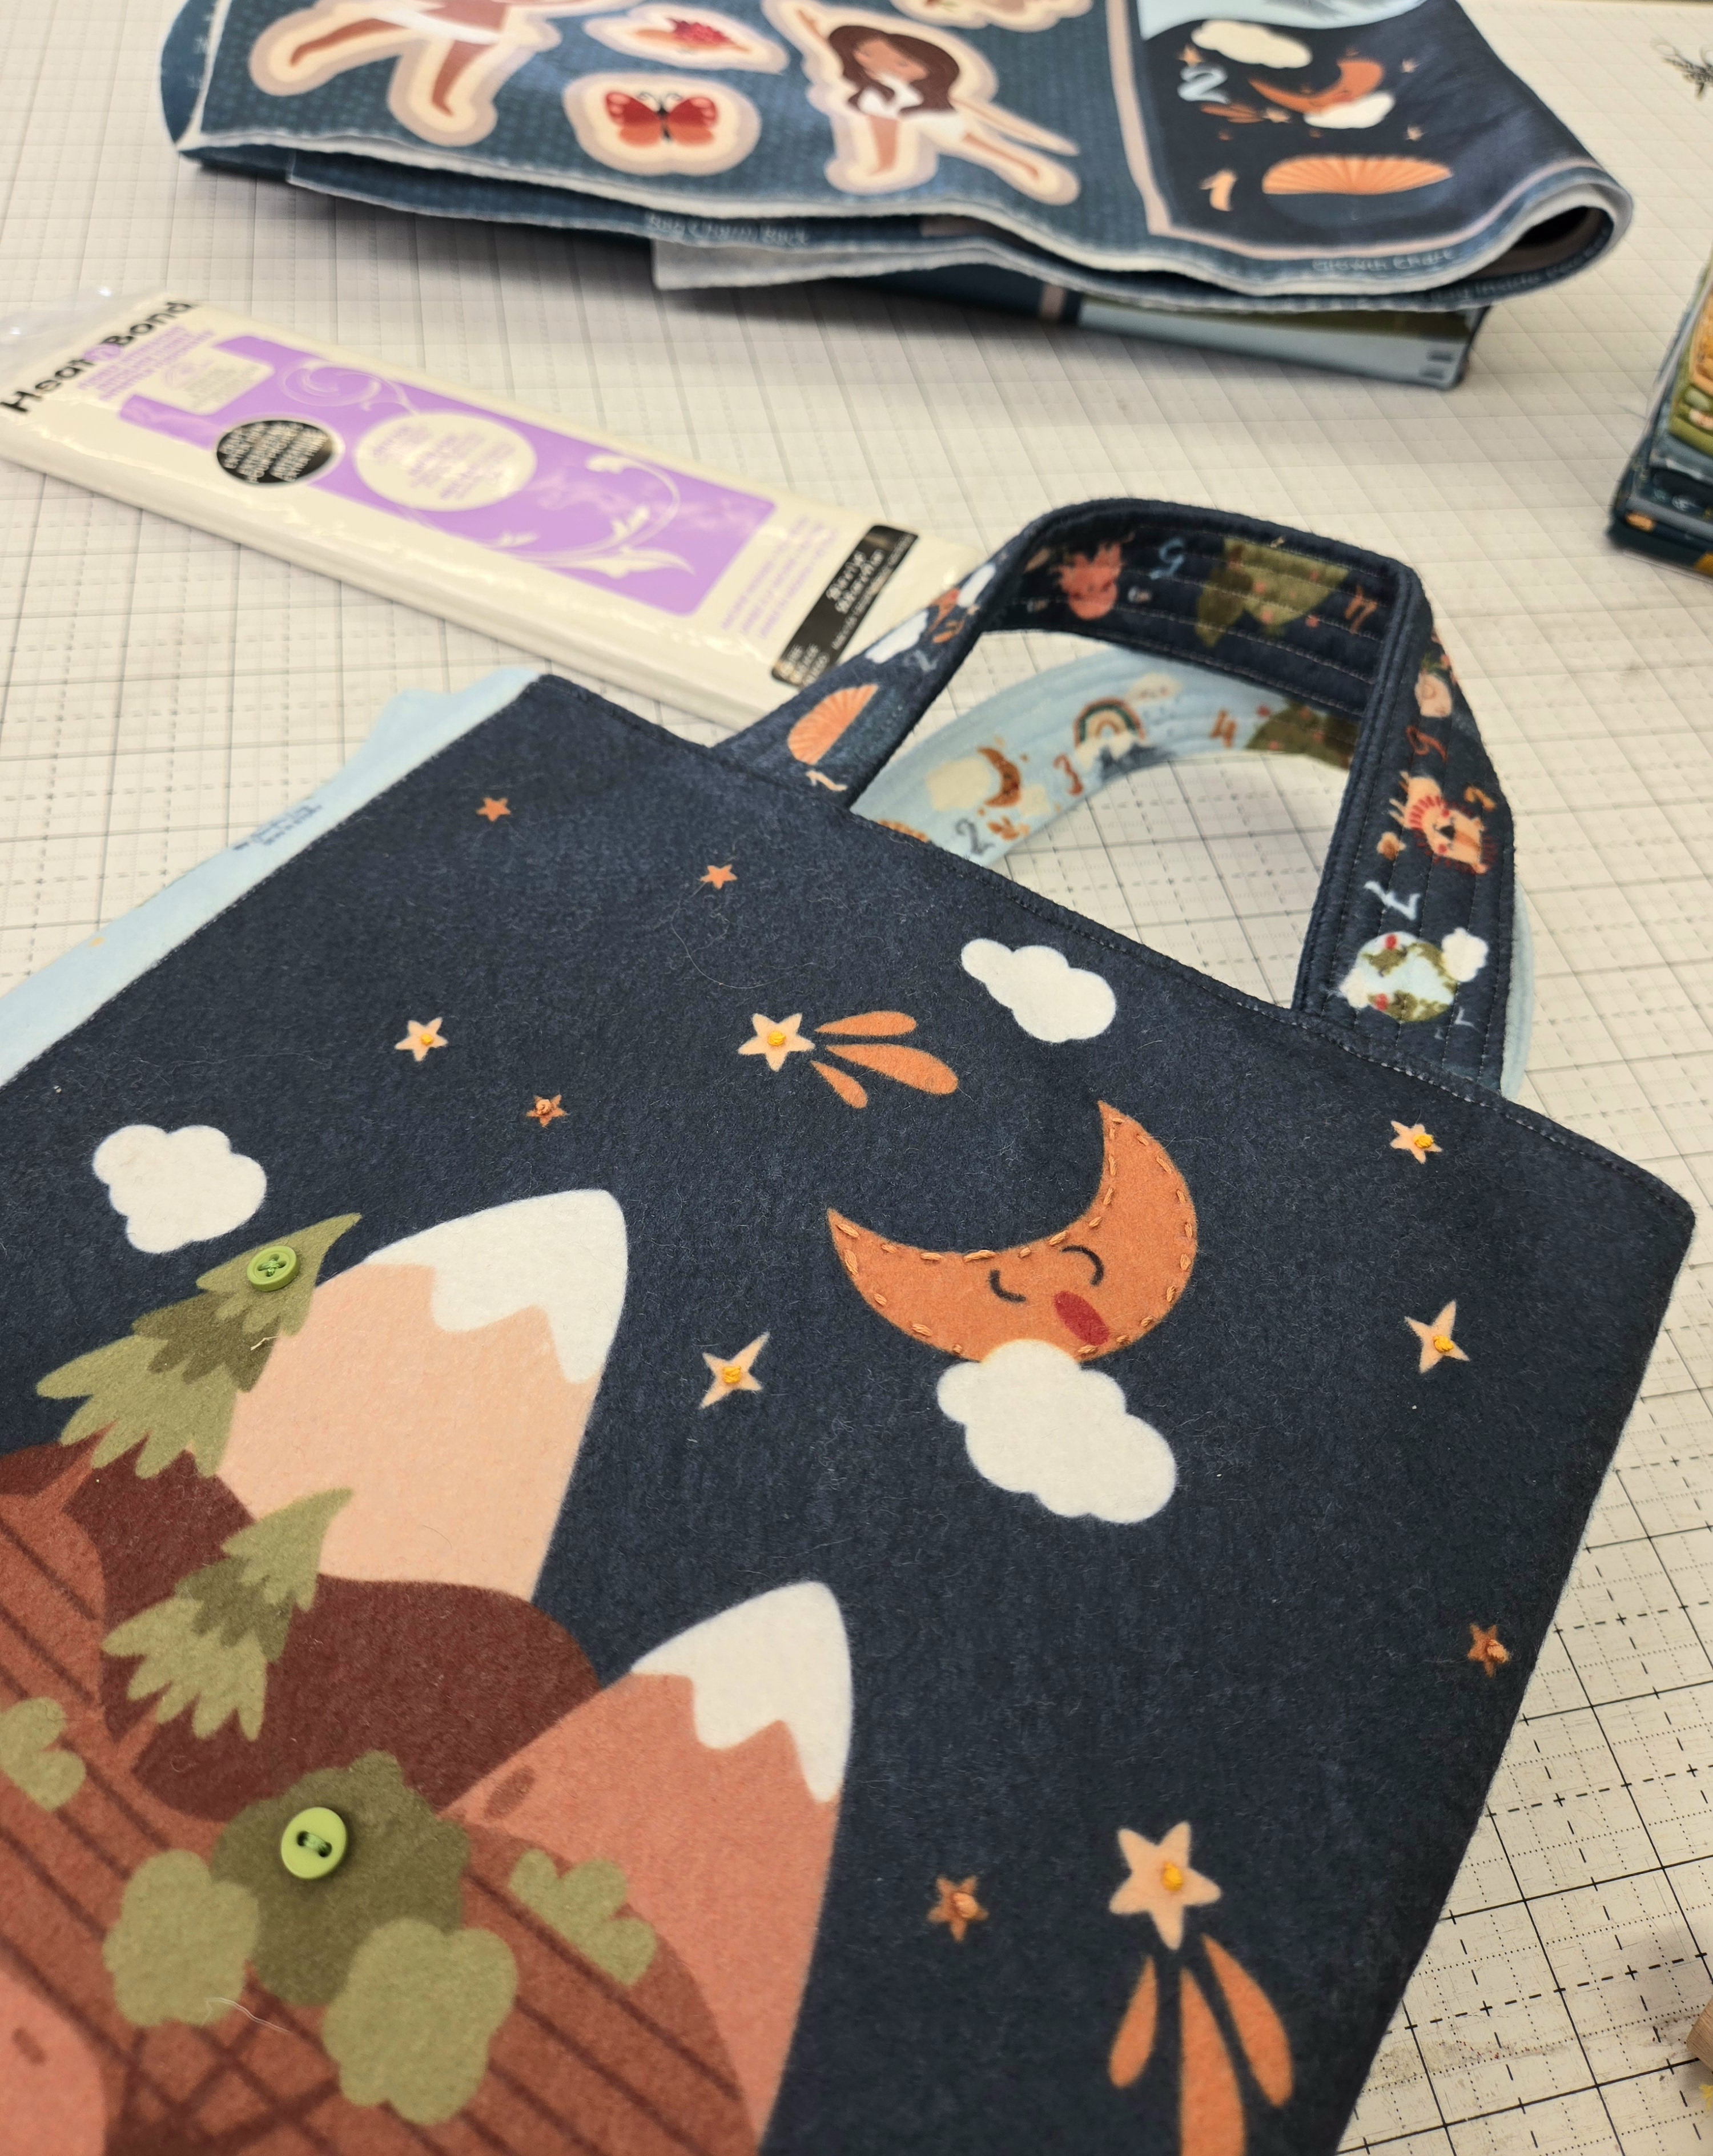
Looking Ahead
Next week we’ll focus on final finishing touches. That includes stitching around the outer edges of the bag, sewing seam lines for the playmat fold, adding closures, and assembling the optional bag charm and growth chart.
You're almost there.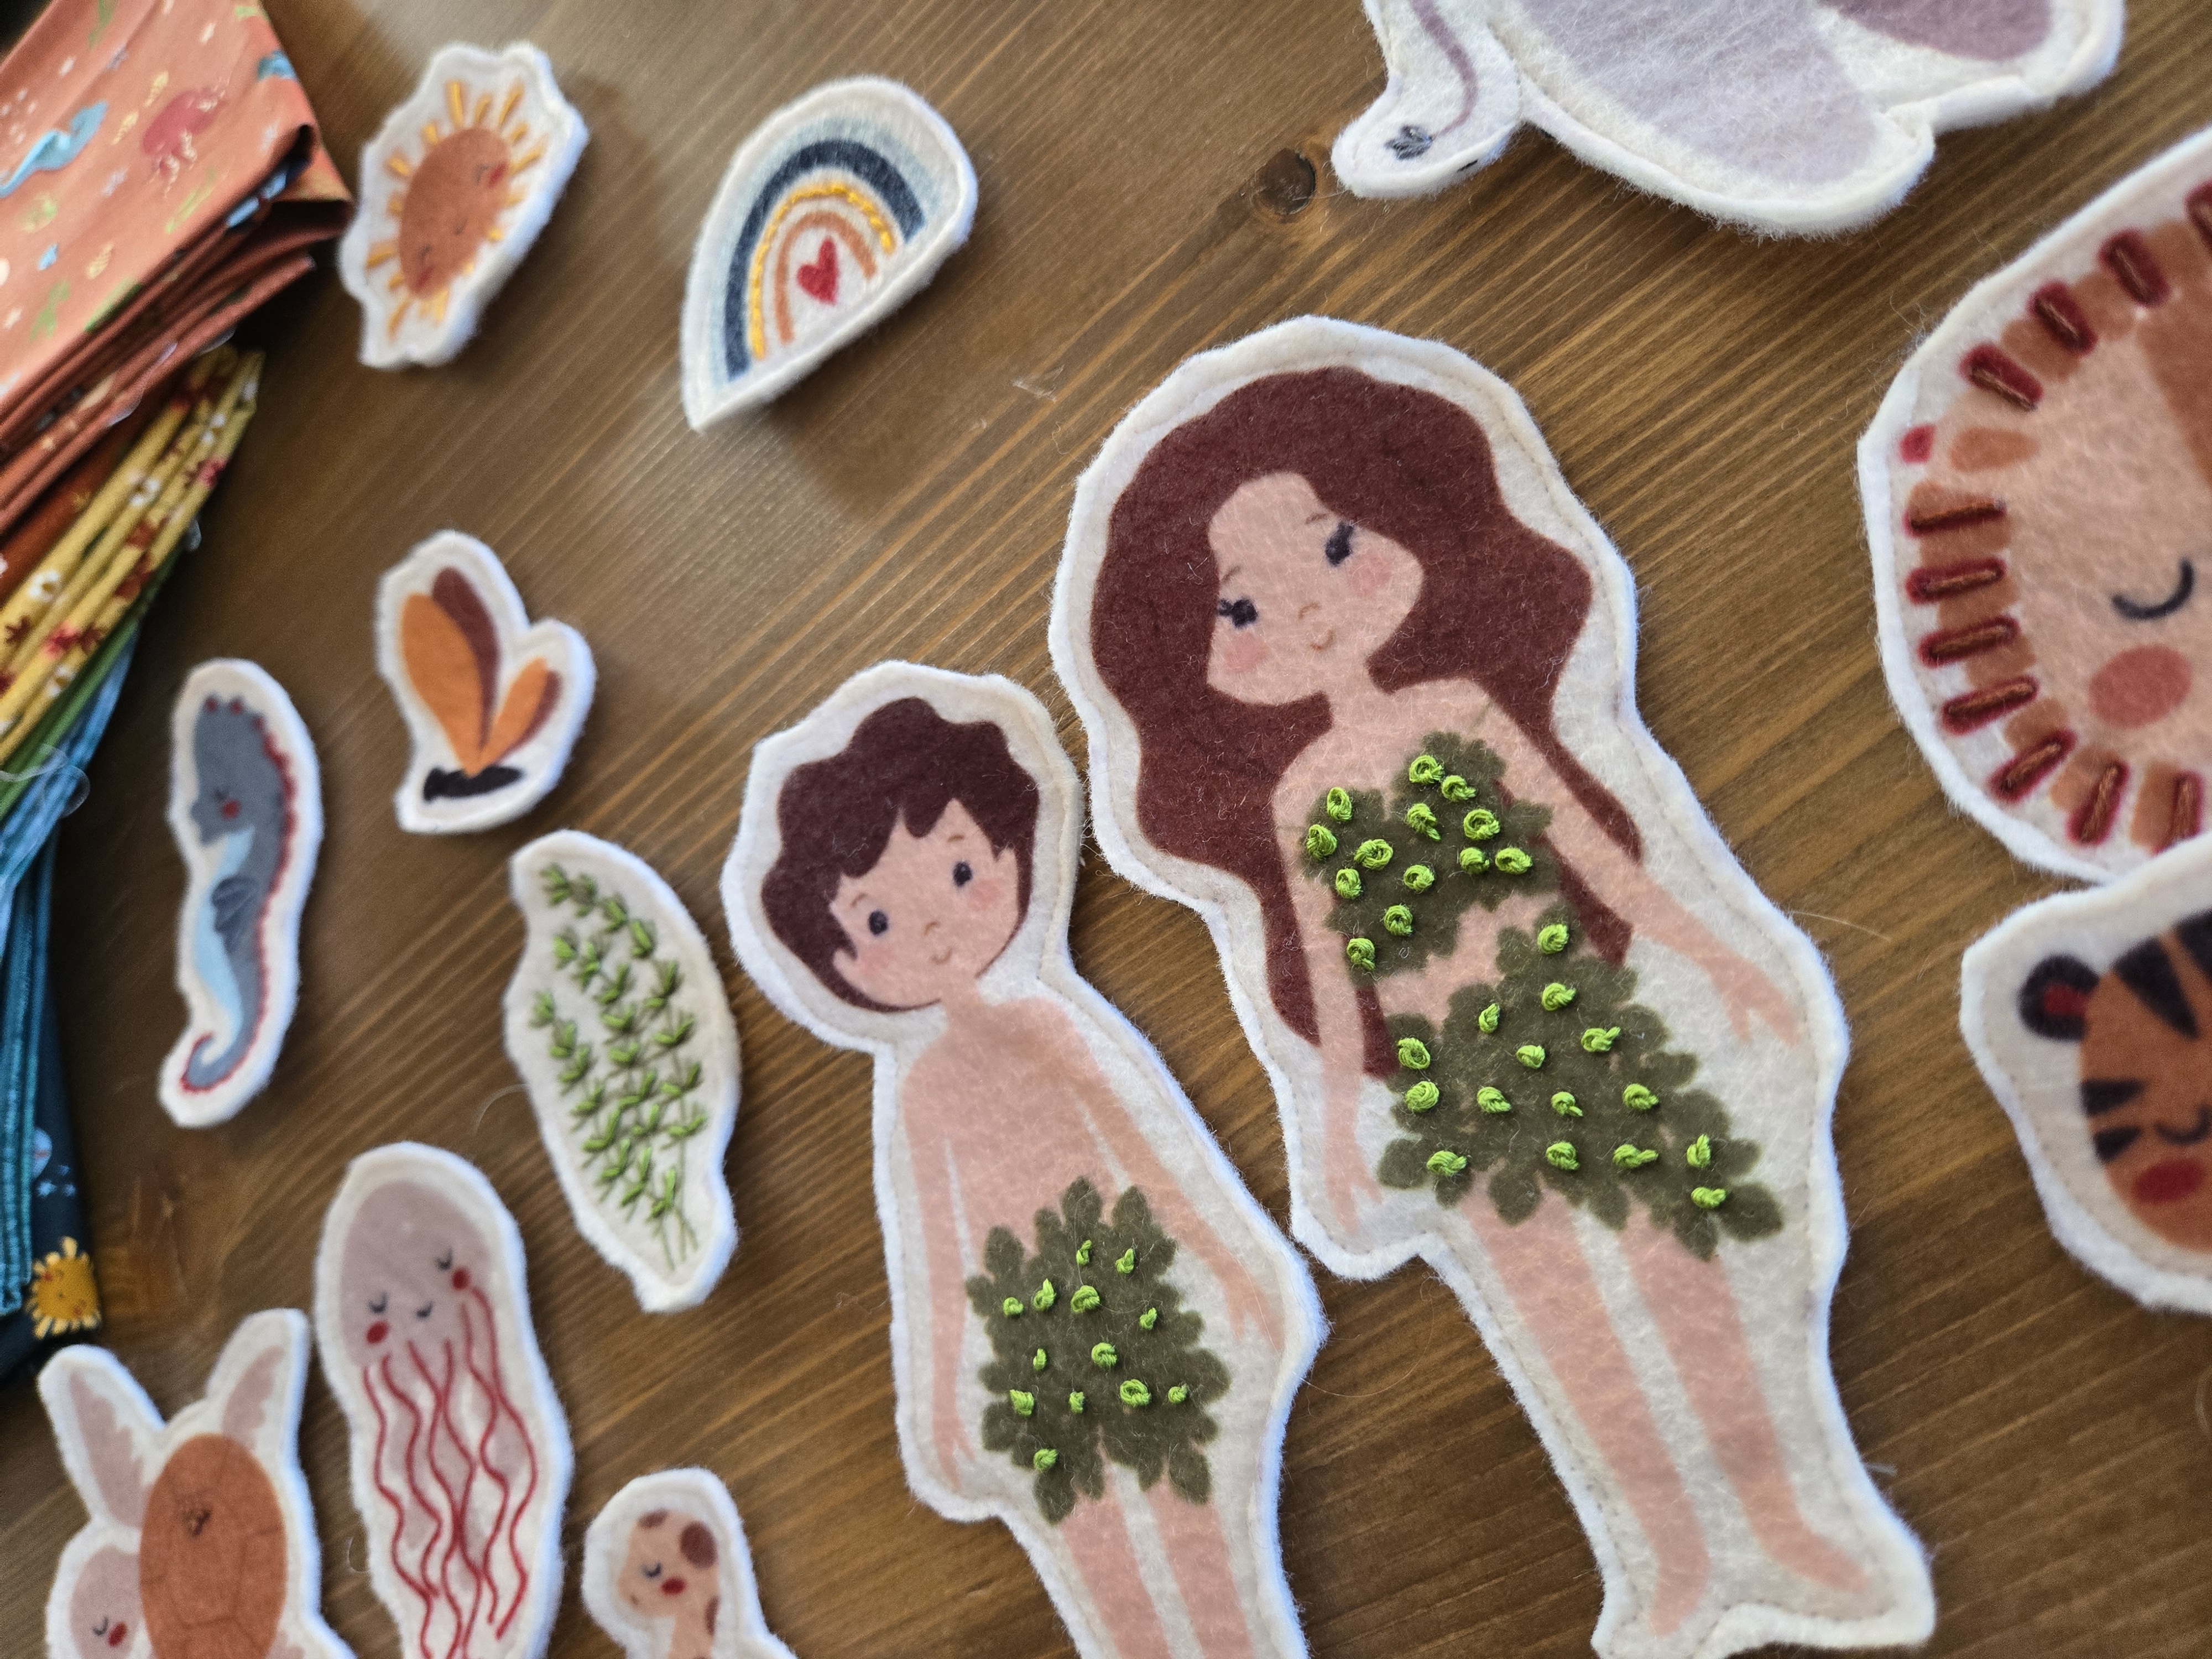
Share Your Progress
Have you finished your bag? Are your handles stitched and your pockets in place? Share photos in the Sew A Story Facebook Group so we can cheer you on.
Use hashtags:
#createdwithlovefeltpanel #createdwithlovefabrics #sewastory
Tag me: @sewastory_jenniferlong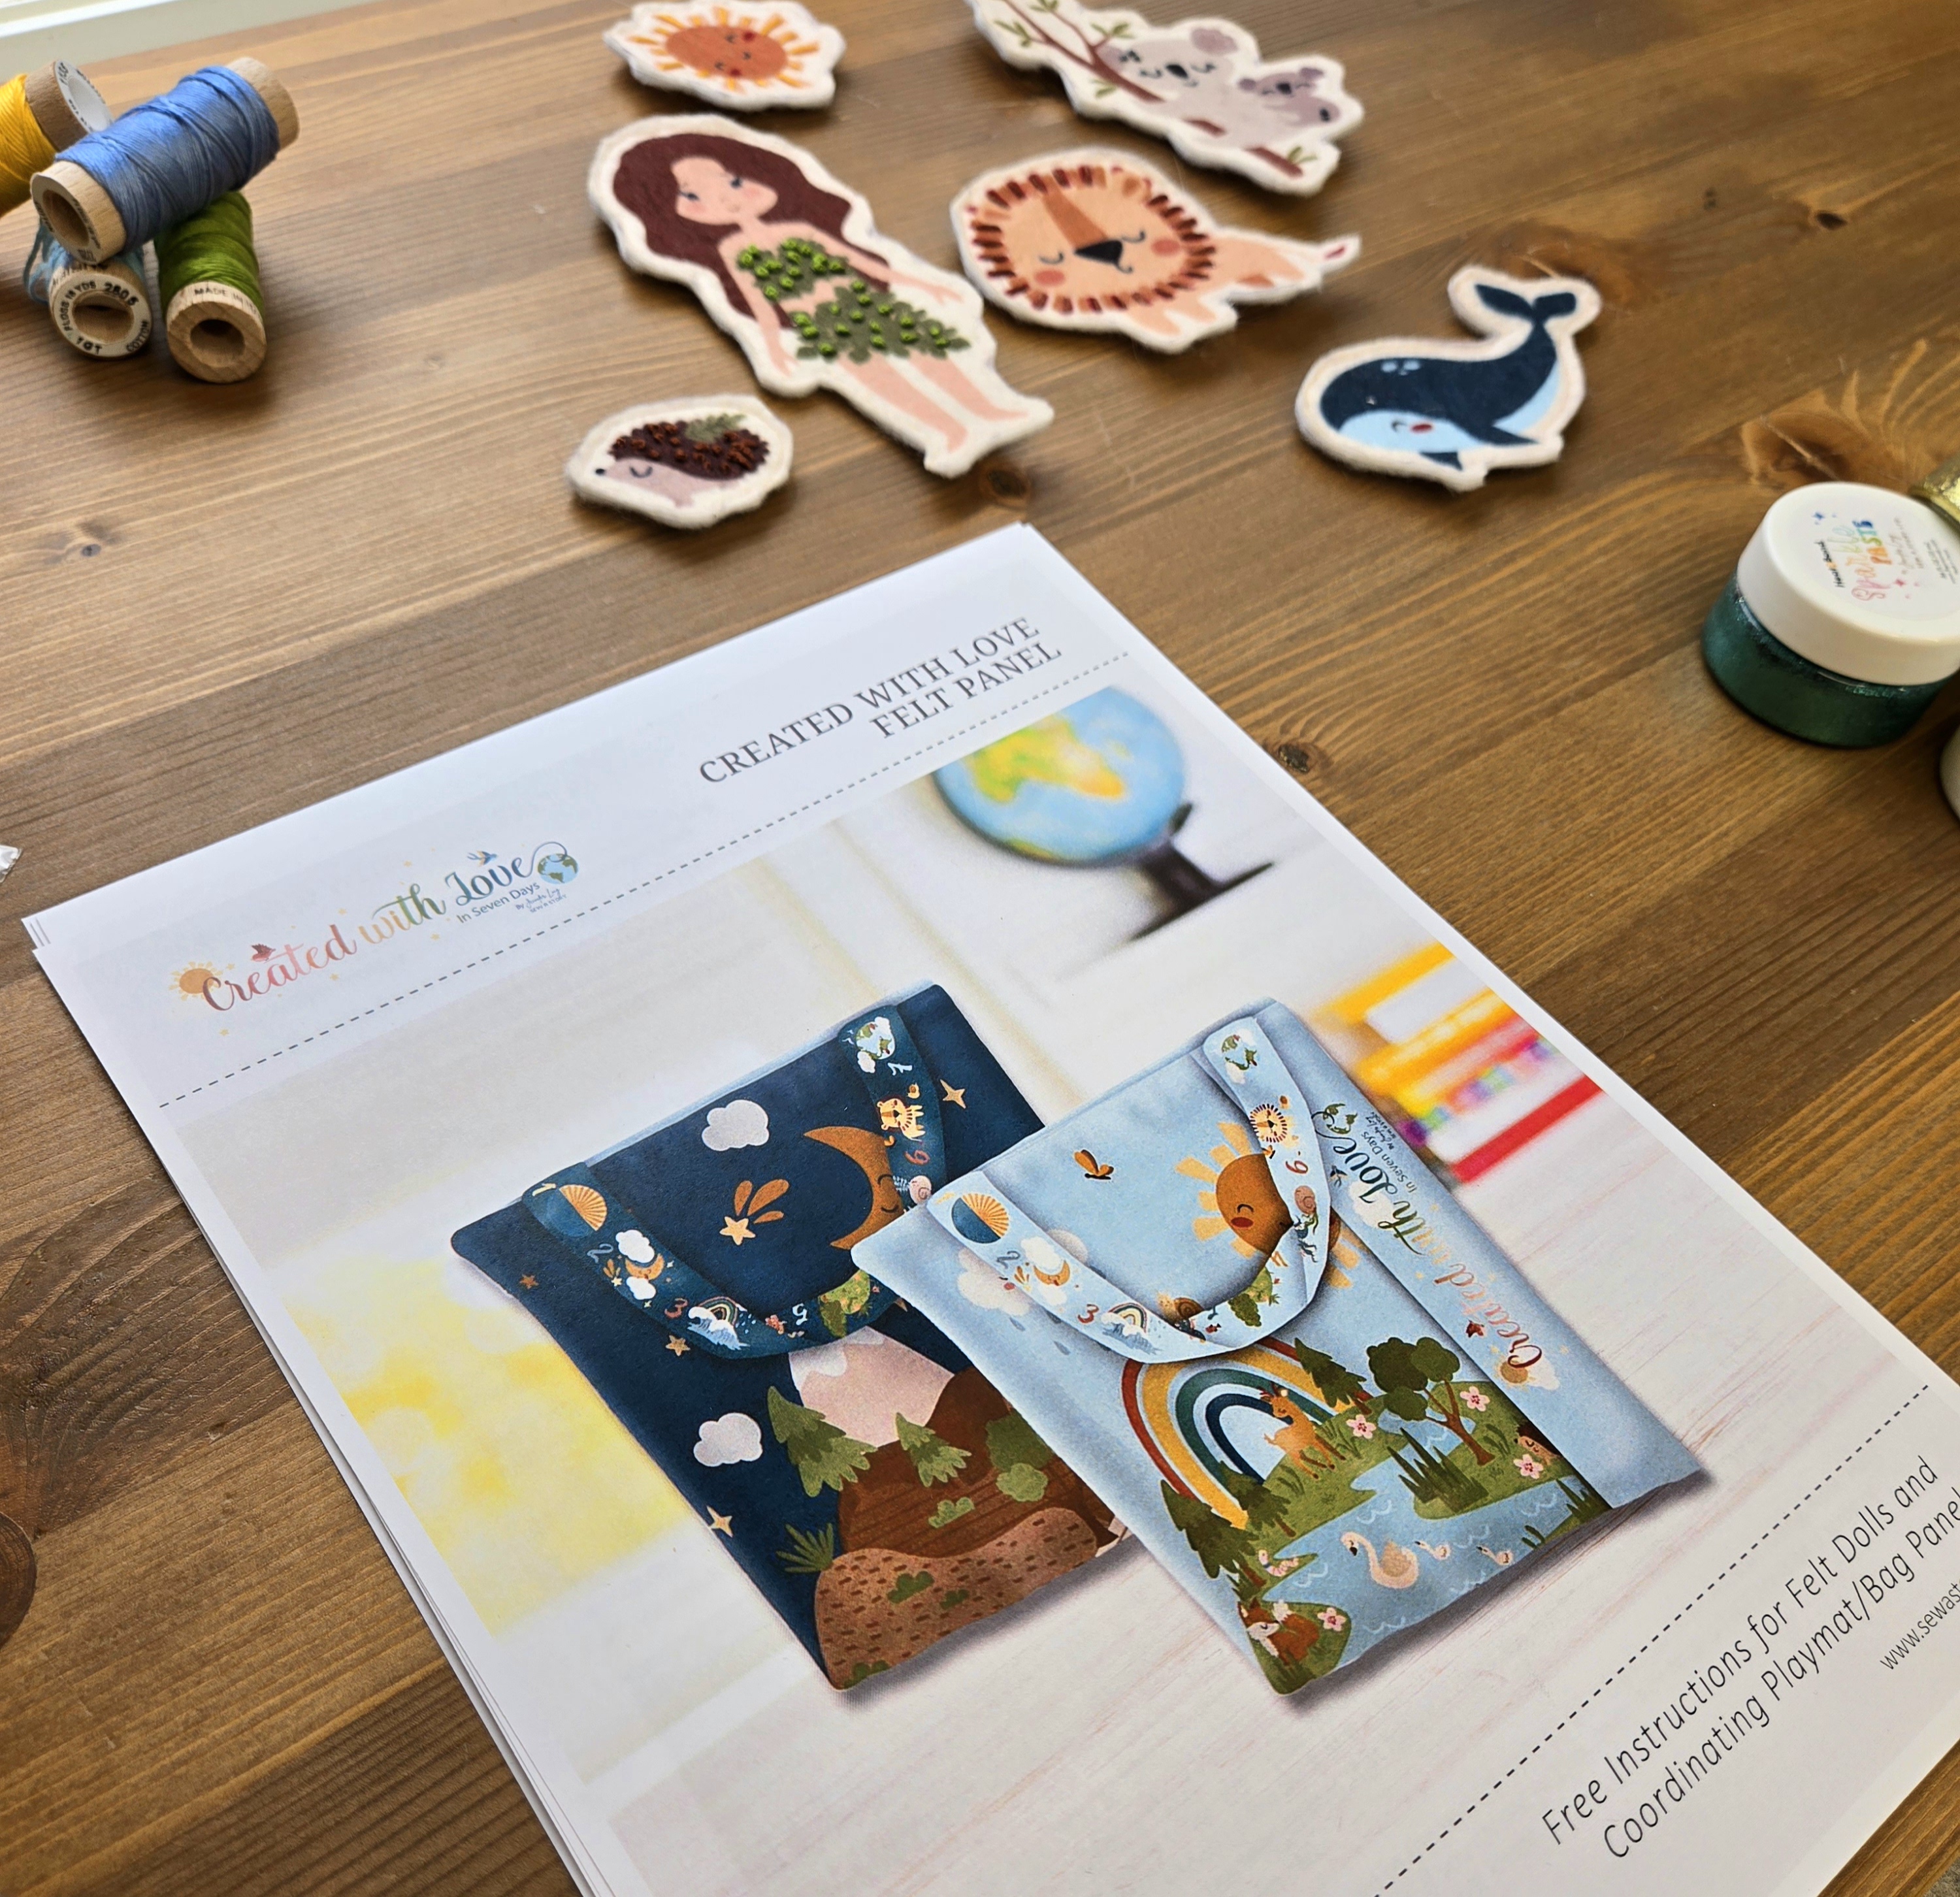
Stay Connected
If you're just joining or catching up, remember to sign up for SAL emails here:
- Sign up here!
This week marks a big shift. What was once a flat panel is now becoming a cherished, handmade item filled with purpose and personality. I hope you’re proud of how far you’ve come.![]()


