
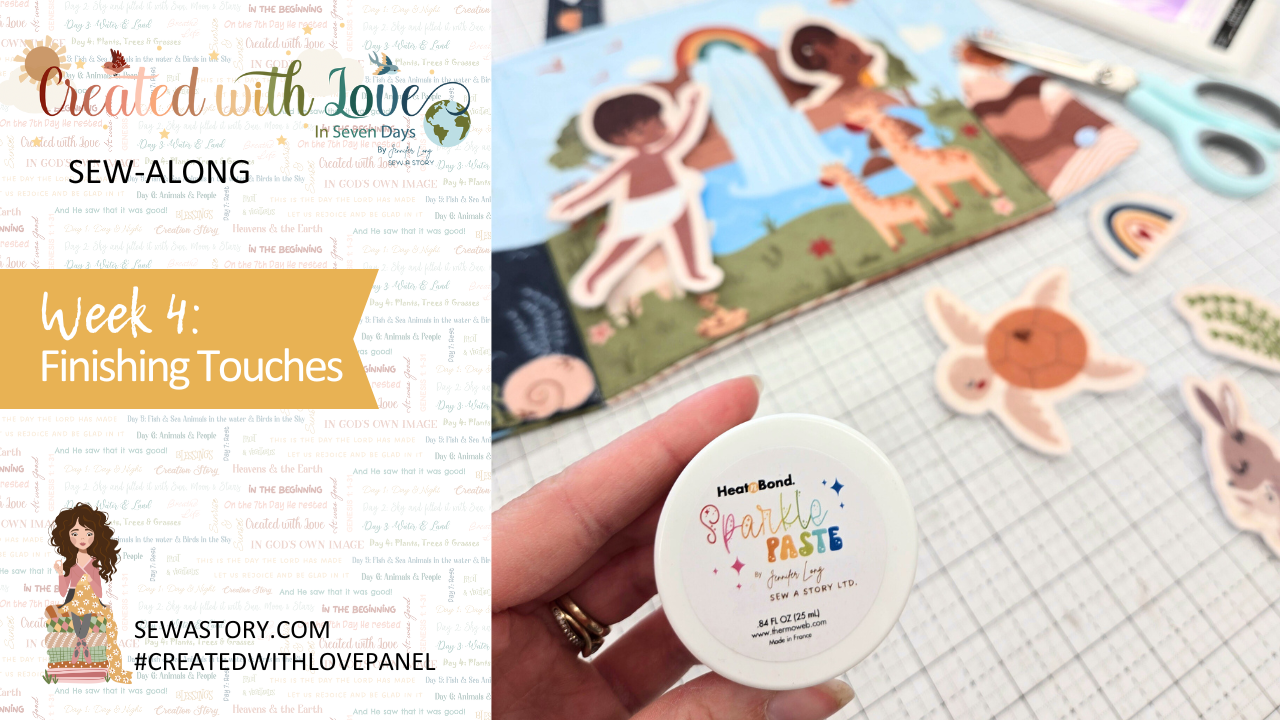
Created With Love Felt Panel SAL: Week 4
Finishing Touches and a Sparkle of Love
You’ve made it to the final week of the Created With Love Felt Panel Sew-Along. It’s time to add the last few details that bring your project together and give it a polished, thoughtful finish.
This week, you’ll be sewing final seams, attaching closures, and completing any optional elements like the bag charm or growth chart. These final steps turn a handmade project into a lasting keepsake.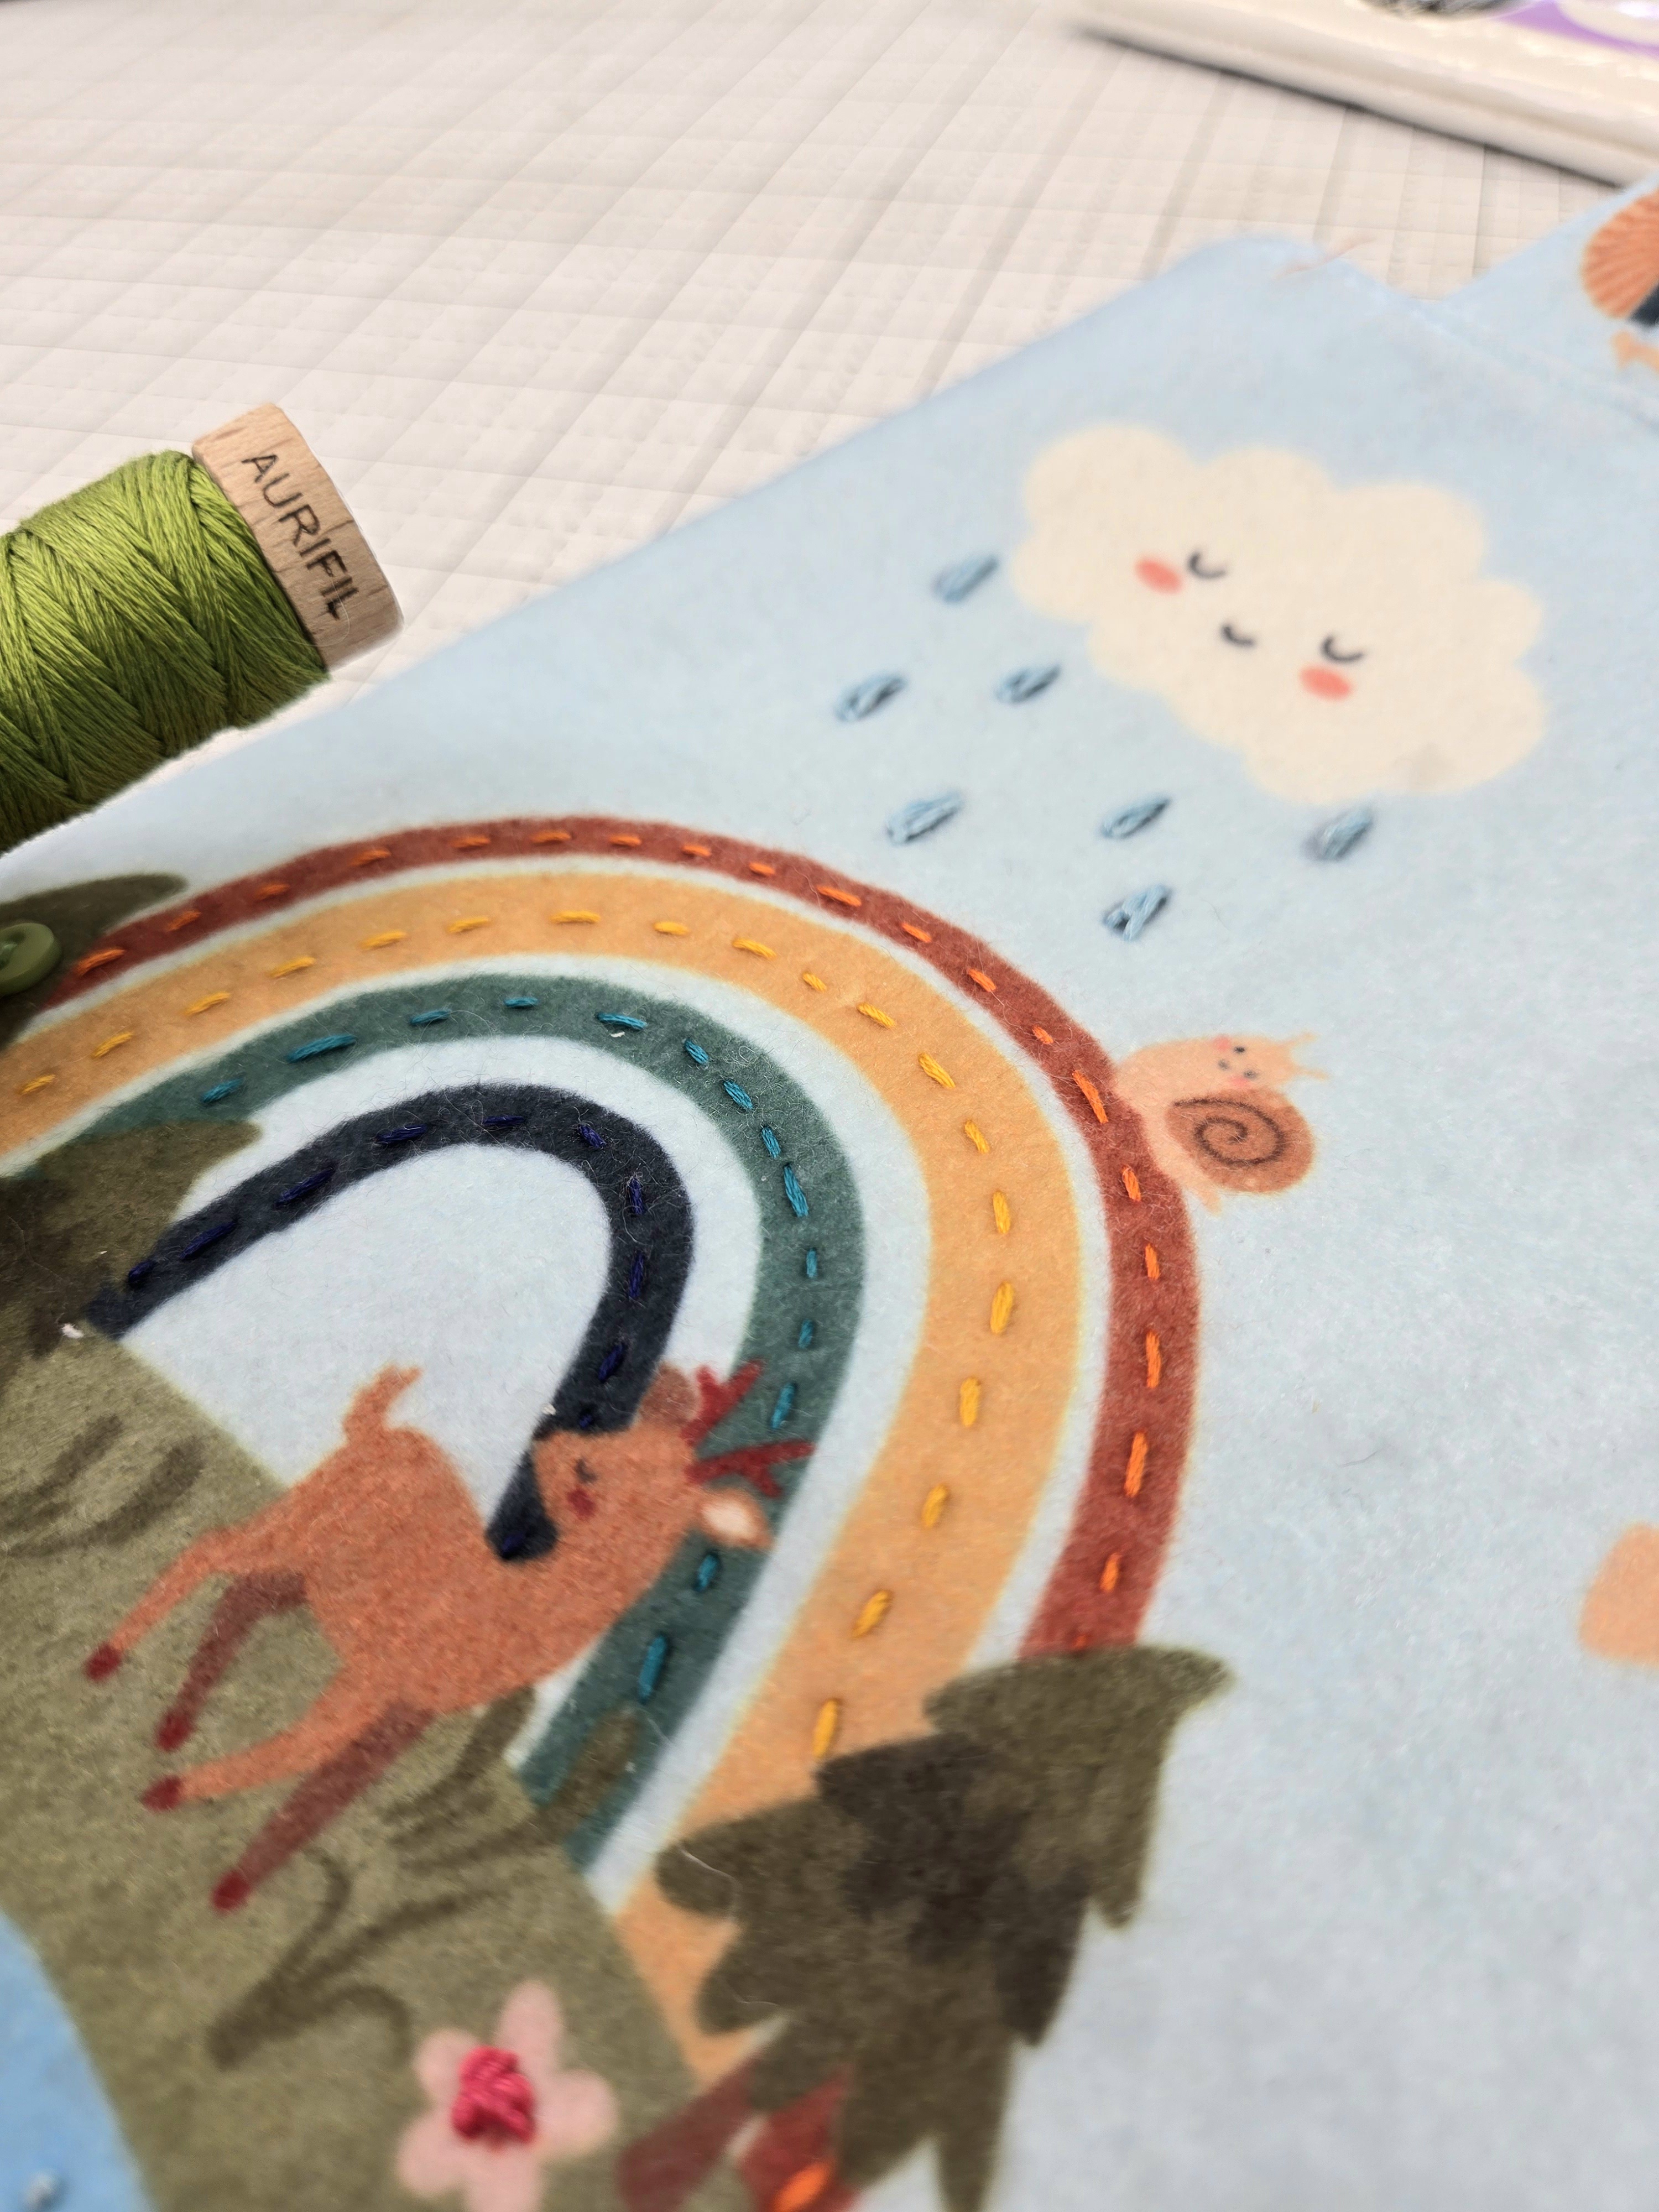
This Week’s Focus
• Topstitch the perimeter of the bag
• Add seam lines for the playmat fold and flap
• Attach closures (snaps or Velcro)
• Complete the bag charm and growth chart (optional)
• Celebrate and share your finished project
Each piece you’ve sewn tells a story. These final touches ensure it is ready to be gifted, treasured, and loved.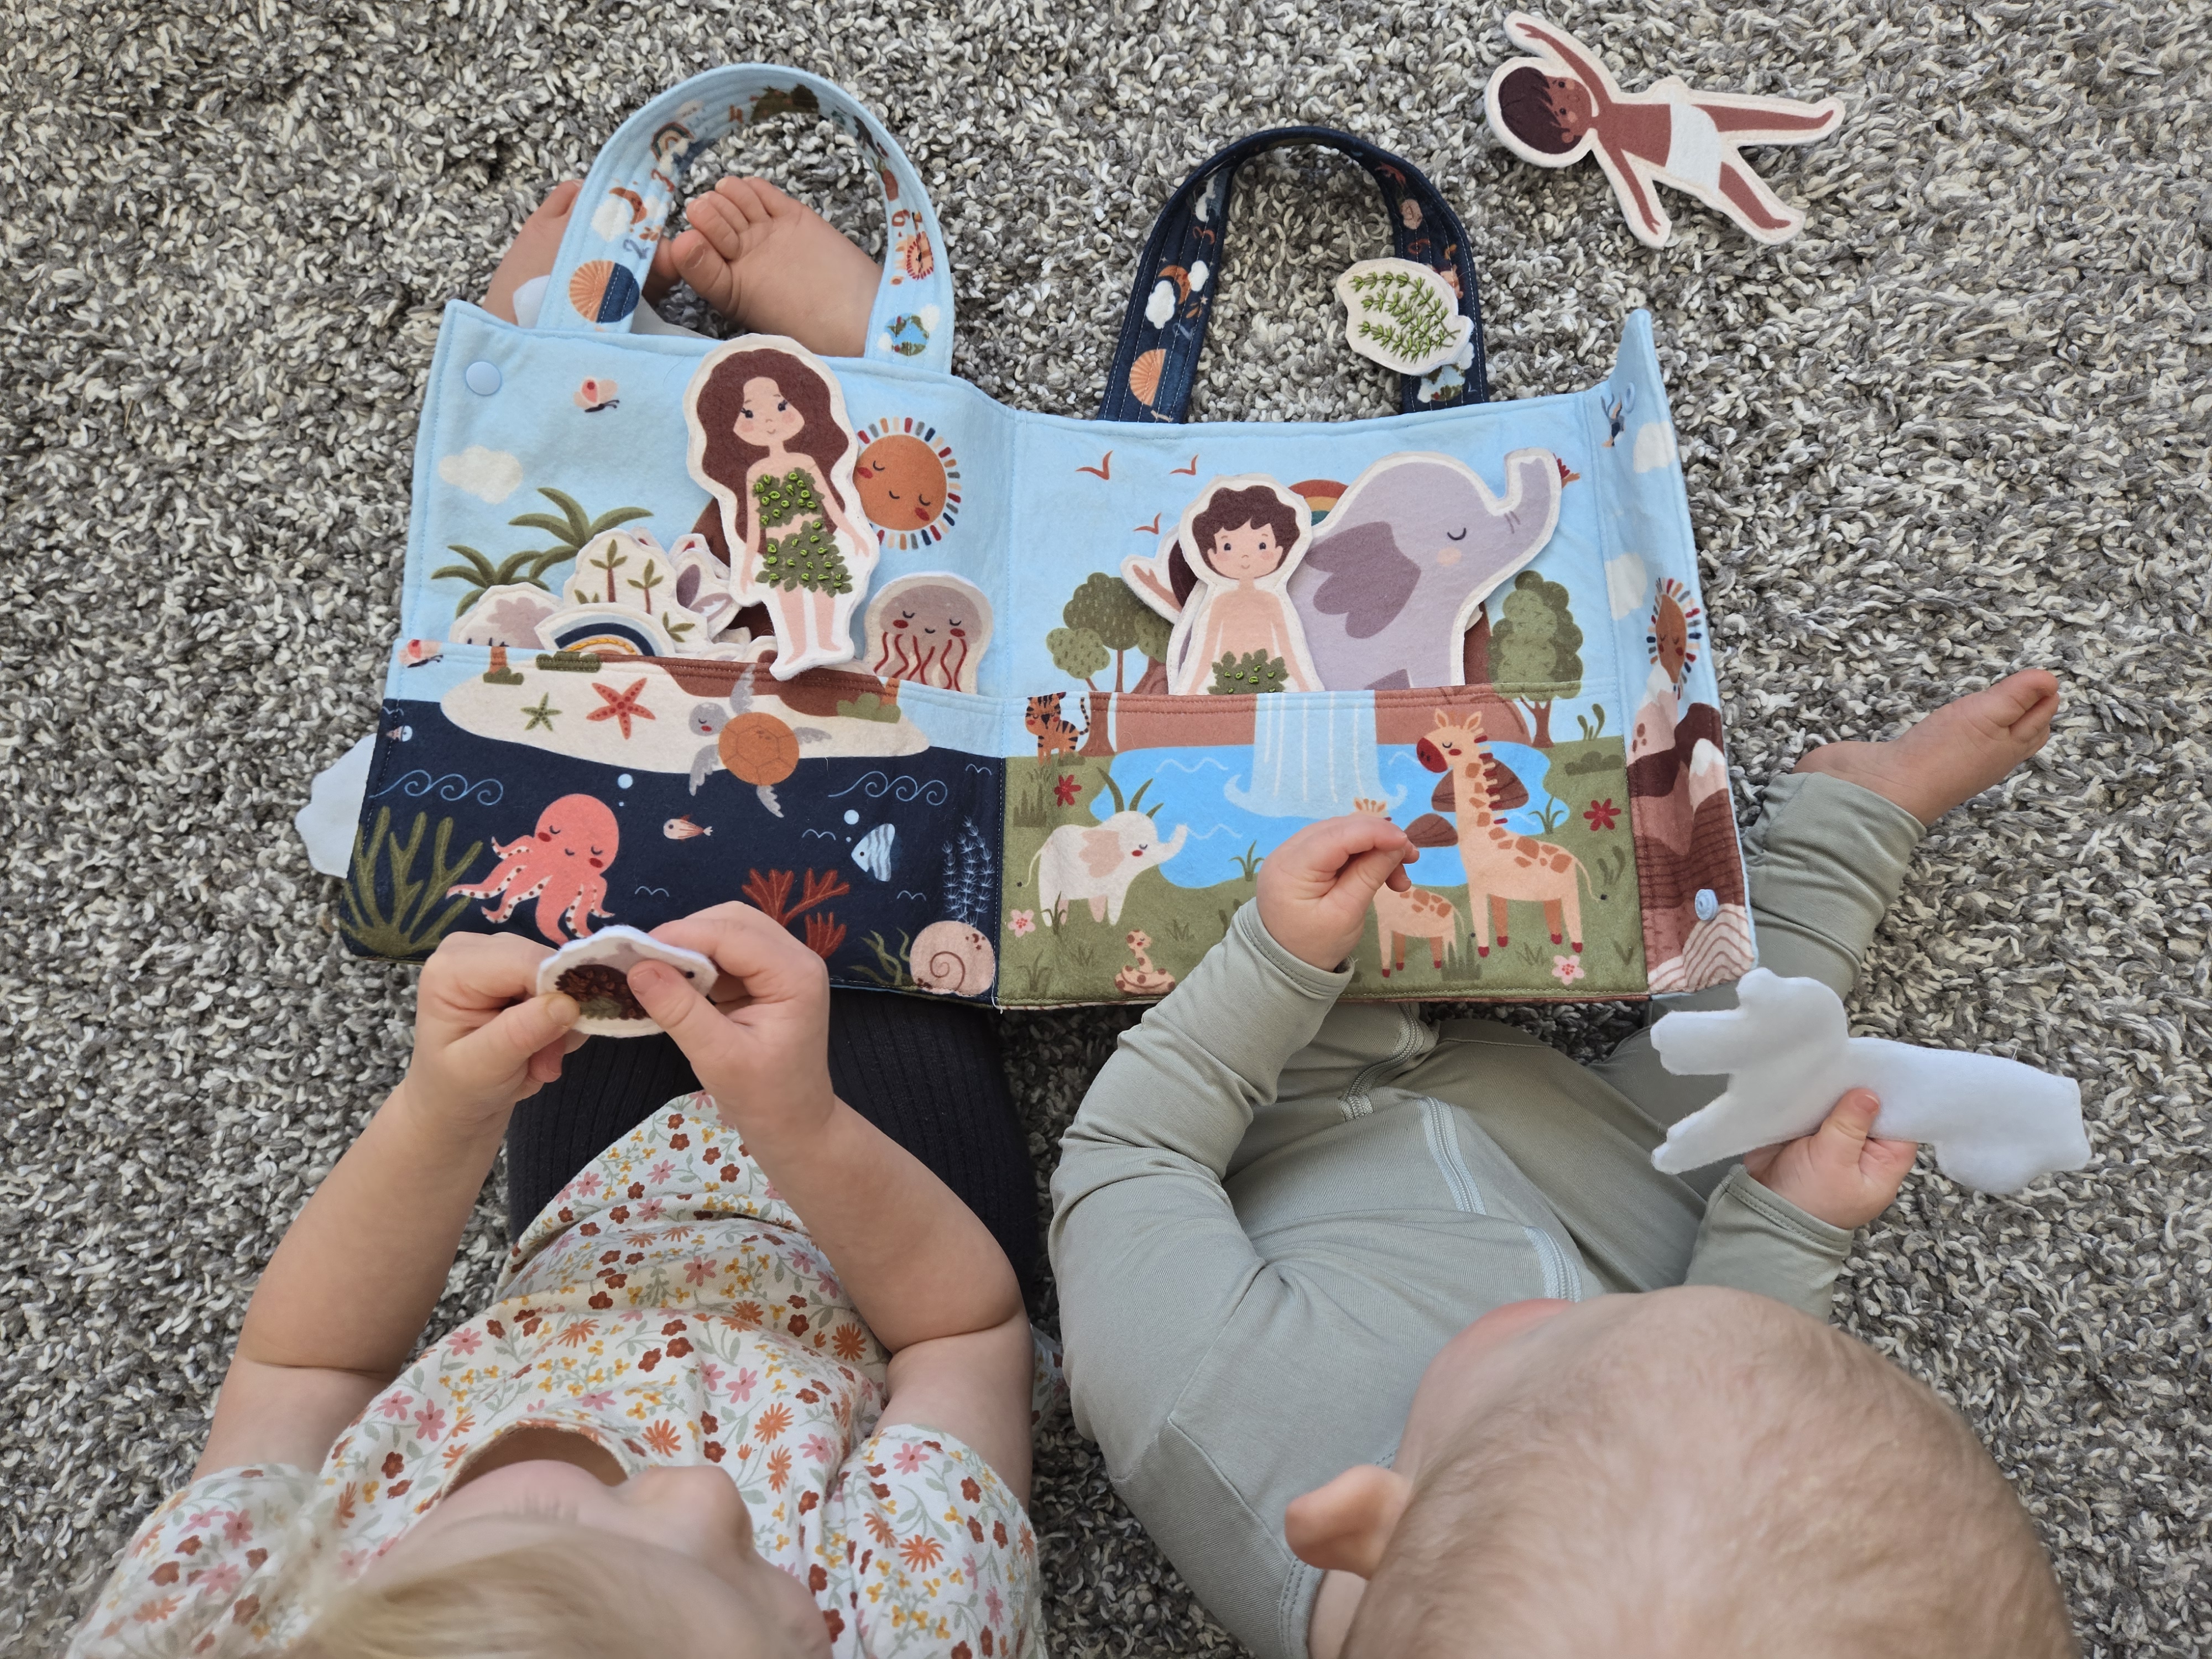
Supplies Checklist
Keep these items nearby as you finish your project:
Required:
• Finished bag
• Matching thread
• Marking tool (pencil or disappearing marker)
• Snap or Velcro closures
• Sewing machine and scissors
Optional:
• Ribbon for charm attachment
• Grommets or clips for growth chart
• Embellishments for final sparkle
Week 4 Instructions
1. Mark and Stitch Seam Lines
Using a quilting ruler and invisible marker, mark the seam lines for the playmat fold and flap. Stitch along these lines with matching thread to help the bag fold neatly.
2. Topstitch the Bag
Sew around the entire perimeter of the bag with a clean topstitch. This gives the edges a neat finish and adds structure.
3. Add Closures
Install plastic snaps or Velcro to secure the bag flap. Test placement before attaching to ensure proper alignment.
Closures can also be added to the handles or bag charms if you are including those.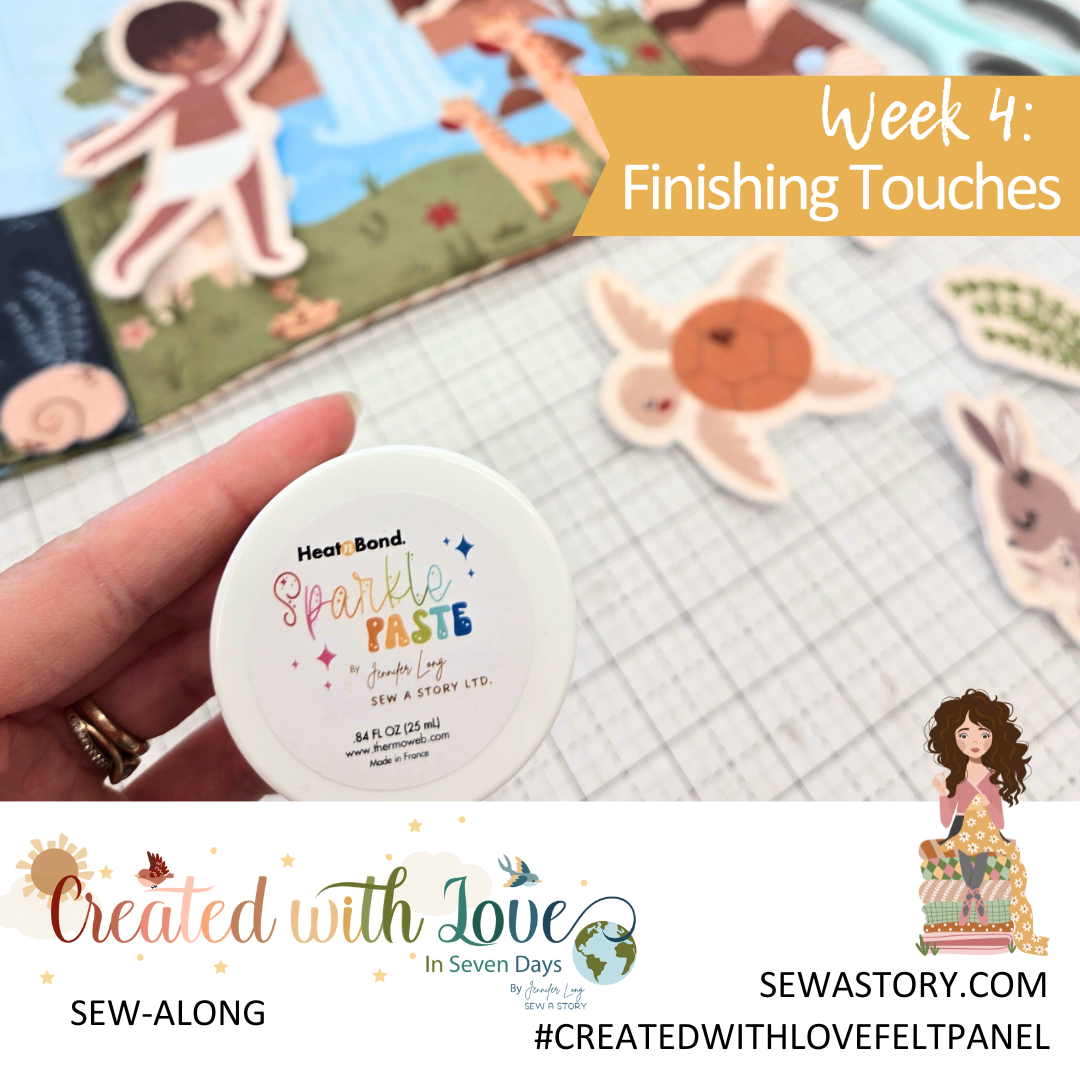
4. Make the Bag Charm (Optional)
Use the same layering method as the felt dolls to assemble the bag charm. Instead of white felt on the back, use the reverse-printed bag charm piece to make it double sided.
Attach ribbon, snaps, or Velcro as needed to fasten the charm around the handles.
5. Complete the Growth Chart (Optional)
Layer the printed growth chart with fusible stabilizer and white craft felt. Sew along the seam allowance and trim neatly. Add grommets and ribbon or clips to hang.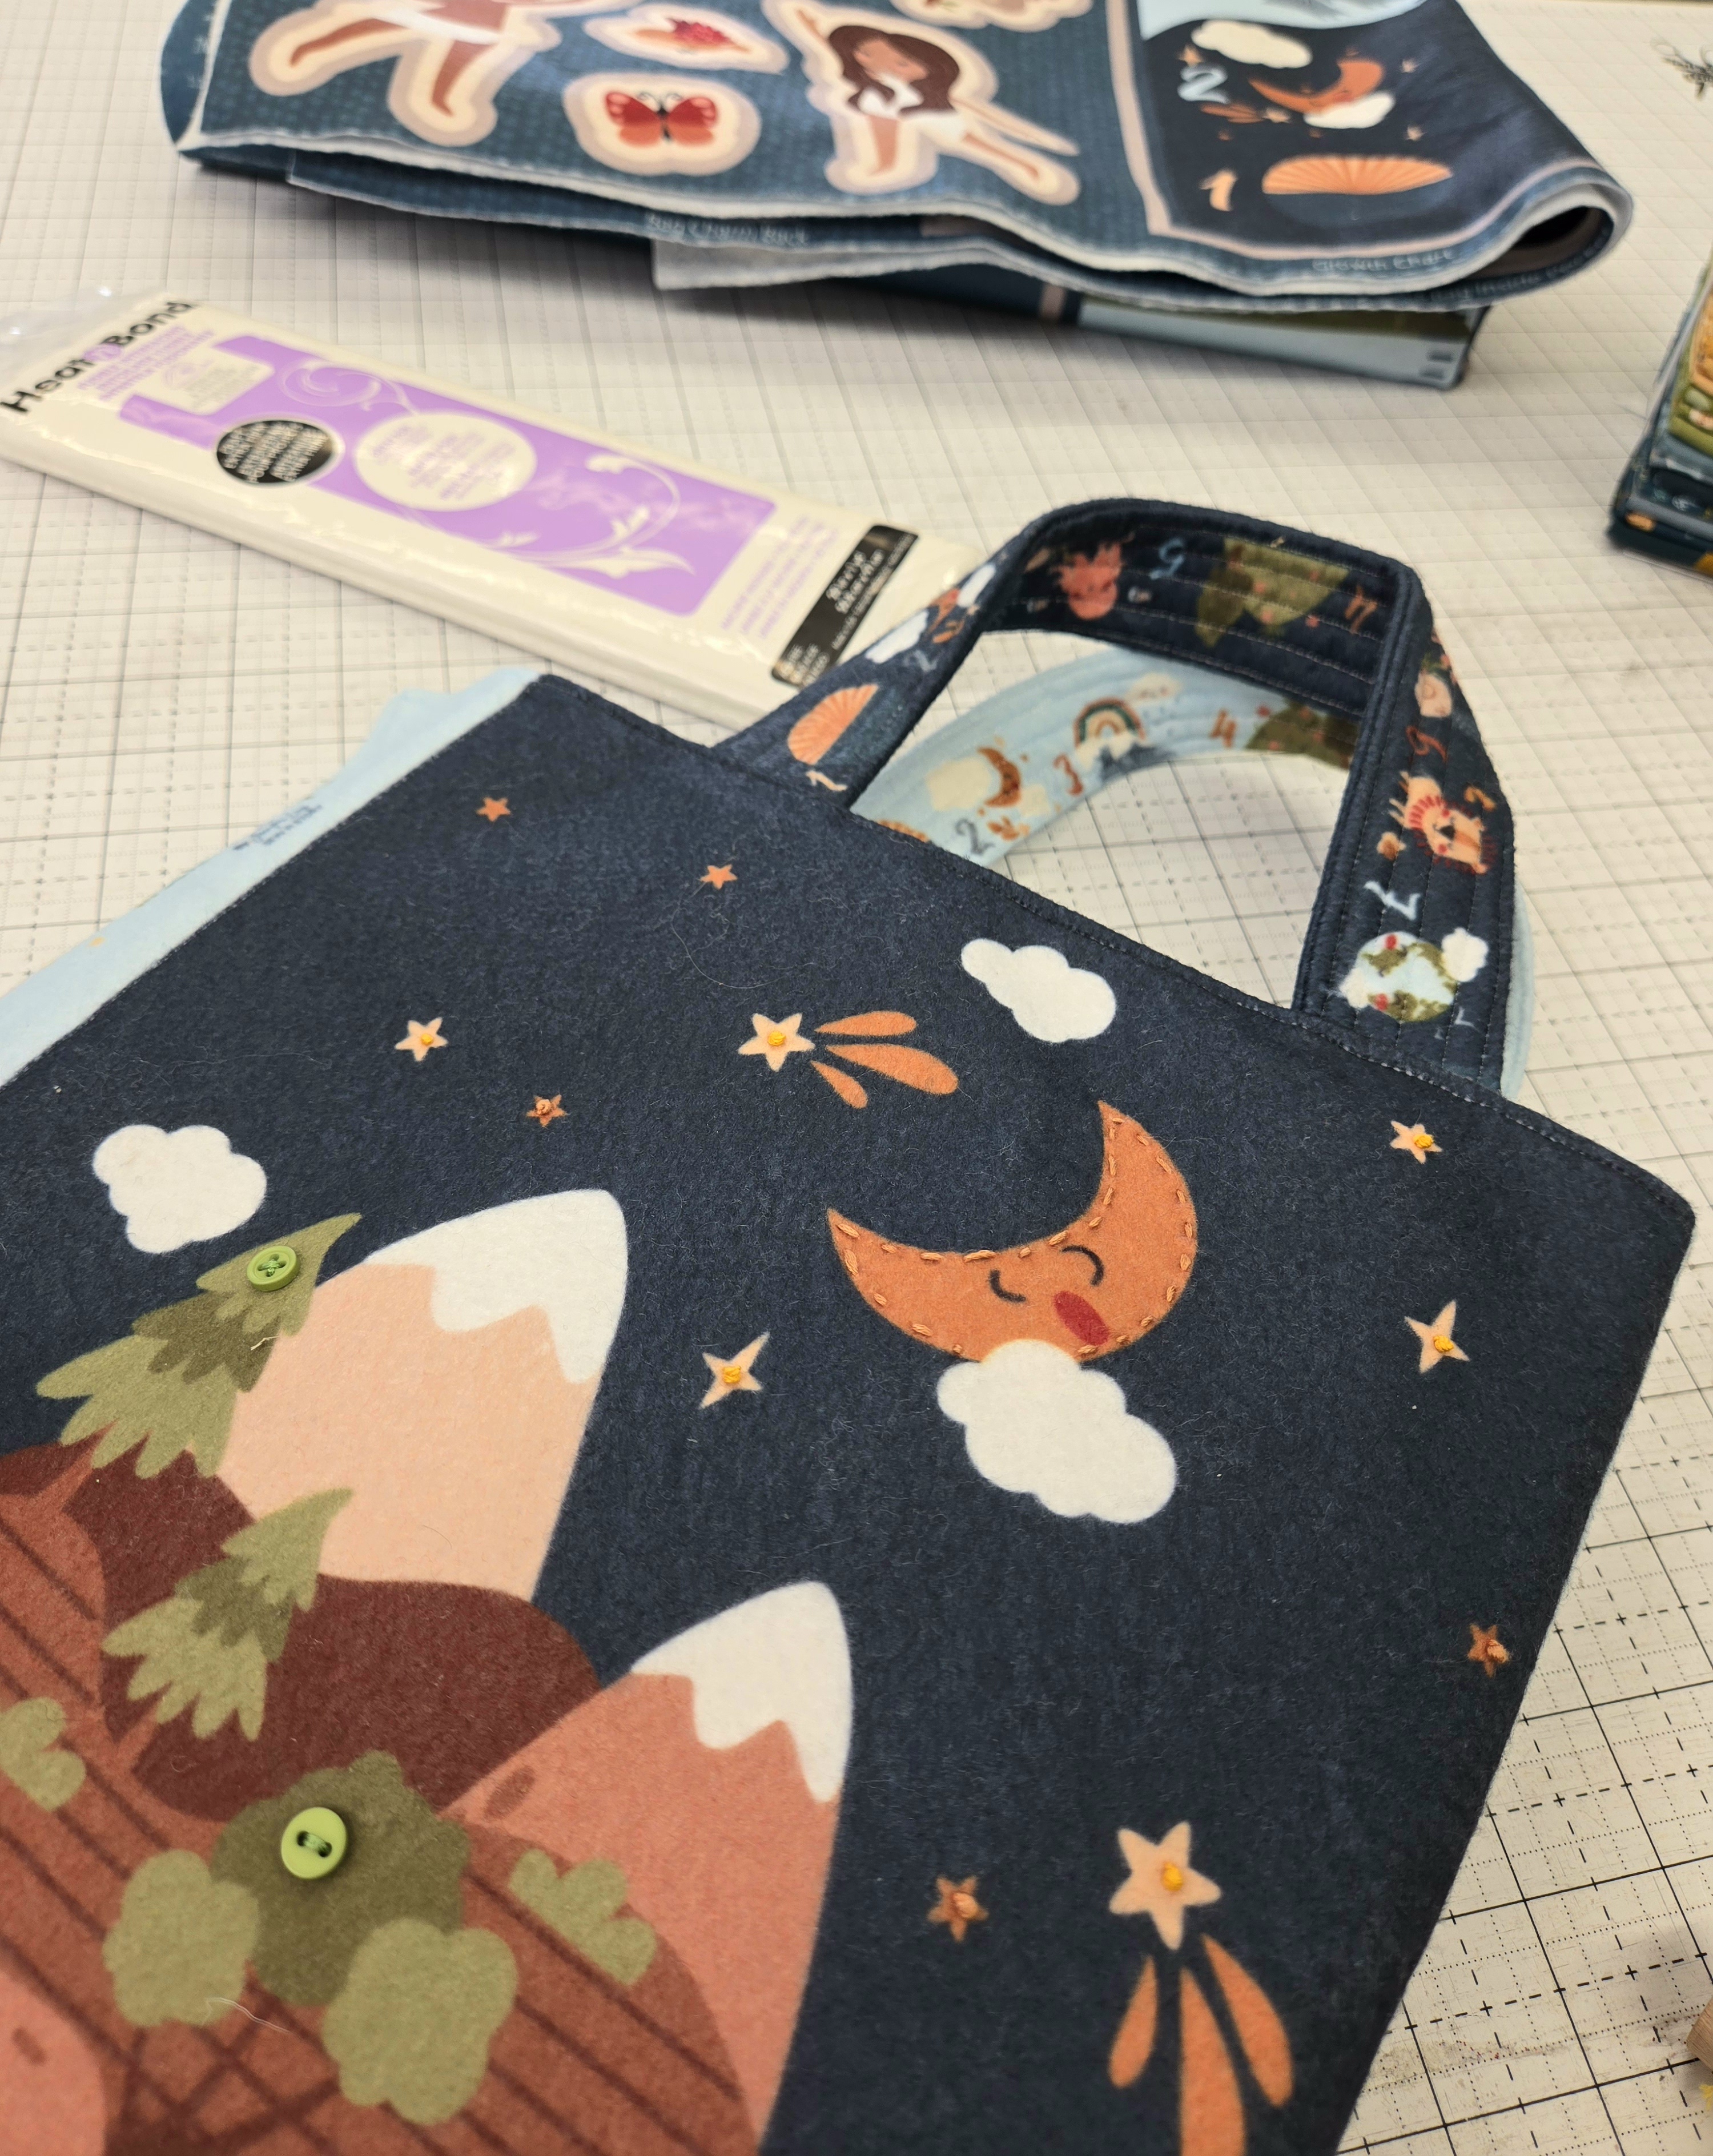
Congratulations
Your Created With Love felt panel is now complete. Whether you made it for a child in your life, a baby gift, or a special keepsake, I hope this project has brought joy to your sewing space and inspired creativity in your heart.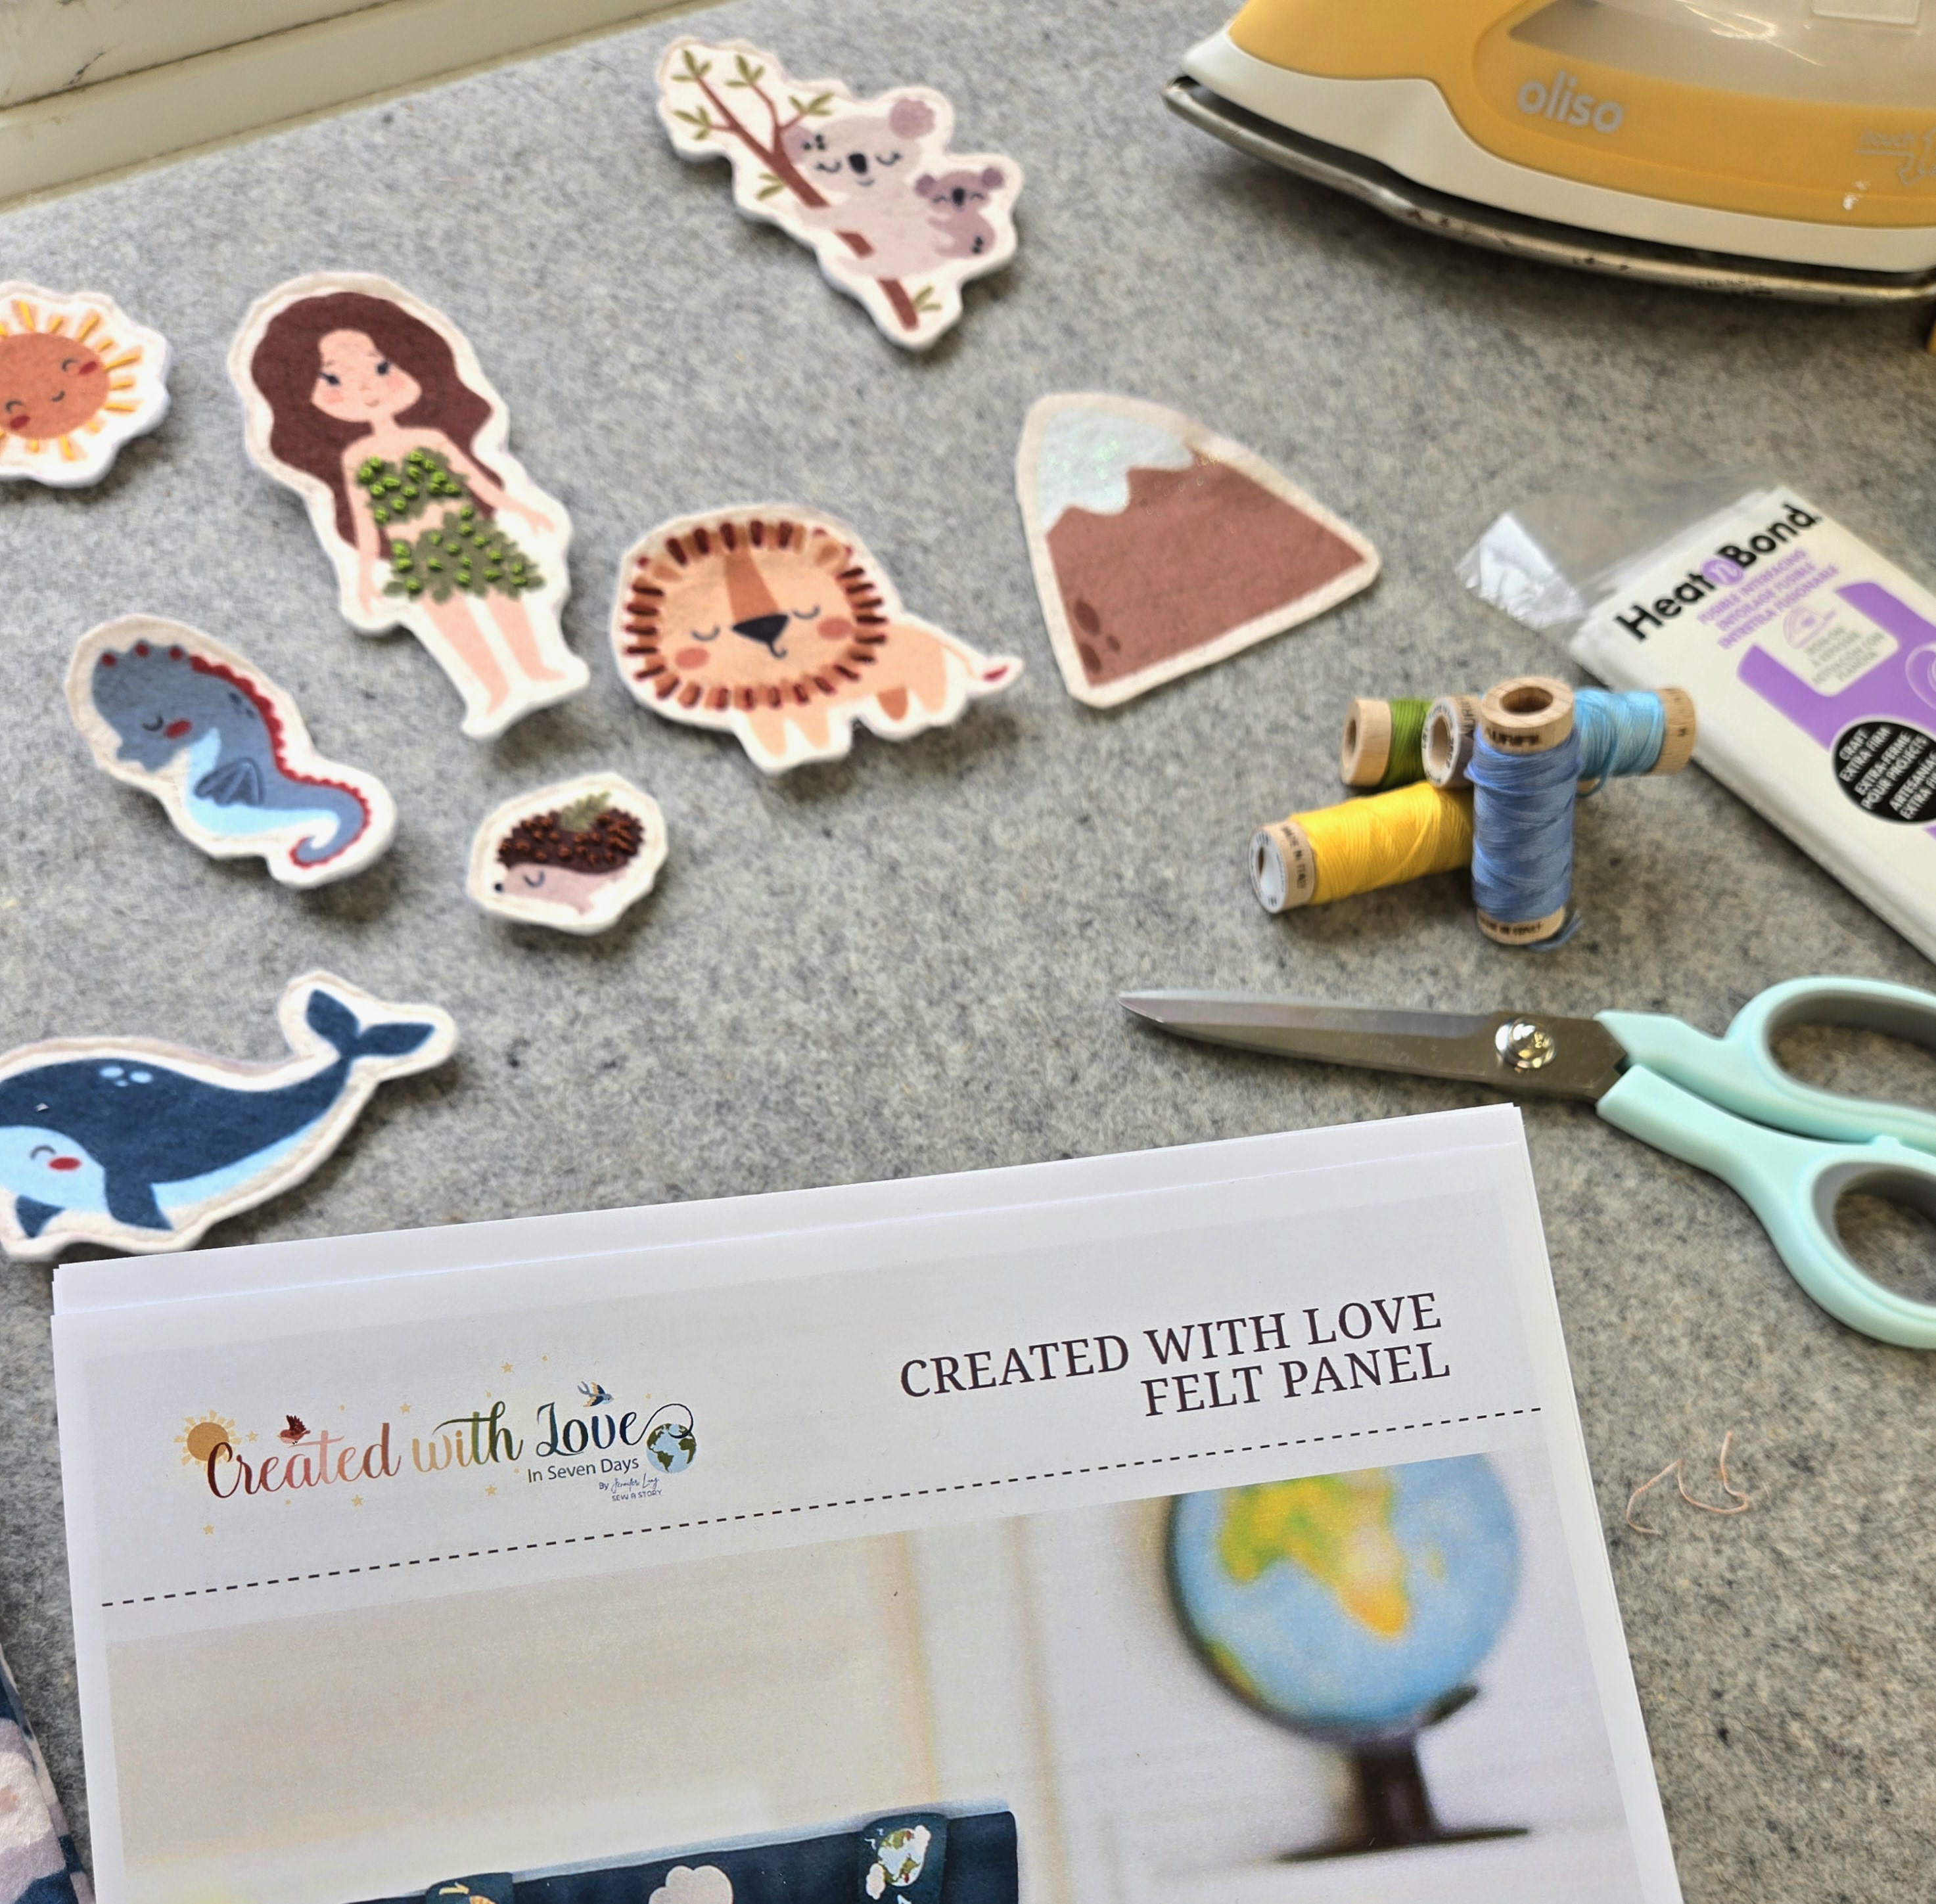
Share Your Finish
We would love to celebrate with you. Post your final photos in the Sew A Story Facebook Group or on social media and tag me.
Use hashtags:
#createdwithlovefeltpanel #createdwithlovefabrics #sewastory
Tag me: @sewastory_jenniferlong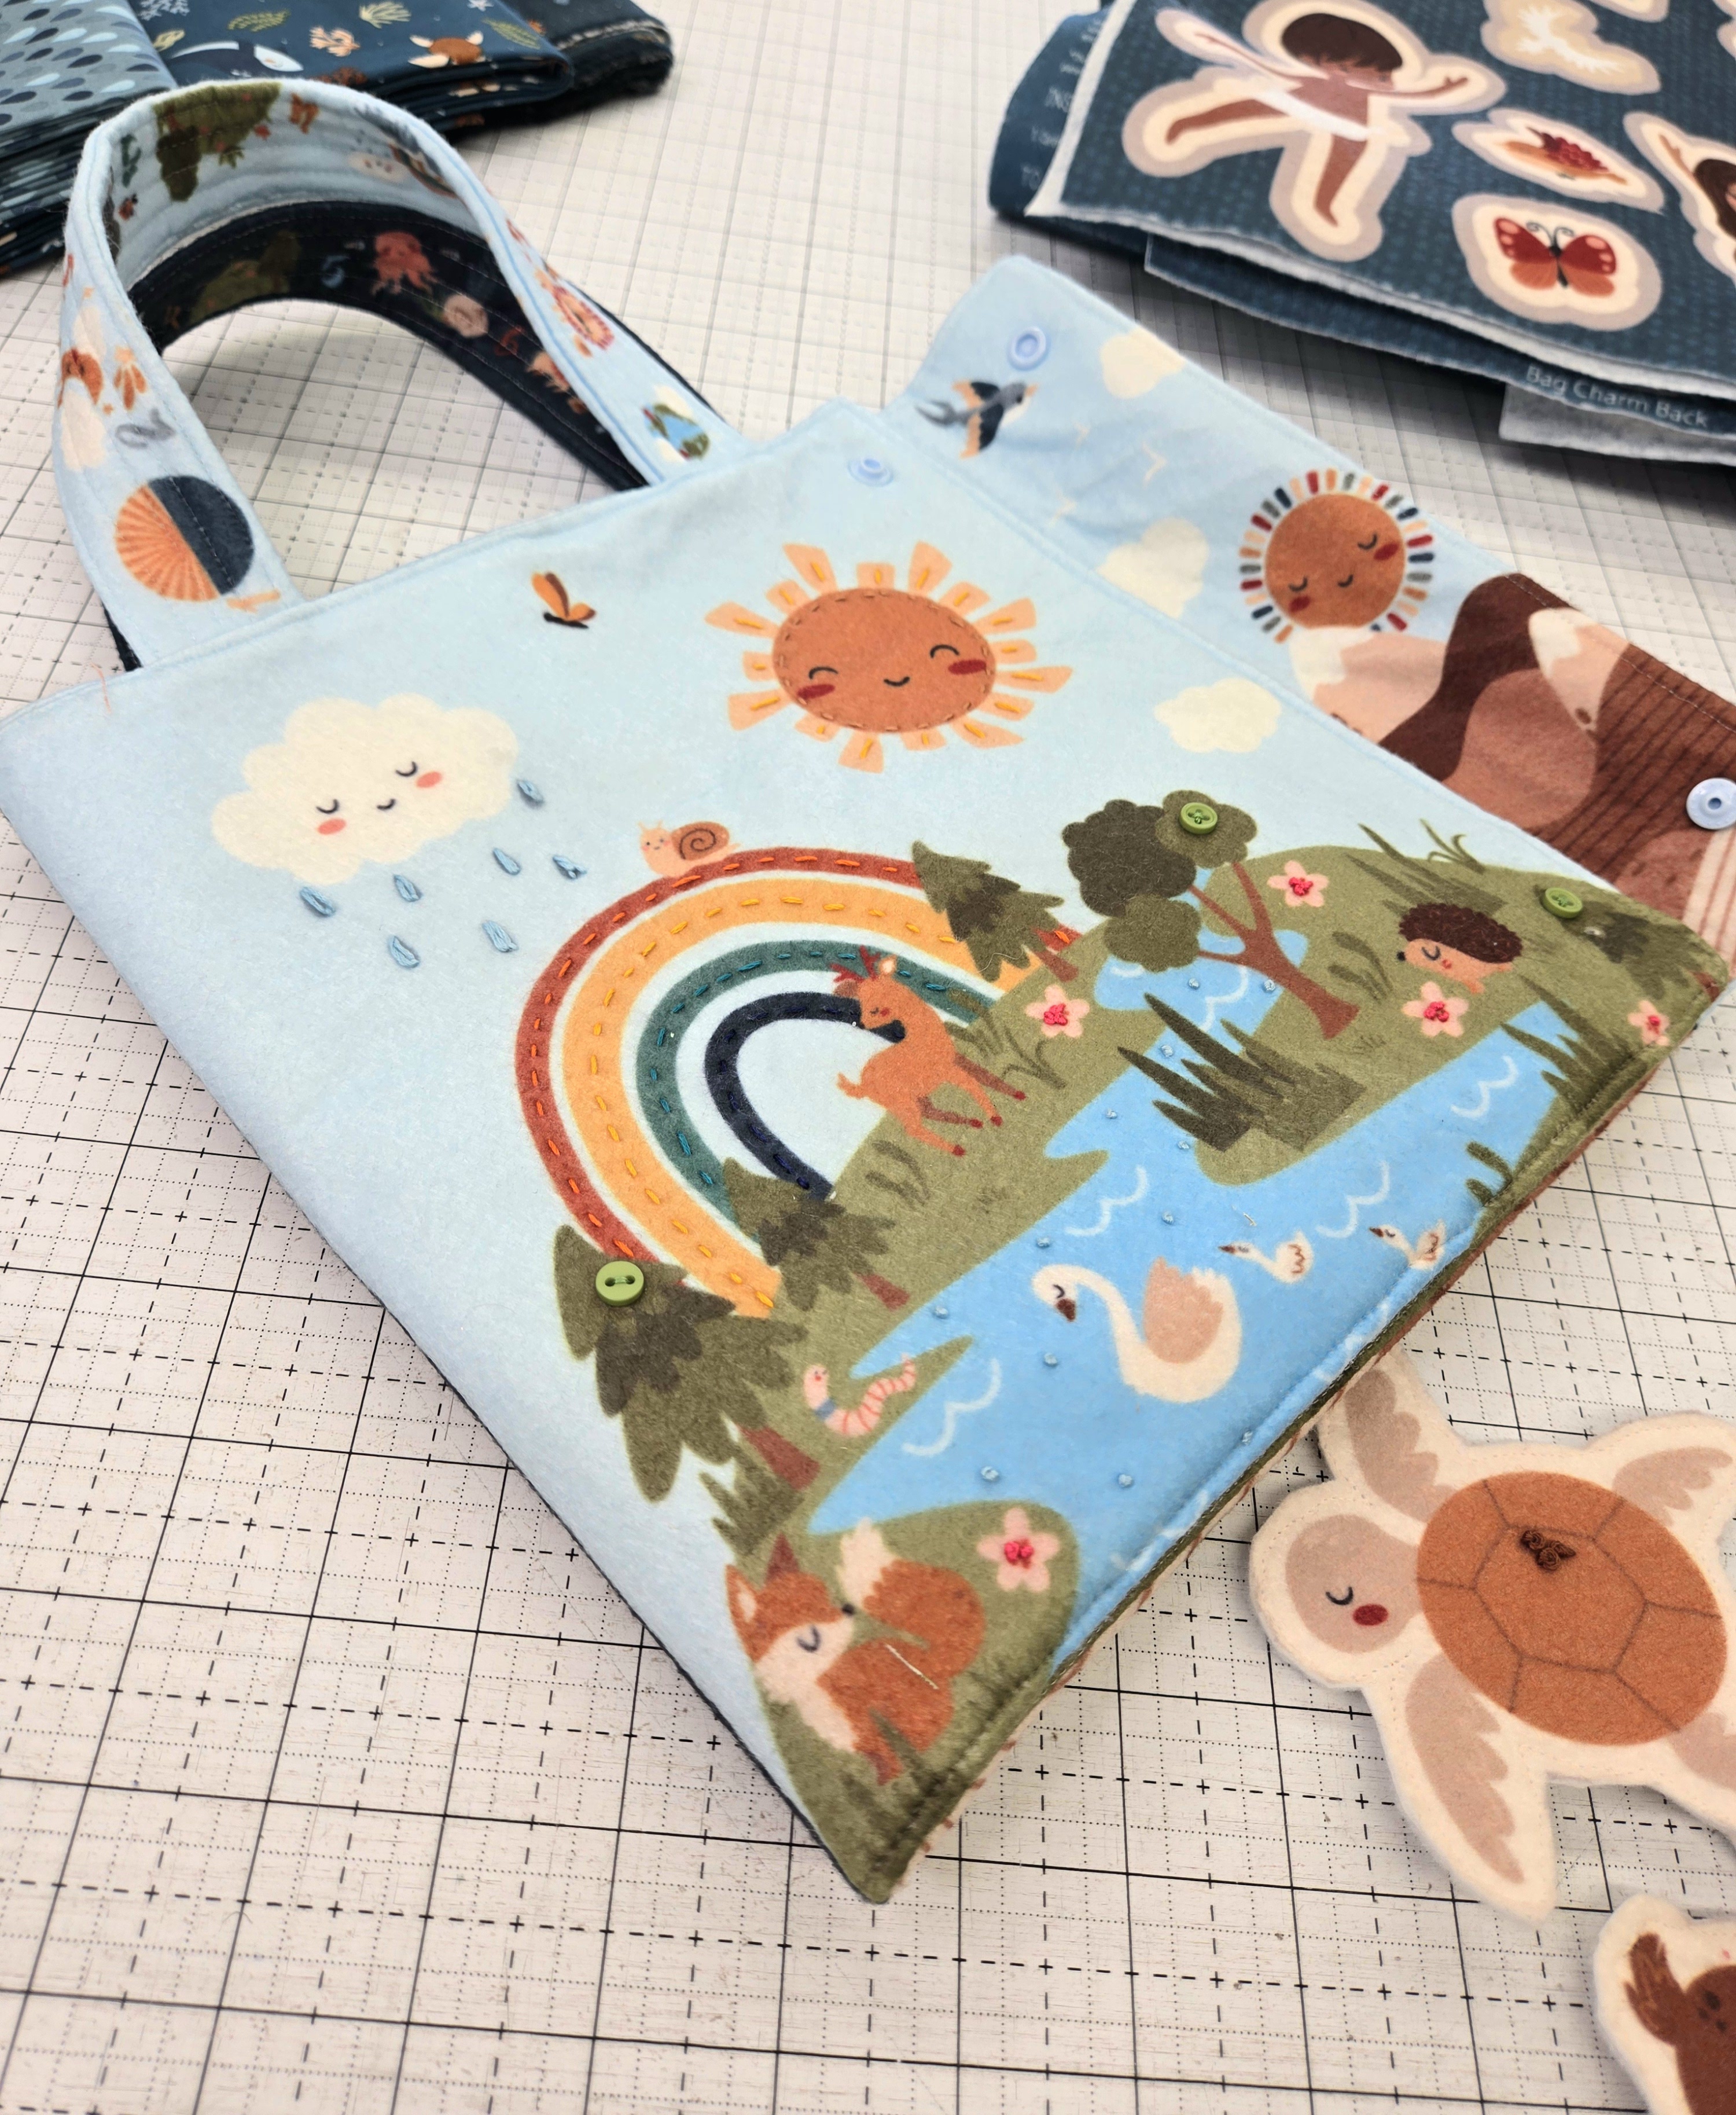
Missed a Week?
You can catch up any time. The blog posts and instructions will stay available so you can finish at your own pace. Be sure to sign up if you haven’t yet:
- Sign up here!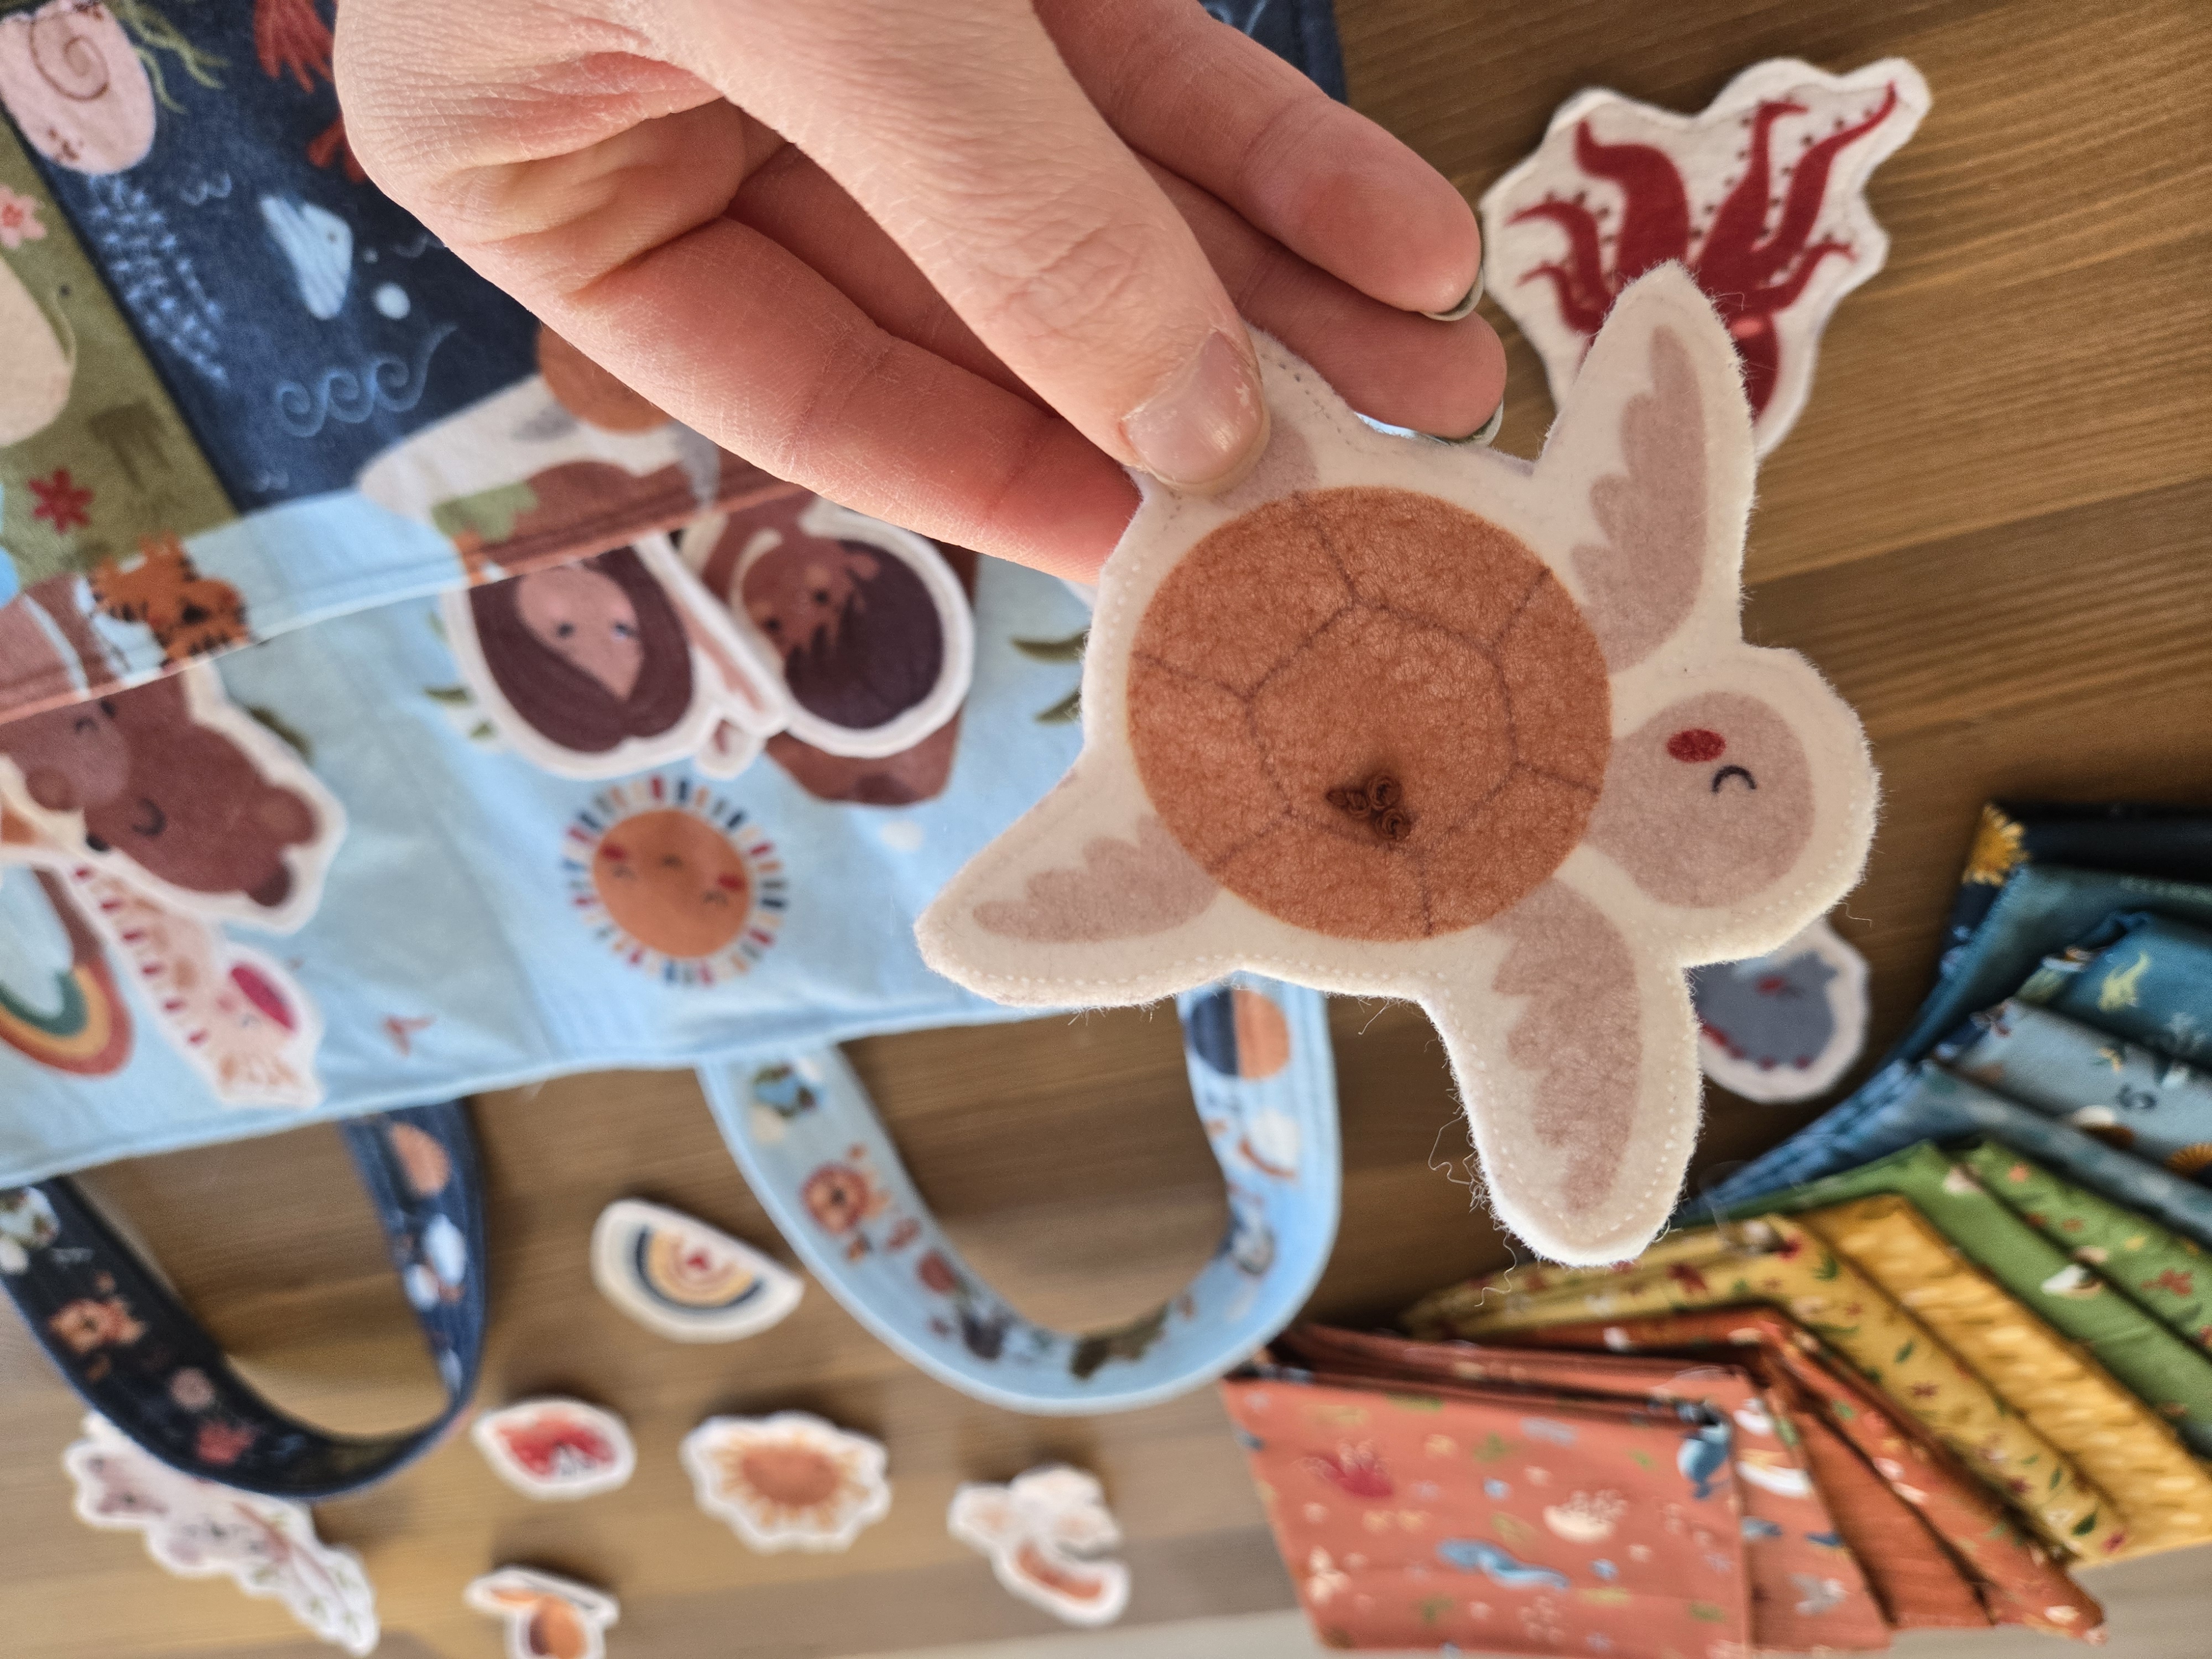
Thank You
Thank you for joining me in this creative journey. Every stitch you made carries love, intention, and care. I hope your finished project brings as much joy to someone else as it brought to you while making it.
— Jennifer![]()


