Mary Poppins Storybag Felt Panel Sew Along - Week 2
Week 2: Embellishments
Welcome to Week 2 of the Mary Poppins Storybag Felt Panel Sew Along.
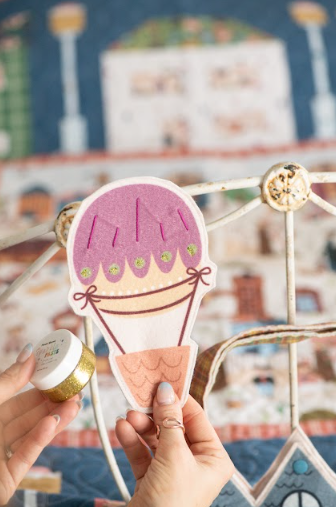
This is the week where your felt pieces start to feel personal. Embellishments are optional, but they are a wonderful way to add detail, texture, and charm to the characters and accessories in your storybag.
Before you begin, watch the Week 2 video so you can see the order of steps and a few embellishment ideas.
Watch Week 2 Video HERE
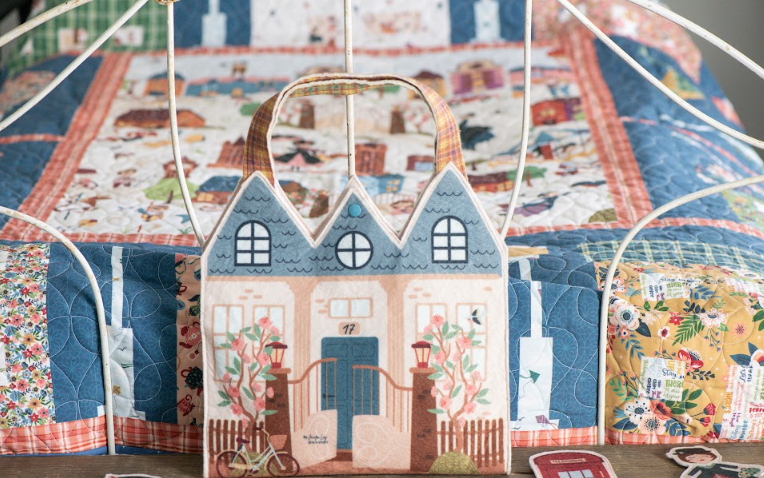
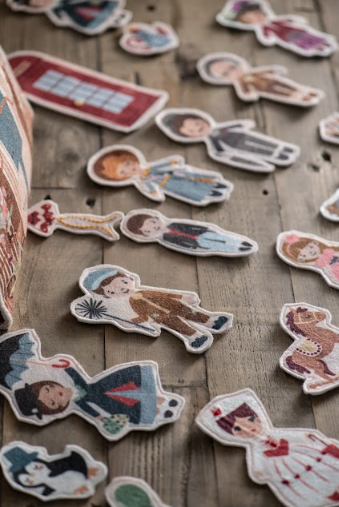
You can find the Mary Poppins Storybag Felt Panel HERE at your favorite local quilt shop, or shop limited quantities through Sew A Story.
Week 2 Focus
This week you will:
- Choose which pieces you want to embellish
- Add stitching, embroidery, or simple details to your felt pieces
- Prep pieces so they are ready for Week 3
A simple approach is best. You do not need to embellish every piece. Pick a few favorites and start there.
Supplies You May Use This Week
Use what you already have on hand. Here are a few common options:
- Embroidery floss and a hand sewing needle
- Thread for simple running stitches
- Small buttons or trims (use child-safe choices if this will be used for play)
- Fabric clips to hold small pieces while you stitch
If the panel will be used with a child, skip anything that could become a choking hazard. You can still create beautiful detail using embroidery stitches alone.
Week 2 Instructions
Step 1: Choose Your Embellishment Plan
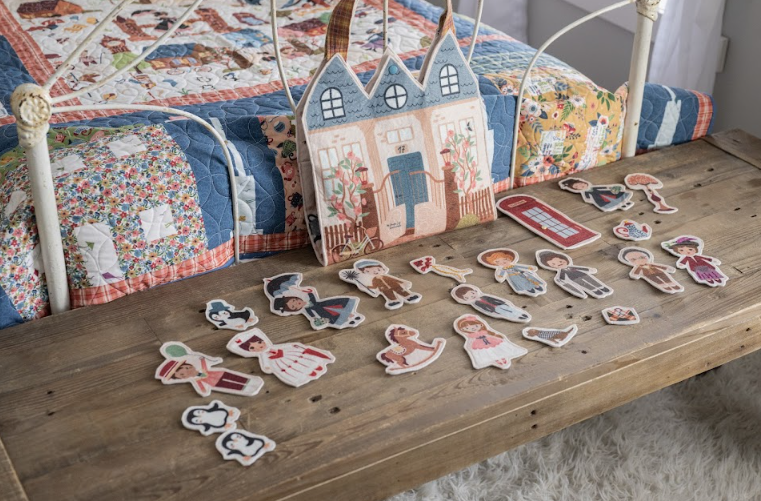
Lay out your cut felt pieces and decide which ones you want to embellish.
A simple plan could include:
- Faces and hair details
- Clothing accents like buttons, pockets, or trim
- Small props like umbrellas, kites, or accessories
If you are unsure where to start, pick one character and finish that set first.
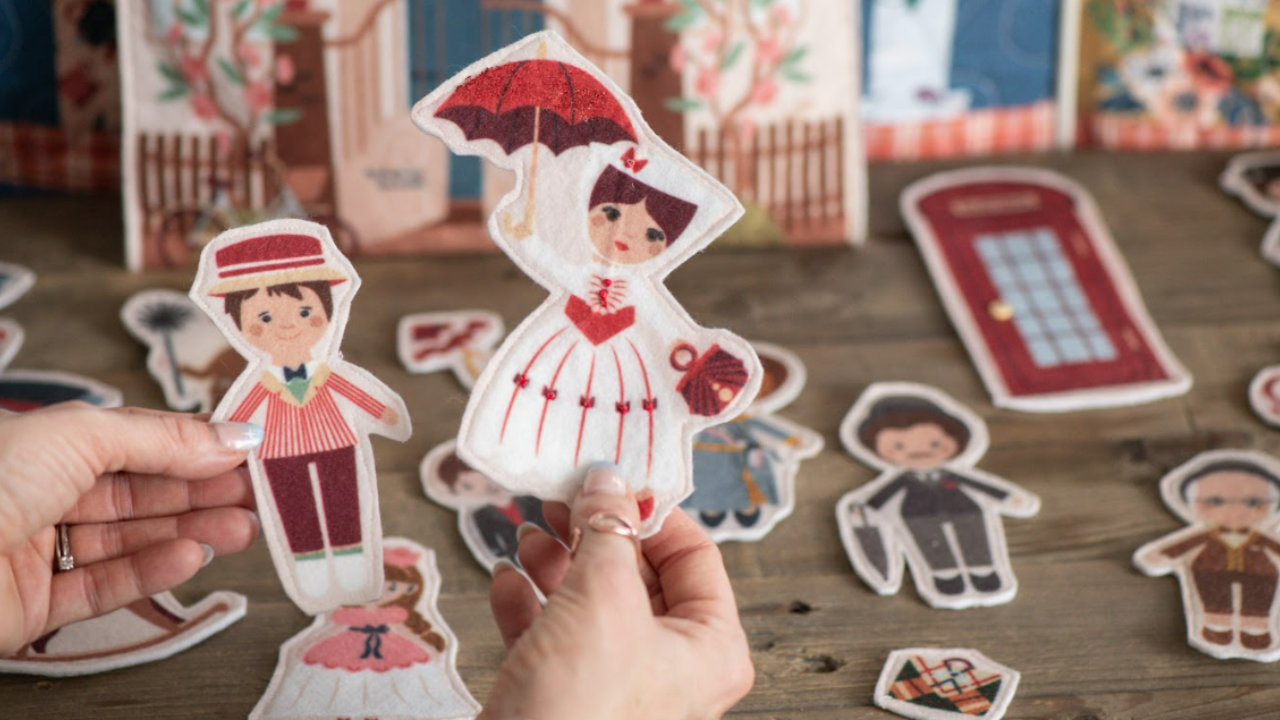
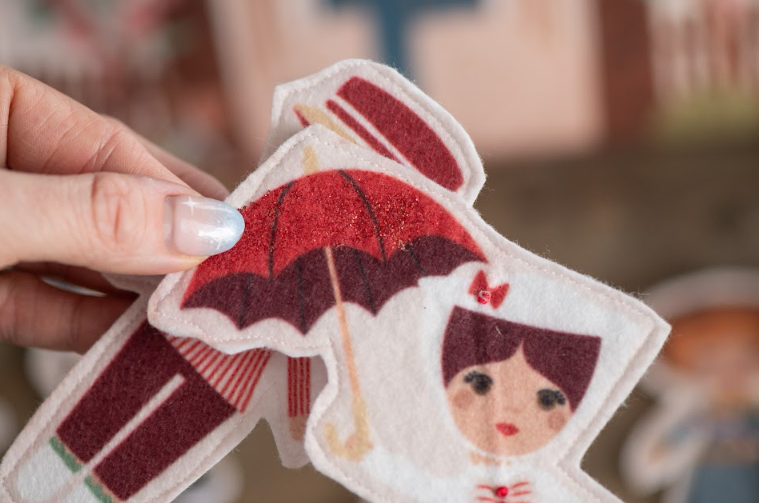
Step 2: Add Stitching Details
Use embroidery floss or thread to add small details.
Some easy options:
- Running stitch outlines
- Simple facial features
- Small accents like bows, stripes, or buttons
Keep your stitches neat and consistent. Short stitches usually look cleanest on felt.
Step 3: Keep Pieces Grouped Together
As you finish embellishing a piece, place it back into its labeled bag or envelope with the other pieces in that character set. This keeps everything ready for Week 3.
A Helpful Tip for This Week
If you want your hand stitches to look even, draw a few tiny guide dots with a removable fabric pen or a light pencil mark on the back side of the felt first. It helps you keep spacing consistent without overthinking it.
Join Us in the Community
We are sewing together inside the free Sew A Story community. This is where you can share your embellishment progress, ask questions, and get ideas from other sewists.
Join the community HERE
Prizes will be shared inside the community during the sew along, so be sure to post your progress and join in.
Share Your Progress
If you would like to share on social media, tag Sew A Story so we can cheer you on.
Use the hashtags:
#MaryPoppinsStorybag
#MaryPoppinsFeltPanelSAL
#SewAStory
Next Week
In Week 3, we will focus on finishing characters so your pieces are ready for bag assembly in
Week 4.
Thank you for sewing along with me. I can’t wait to see what you create.