
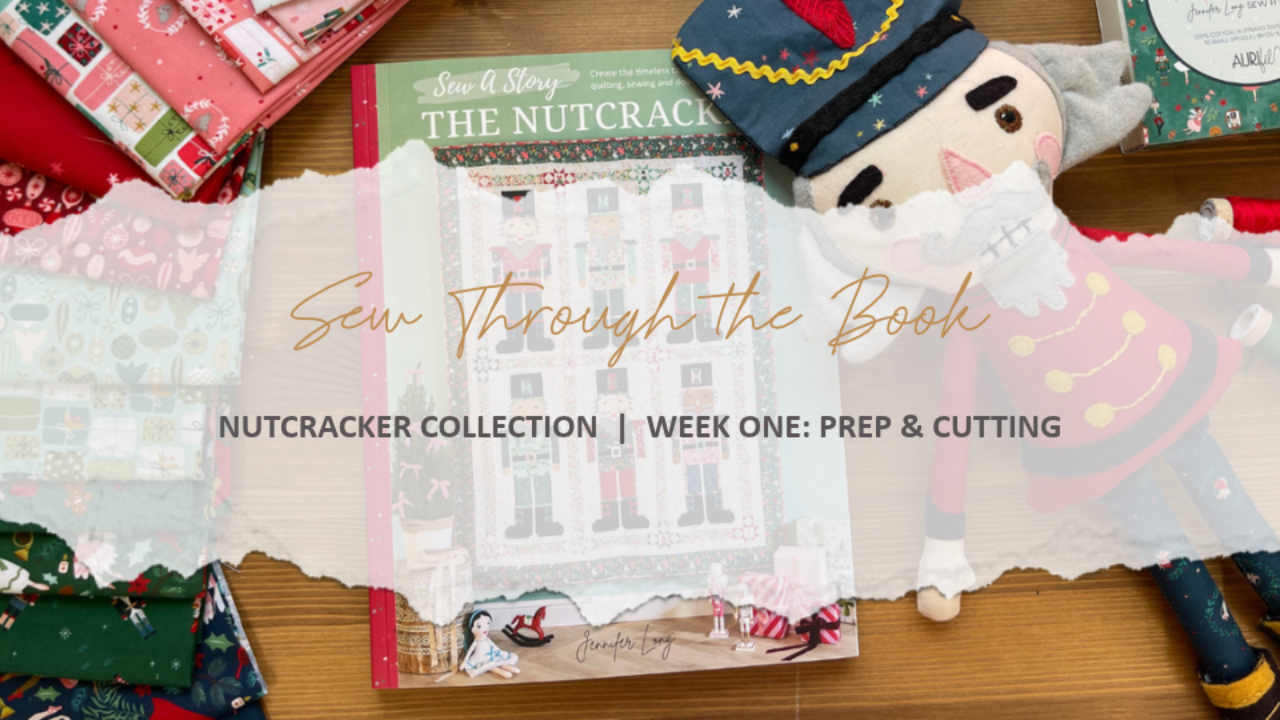
Nutcracker Collection Quilt, Week One: Prep and Cutting

Nutcrackers have been part of my Christmas for as long as I can remember. I grew up training to be a ballet dancer, and The Nutcracker was part of how we got ready for the holidays every year. This quilt means so much to me, and I'm so happy to be making it with you.
 |
 |


What We're Doing This Week
Week One is all about getting ready. We gather our book, fabric and downloads, get to know the six Nutcracker blocks, and cut everything up front. The full step-by-step lesson, with the free Block Supplement Guide and printable letter labels, is waiting inside Sew Through the Book.

Get to Know Your Nutcrackers
Each block finishes at 12" x 30", and every block uses the same lettered pieces. What changes is the fabric that goes where, and that's where the fun begins. Follow my quilt exactly, or switch a skin tone or jacket color and make each Nutcracker your own.
 |
 |
My Top Tips for Cutting Day
Cut up front. Working with a whole collection, cutting everything at once means you pick up each fabric only once.
Sort as you cut. Pin a letter label to every piece the moment it comes off your mat.
Give each Nutcracker a home. A design board, bin or zip bag for each block, with its diagram tucked inside.
Good to know
Keep your sashing and border pieces in their own pile. We won't need them until the end.

Sew through the book with me, free
Every lesson, with my tips and free downloads, is waiting inside Sew Through the Book. It's free, you can join any time, and every lesson stays open.
Shop Sew Through the Book
Everything you need for prep and cutting day.


