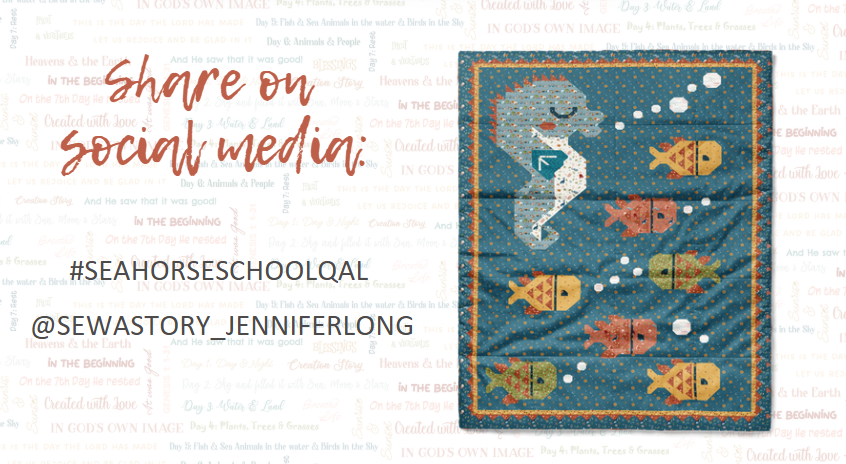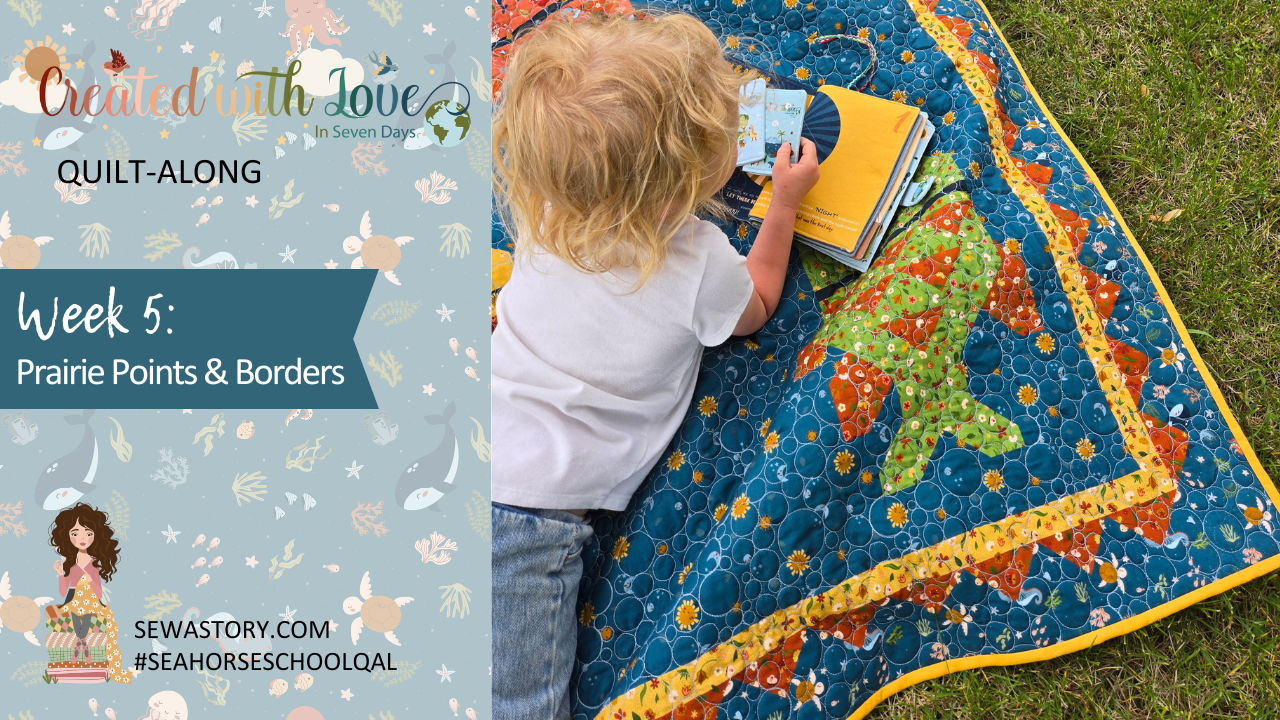
Seahorse School Quilt-Along – Week 5
Prairie Points and Borders
This week is all about adding detail and polish. Prairie points bring dimension and charm to the quilt, and the borders give it structure and visual balance.
If you have never sewn prairie points before, do not worry. They are simple, versatile, and a lovely way to add movement and texture to your quilt.
This Week’s Focus
- Choose your fabrics for the prairie points
- Fold and press each prairie point
- Attach prairie points to the quilt top
- Add inner and outer borders according to the pattern
- Press carefully and square up if needed
This is a great moment to step back and enjoy how far you have come. The quilt is almost complete, and the work you are putting in now will bring it all together.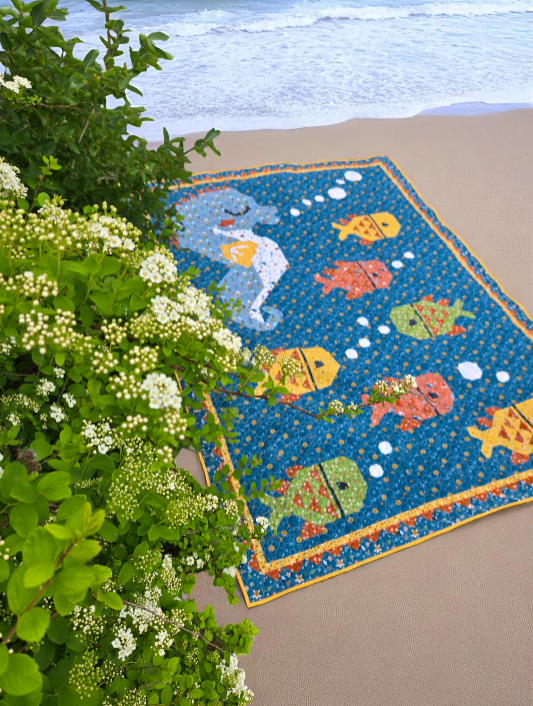
Tips for Success
- Use starch to help your prairie points hold a crisp fold
- Align the points evenly along the edge before securing
- Baste the prairie points to the quilt before adding borders
- Pin borders well to avoid stretching or uneven sides
- Keep pressing as you go to maintain accuracy
If you are planning to add any final embellishments or embroidery to your quilt top, you can do that now or wait until after quilting.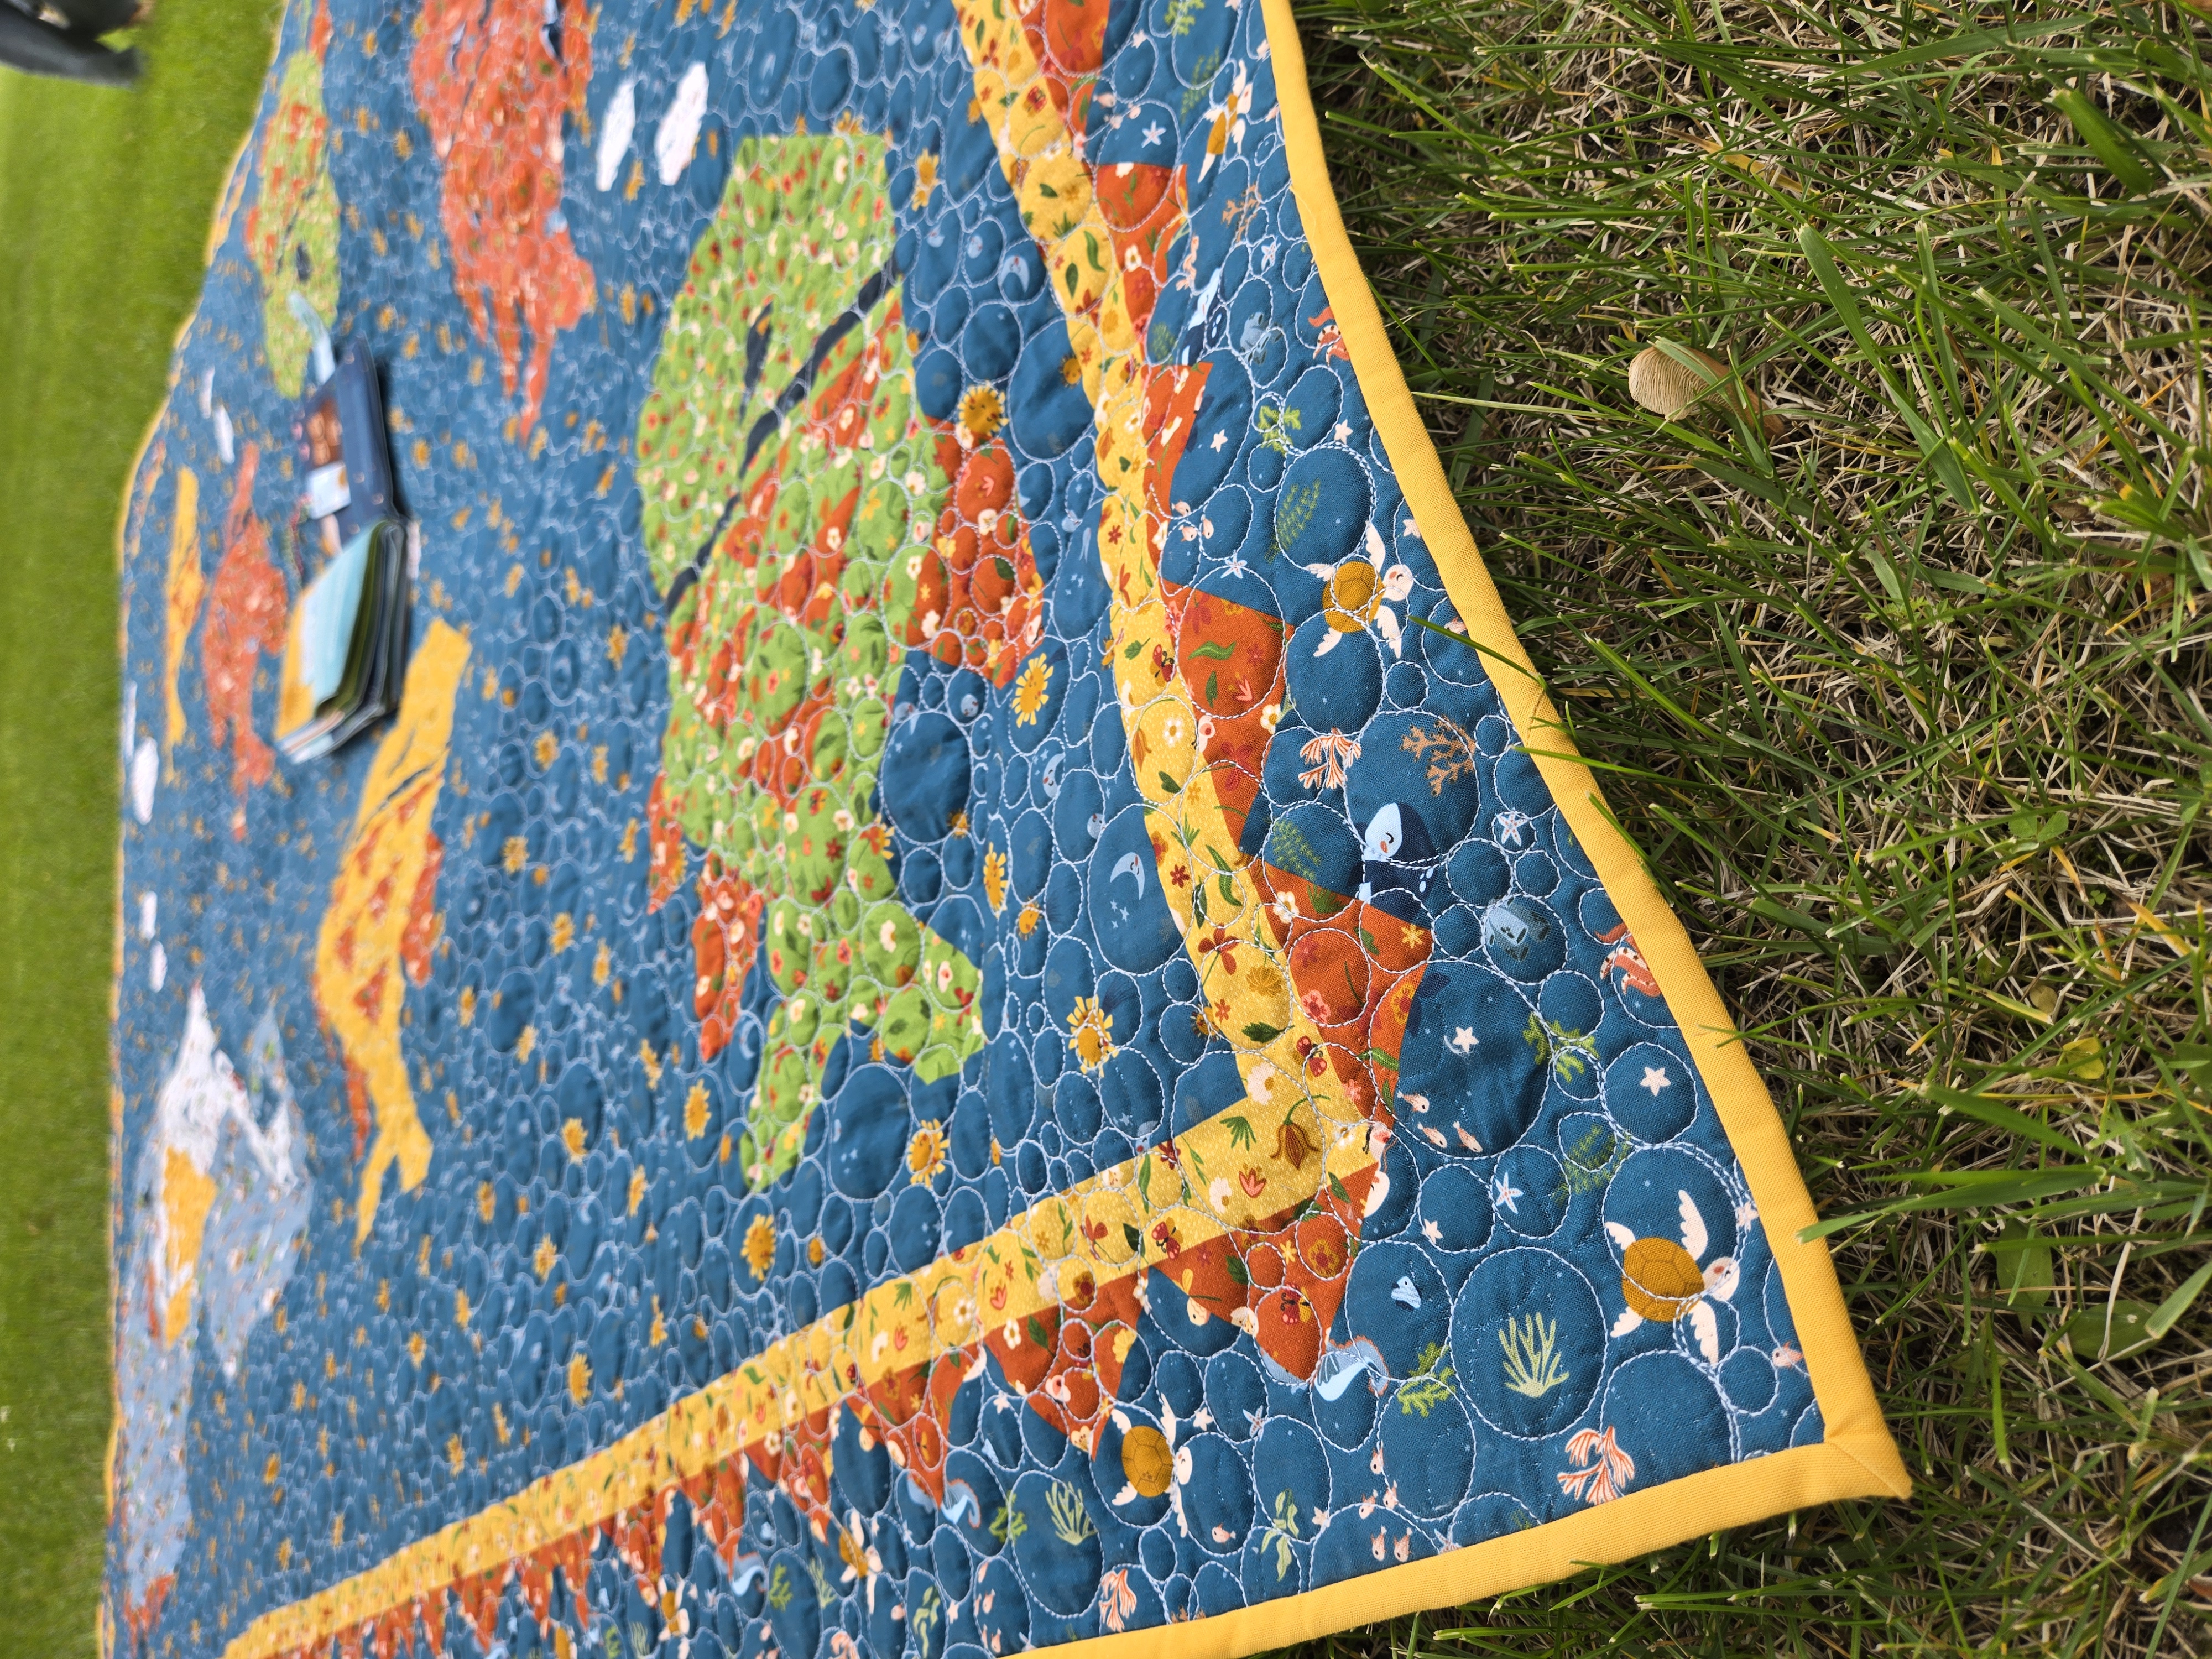
Looking Ahead
Next week is our final week. We will walk through quilting, binding, and finishing touches. You will also have the opportunity to share your completed quilt with the group and see what others have made.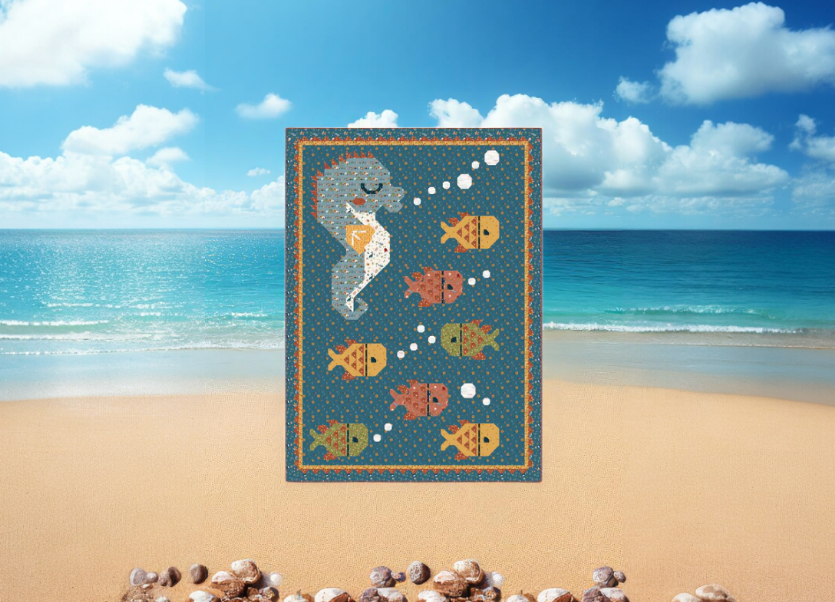
Share Your Progress
We would love to see your prairie points, border choices, or progress shots. Whether you are trying prairie points for the first time or have used them before, your work will encourage someone else.
Use hashtags:
#seahorseschoolqal #seahorseschoolquilt #seahorseschool #createdwithlovefabric #sewastory
Tag: @sewastory_jenniferlong