
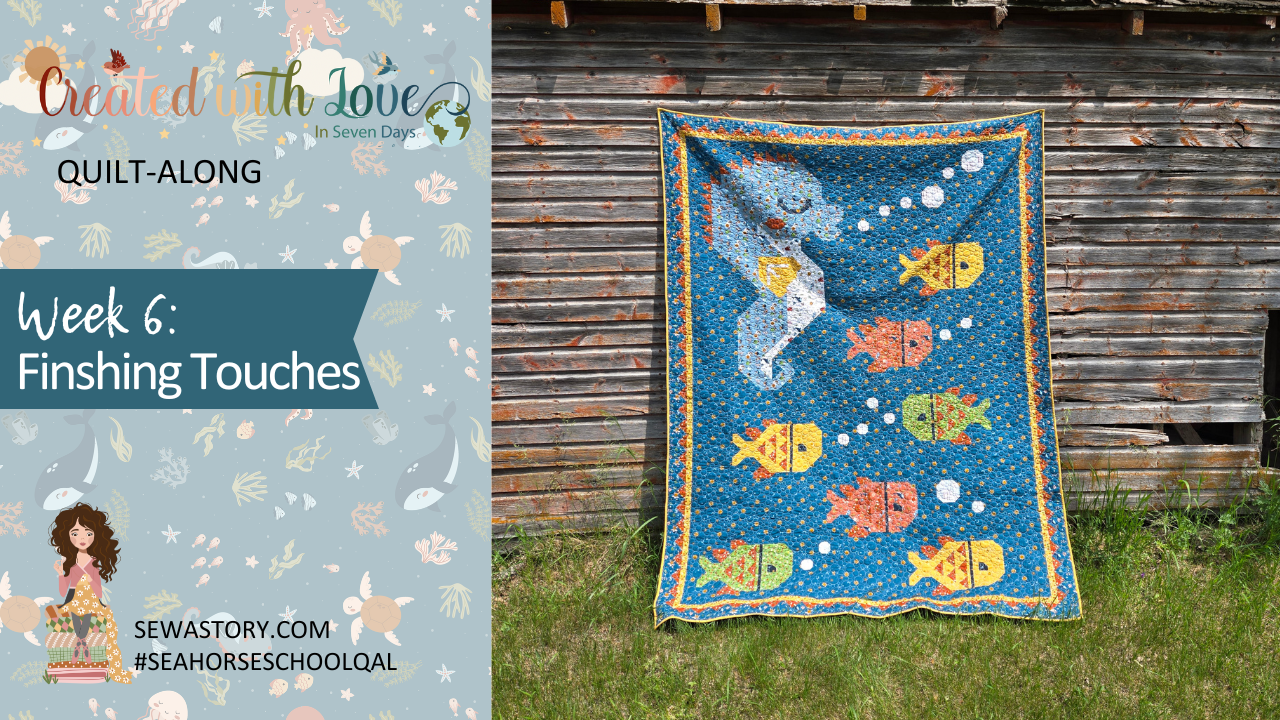
Seahorse School Quilt-Along – Week 6
Quilting, Binding and Finishing Touches
You’ve made it to the final week of the Seahorse School Quilt-Along. This is a special moment, the last stitches, the final press, and the joy of seeing your quilt come to life.
This week is focused on quilting your project, binding the edges, and adding any finishing details. Whether you are planning a simple grid or a more decorative quilting design, this stage helps pull everything together.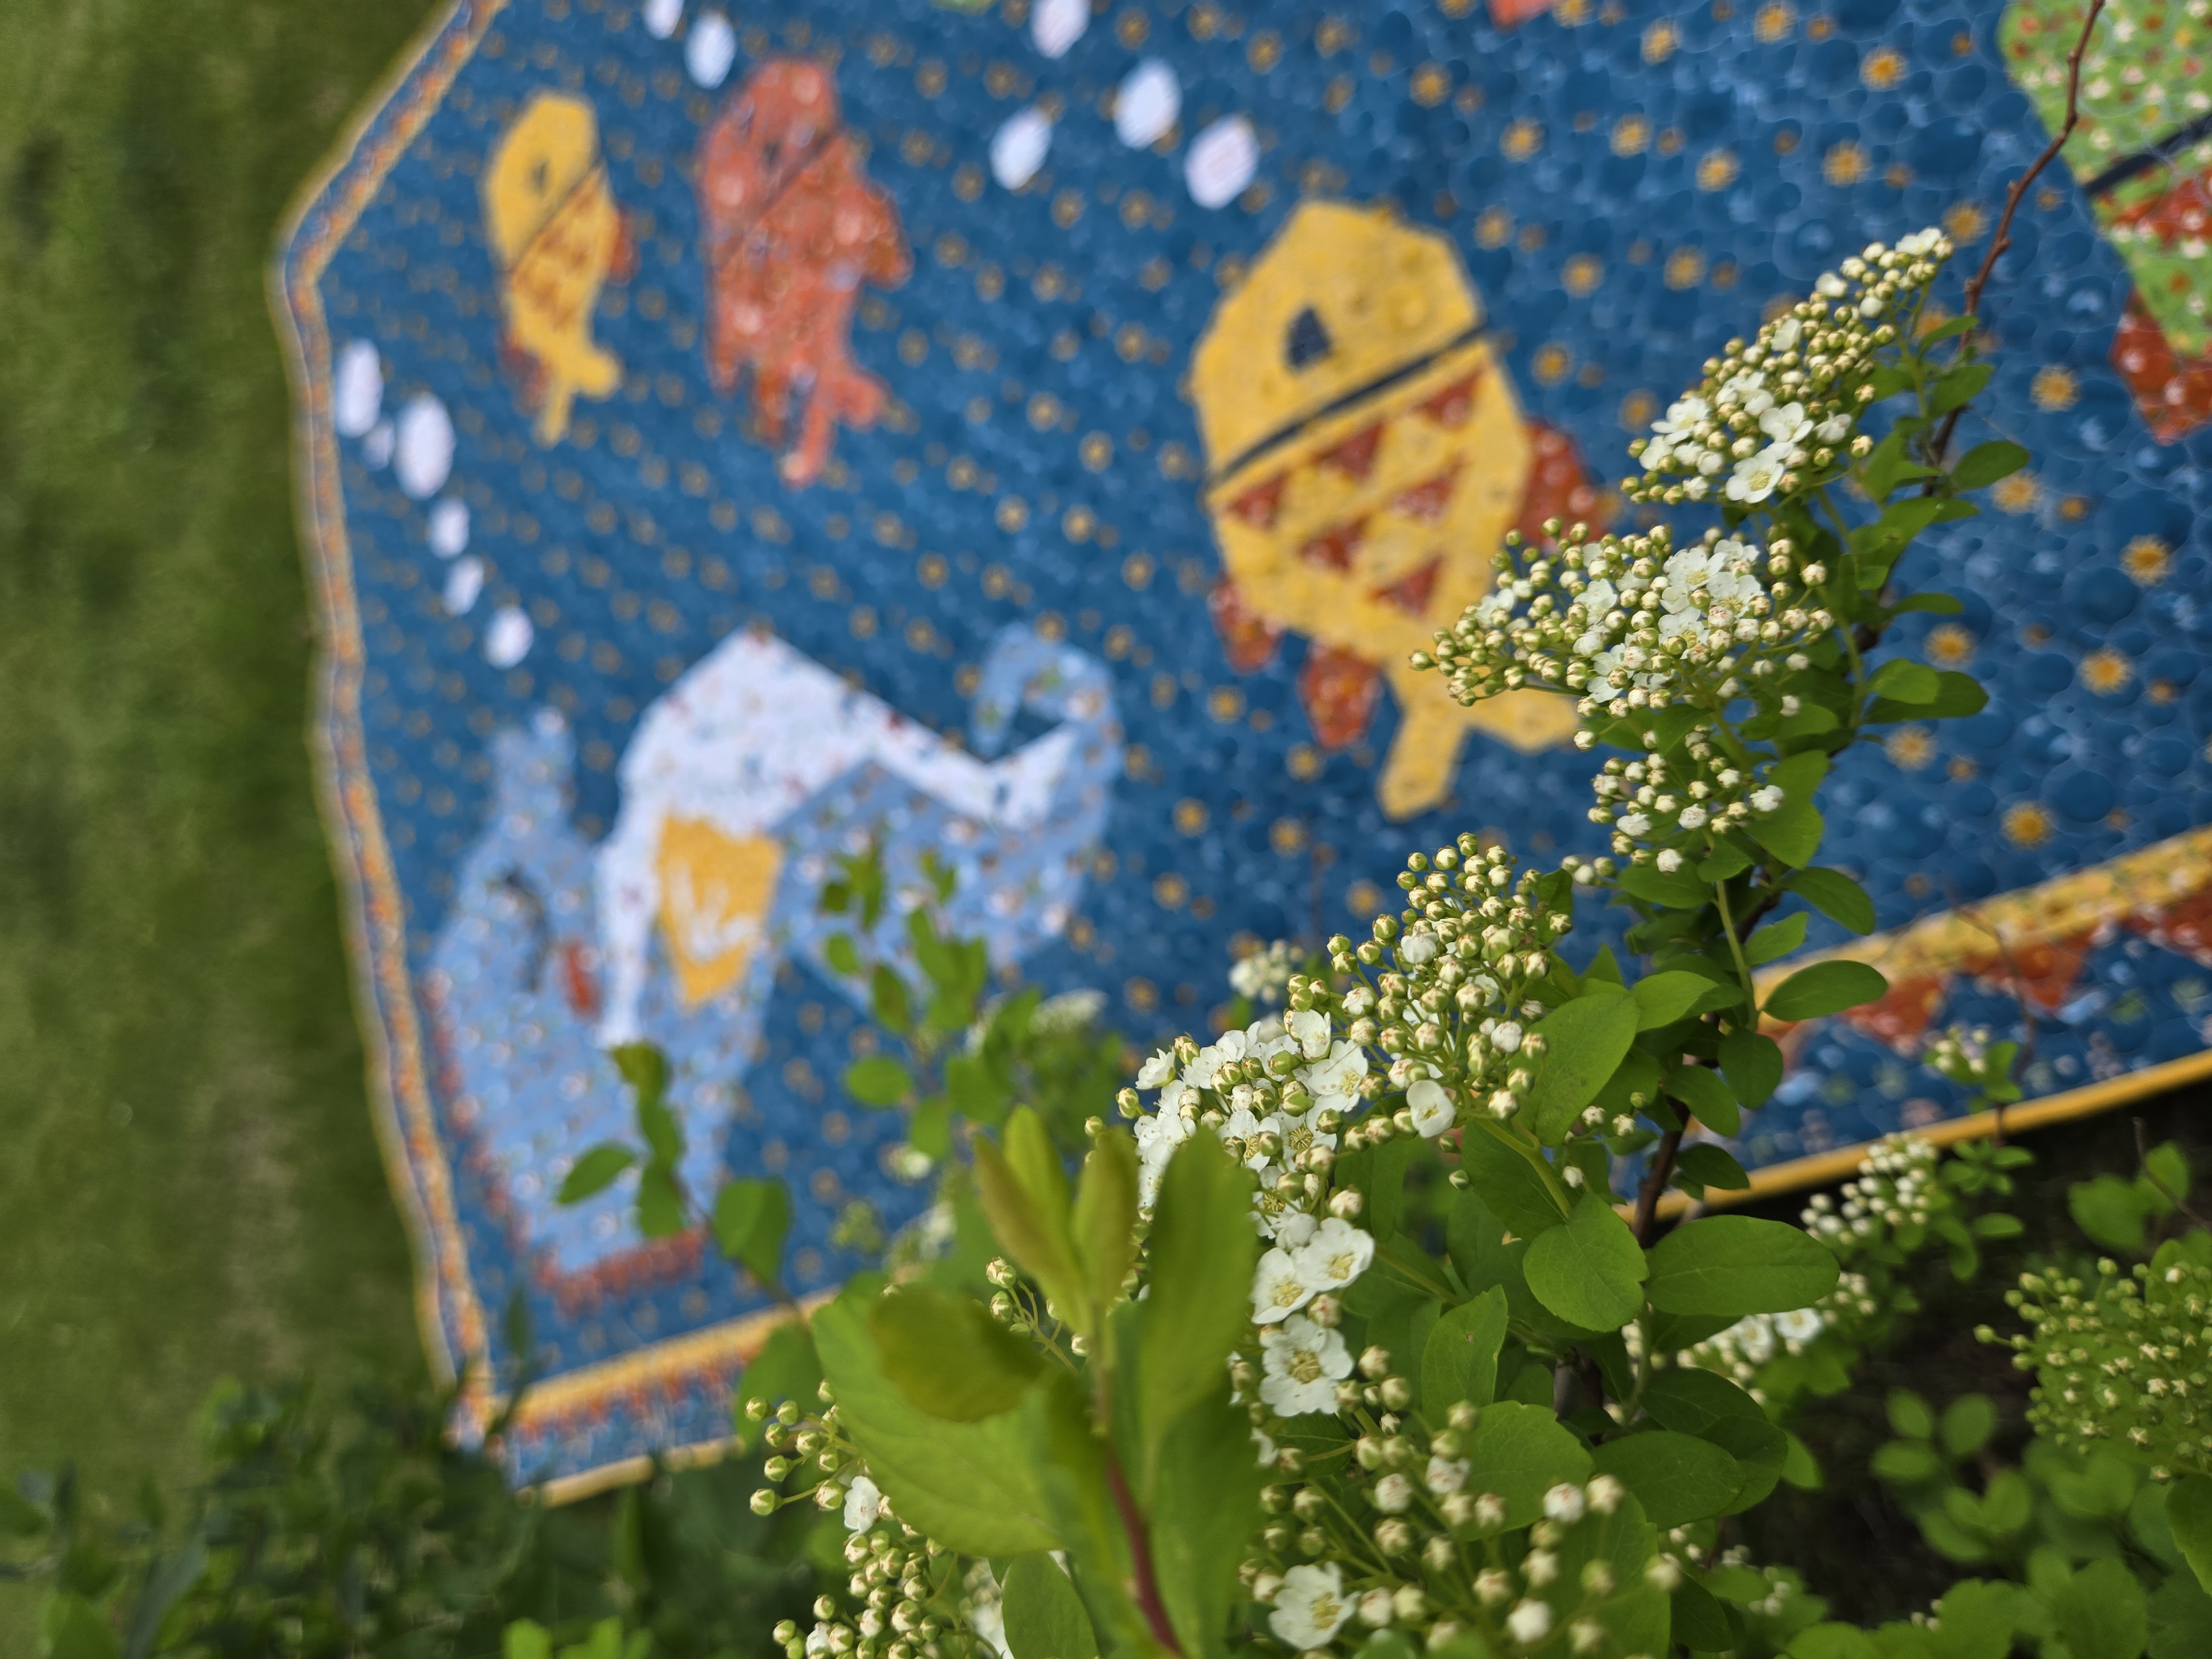
This Week’s Focus
- Layer and baste your quilt
- Quilt using your chosen method (domestic machine, hand quilting, or sending to a longarmer)
- Trim and square up the edges
- Bind your quilt using your preferred method
- Add a label or final embellishments if desired
Take your time and enjoy this final stage. It is a chance to reflect on the meaning and memories stitched into every block.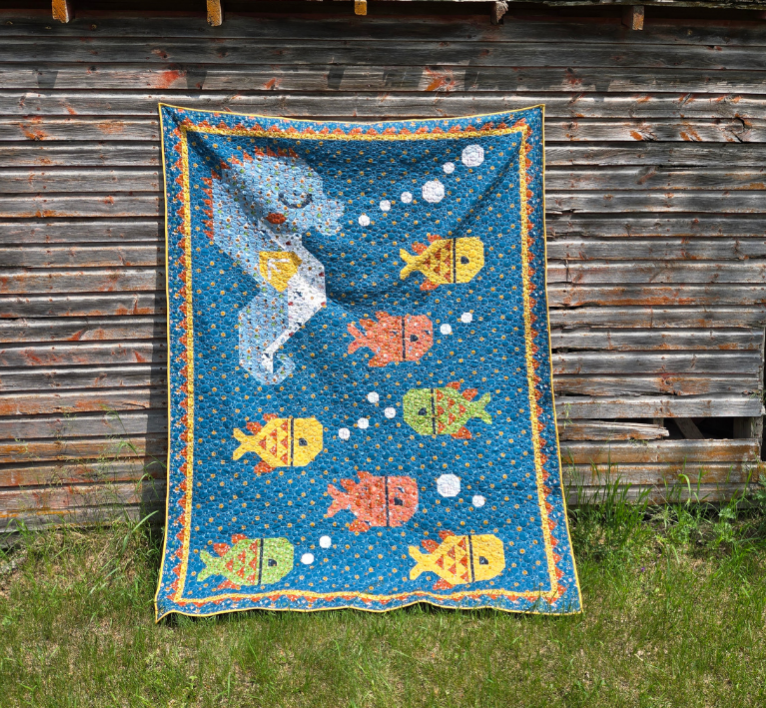
Tips for Success
- Use safety pins or temporary spray adhesive to baste the layers securely
- Choose a quilting design that complements your piecing and fits your comfort level
- If using a walking foot, check that your seams lie flat before quilting across them
- Use binding clips or pins to help keep your edges even as you sew the binding
- Consider hand-stitching the final edge of your binding for a clean, finished look
You can also add a quilt label, embroidery, or embellishments to personalize the final piece.
Celebrate Your Finish
Take a photo of your finished quilt and share it with others who joined in. Every version of the Seahorse School Quilt tells its own story. Whether you followed the pattern closely or made creative adjustments, we are celebrating your work.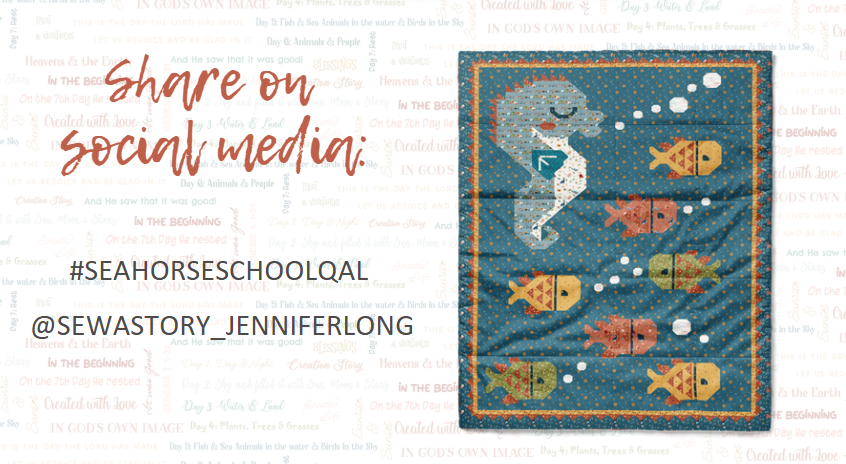
Share Your Quilt
We would love to see your finished quilt. Share a photo and let others cheer you on. You can also post about what this quilt means to you or how you plan to use it.
Use hashtags:
#seahorseschoolqal #seahorseschoolquilt #seahorseschool #createdwithlovefabric #sewastory
Tag: @sewastory_jenniferlong![]()


