
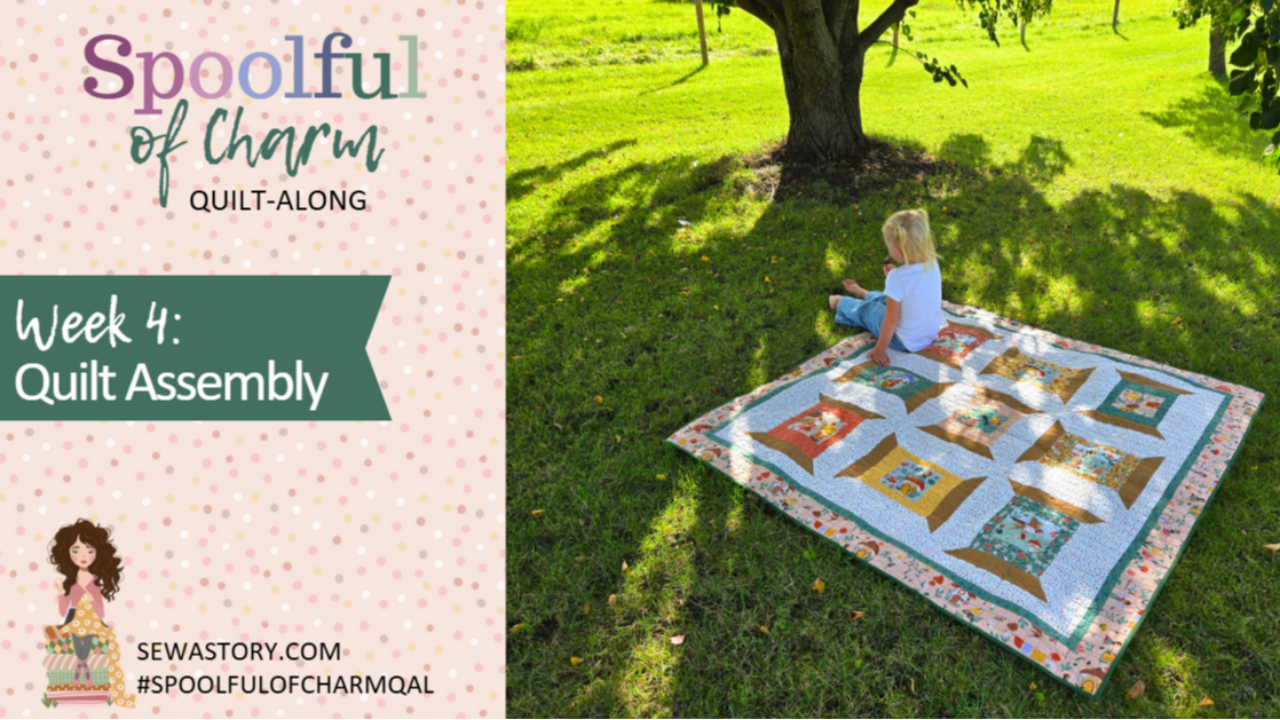
Spoolful of Charm Quilt Along Week 4: Quilt Assembly and Finishing
Welcome to Week 4 of the Spoolful of Charm Quilt Along
This is our final week, and now that your spool blocks are complete, it is time to bring everything together into a finished quilt top. This stage is always special because the quilt begins to show its full personality and flow.
Take your time as you move through layout, assembly, and finishing. You have already done so much thoughtful work, and these final steps bring the entire project together in a clear and enjoyable way.
Watch the Week 4 Video
This Week’s Focus: Quilt Assembly and Finishing
1. Finalize Your Layout
Place all your spool blocks on a design wall or a large flat surface. Step back and look at the balance of colors, center prints, and frames. Adjust the layout until the quilt feels harmonious and pleasing to your eye.
Tip:
Try viewing your layout through your phone camera. A quick photo can reveal spacing or color shifts that are harder to see up close.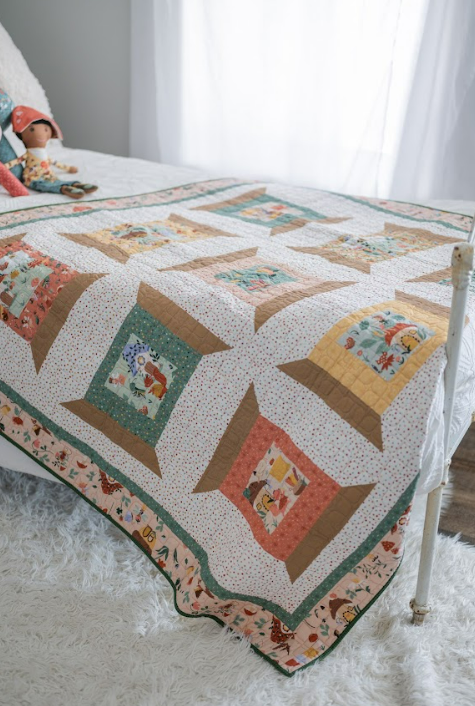
2. Sew the Rows Together
Begin joining the blocks into rows. Keep your seams steady and pause to align your intersections. Press each row as you complete it so everything stays smooth and even.
Tip:
Press seams in opposite directions from one row to the next. This helps the intersections nest neatly and keeps your quilt top flat.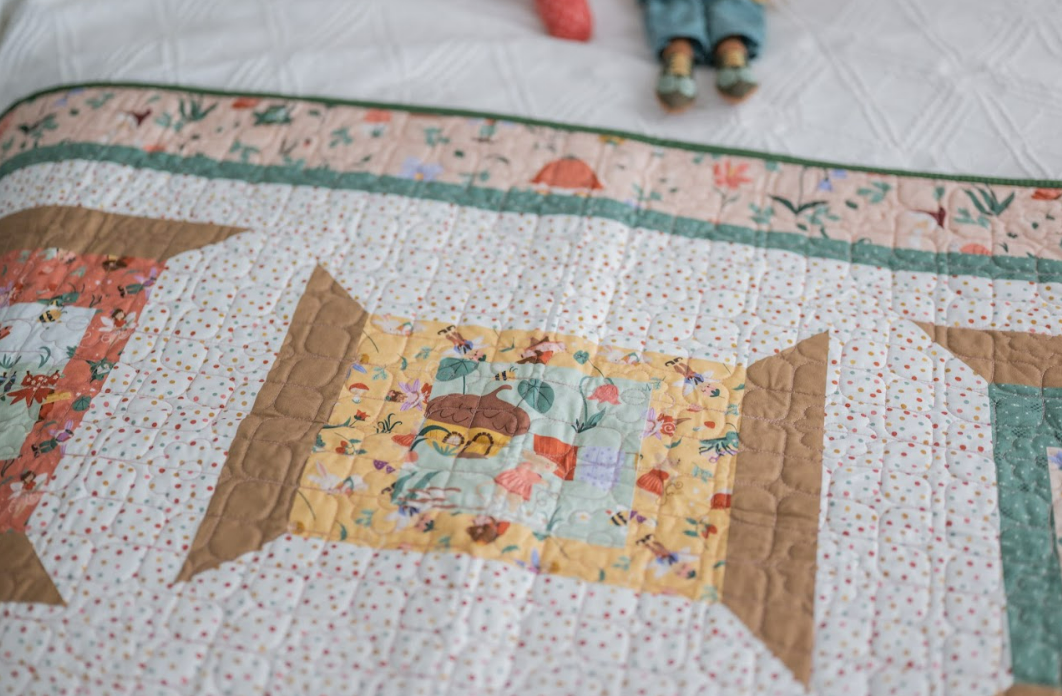
3. Join the Rows
Once the rows are assembled, sew them together to complete the quilt top. Take your time lining up the blocks so the spool frames connect gently from one block to the next.
4. Add Borders (if included in your layout)
If you are adding borders, measure through the center of your quilt to determine the correct border length. This helps the borders fit well and prevents waviness.
Tip:
Attach side borders first, then top and bottom borders.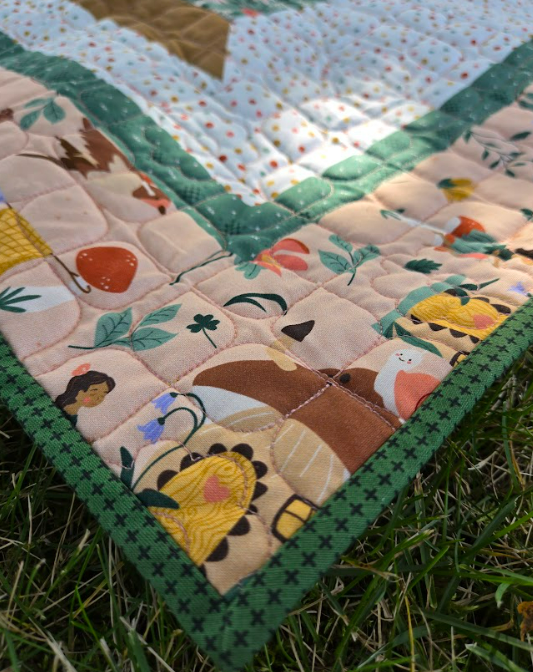
5. Prepare for Quilting
Once the quilt top is complete, give it a final press and prepare it for quilting. Layer your top, batting, and backing, then baste them together using your preferred method.
You may choose to quilt simple straight lines, gentle curves, or small accents that complement your fabrics. There is no right or wrong choice here. Go with what feels enjoyable and suits your quilt.
6. Bind Your Quilt
Choose a binding fabric that frames your quilt well. Attach your binding carefully, press the edges neatly, and finish the final hand stitching at a comfortable pace.
This step brings everything together and gives your quilt a clean, polished finish.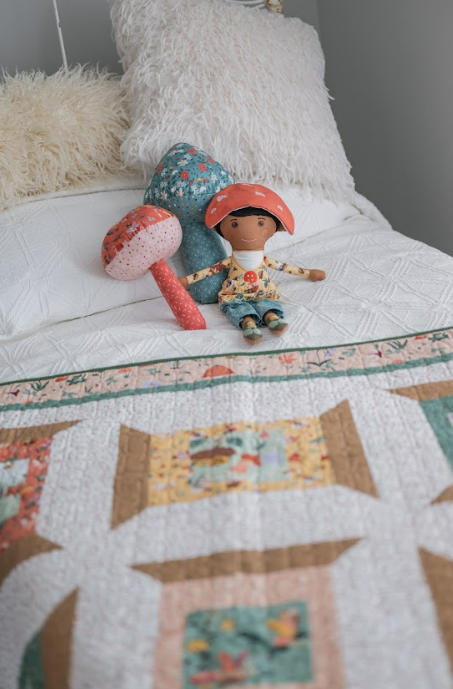
Helpful Tips for Week 4
-
Use a Long Ruler for Straight Borders
Even borders can shift slightly. A long ruler helps you check accuracy before sewing. -
Press Often, Press Gently
You have many seams coming together in Week 4. Light pressing after each major step will keep the quilt flat and smooth. -
Enjoy the View
Lay your finished quilt top out somewhere you can admire it. Seeing your work come together is a meaningful part of the quilting process.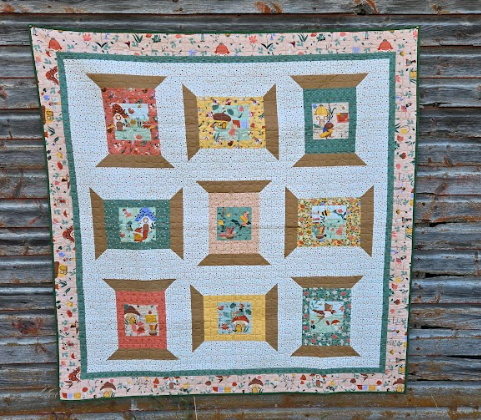
Share Your Week 4 Finish
When your quilt top is complete, share your progress using #SpoolfulOfCharmQAL and #SewAStory.
It is inspiring to see the quilts created in this QAL, and your finish will encourage others who are sewing along.


