

Thimbelina Storybook Panel Sew Along
Welcome to the Thimbelina Storybook Panel Sew Along. I am so glad you are joining in. This project is made to spark creativity and bring a handmade storybook to life through felt, stitching, and imagination. Over the next four weeks, we will work together to cut, embellish, assemble, and finish the Thimbelina storybook panel.
If you have never sewn a felt panel before, you are in the right place. Each week will guide you step by step, and every blog post will include the exact steps and illustrations from the printed instructions so you can follow along with ease.
Before we begin on December 3, take a little time to gather your materials and get familiar with your panel.
What You Need
Here is what to gather before Week 1 begins. These items are based on the Thimbelina Storybook Panel Instructions.
Required
- Thimbelina Storybook Panel
- Basic sewing supplies (fabric scissors, pins or clips, seam ripper)
- Felt-safe marking tool or pencil
- Matching thread
- Sewing machine
- Iron and ironing surface
Optional Items
These items can add detail and playful touches throughout your project.
- Embellishments such as buttons, sequins, trims, or ribbon
- Hand embroidery needle and floss
- Stabilizer for added structure
- Fabric glue or HeatnBond (if desired)
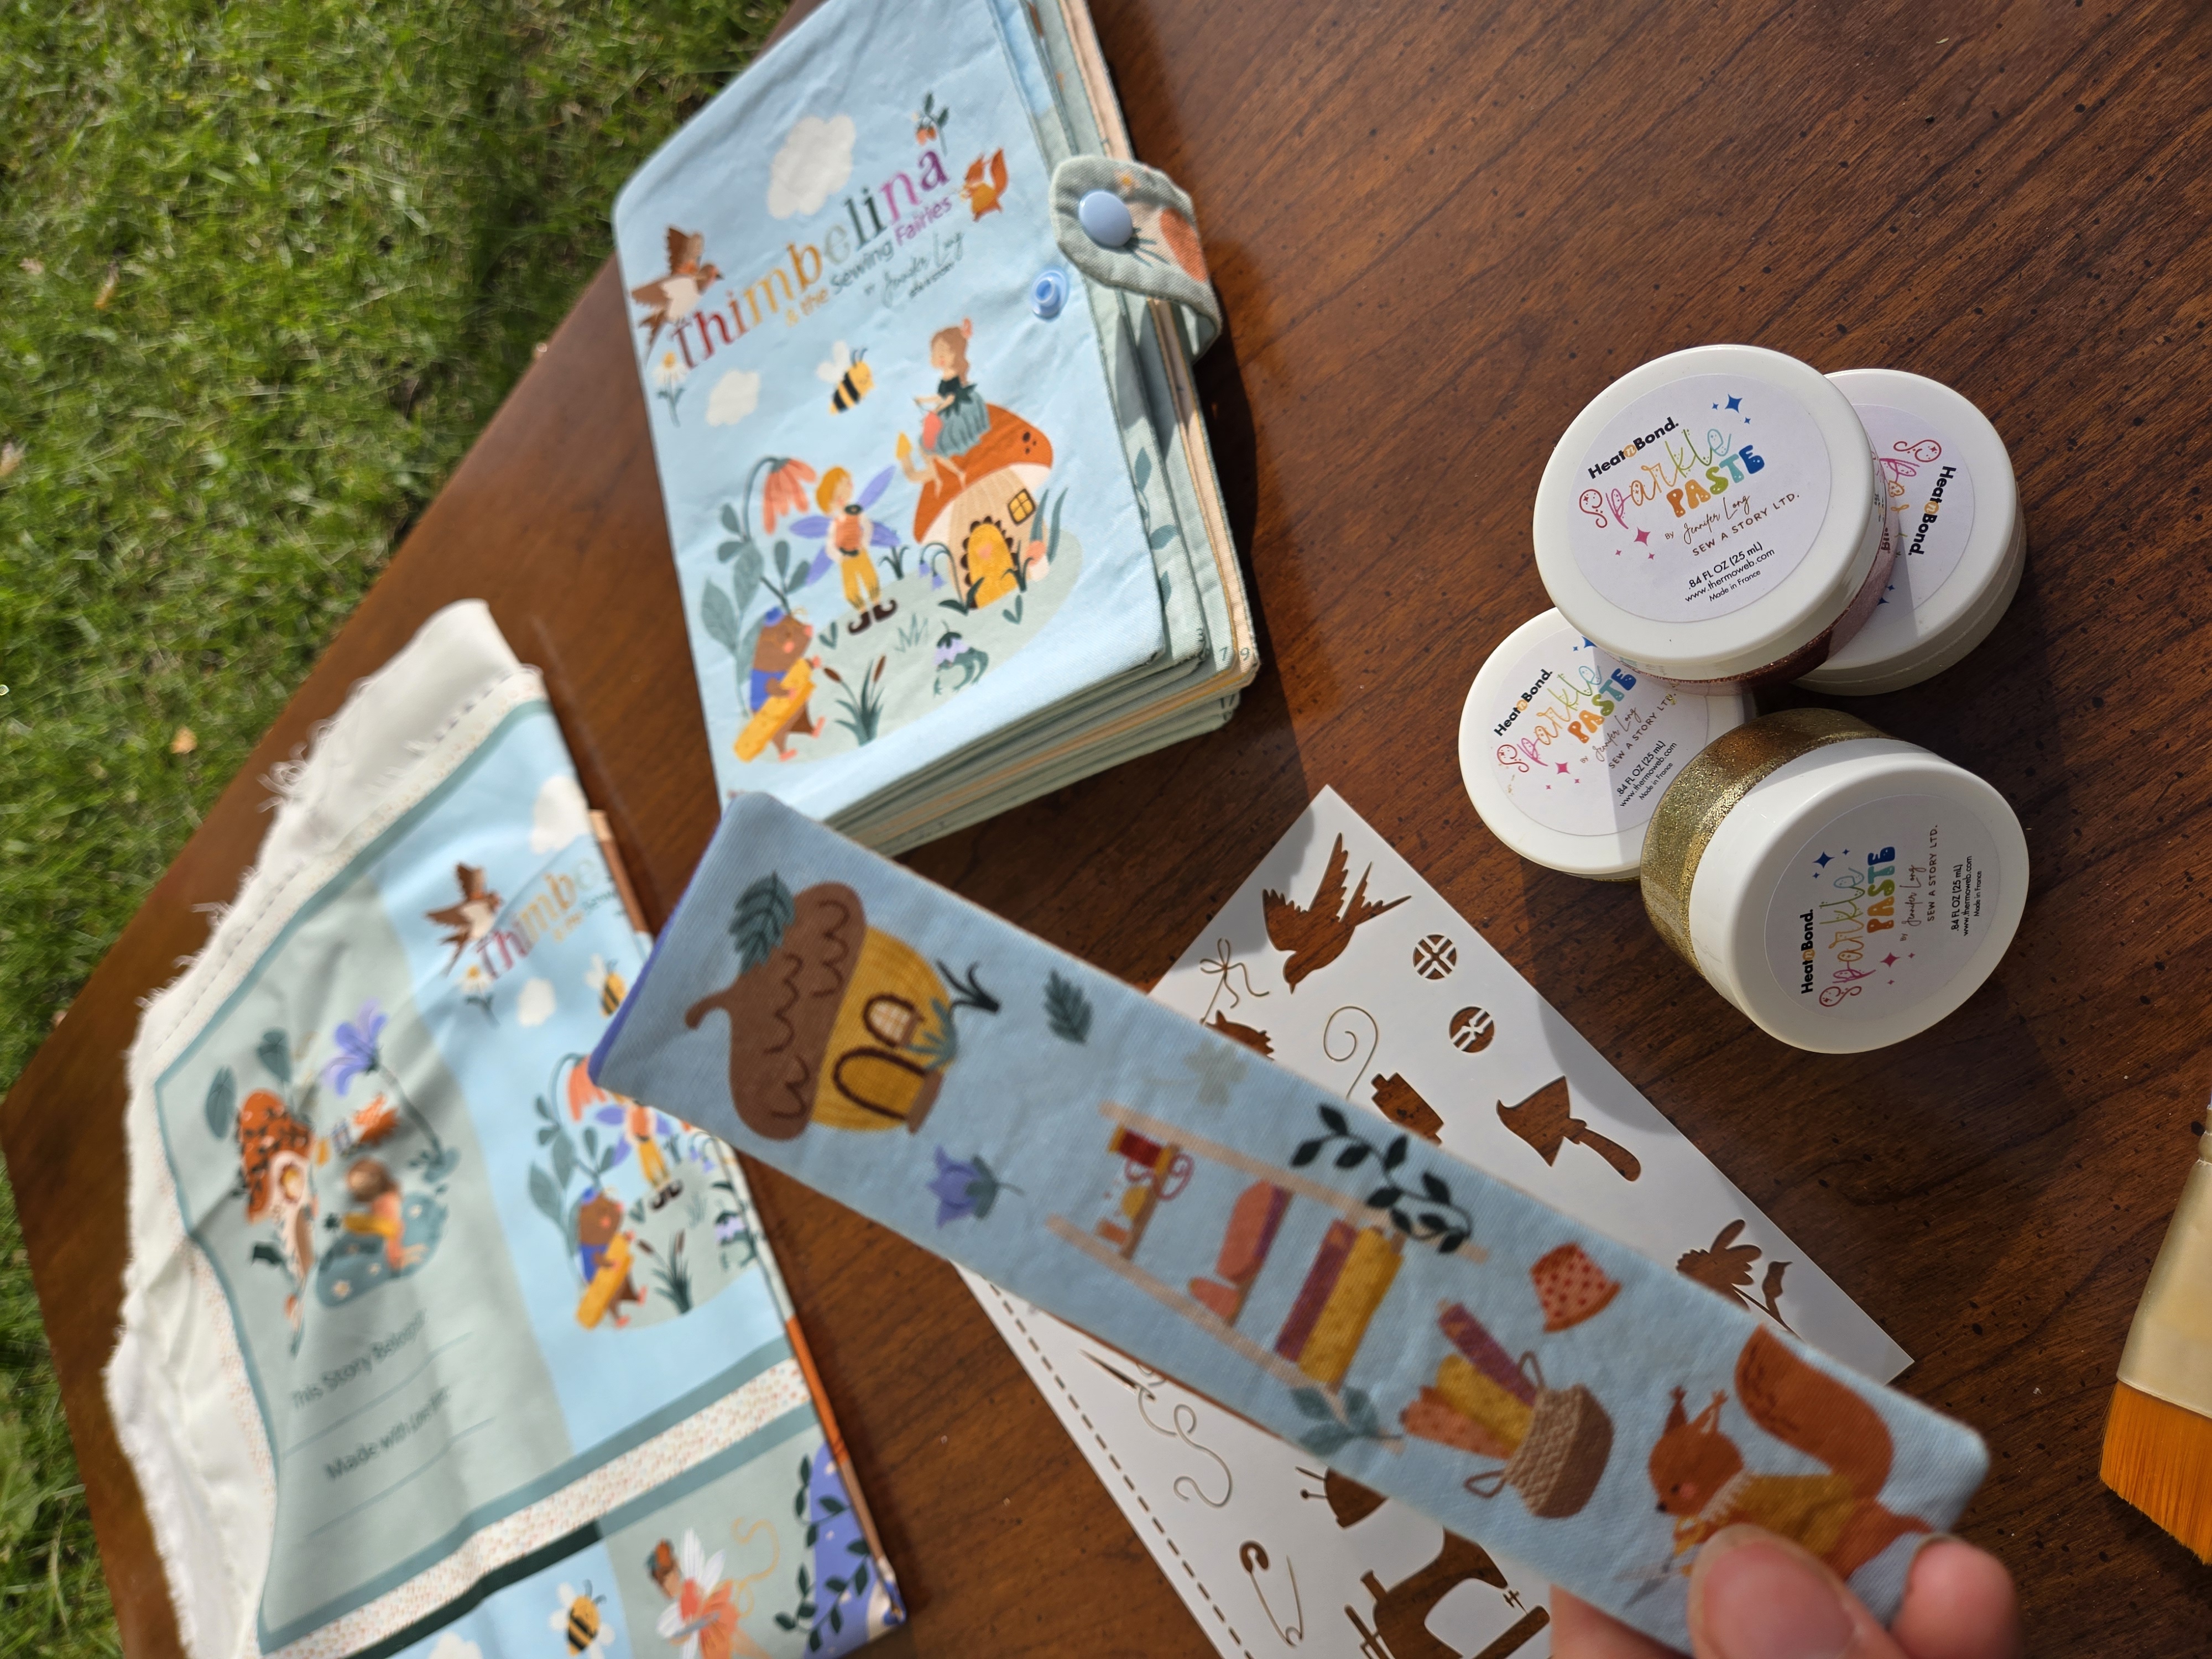
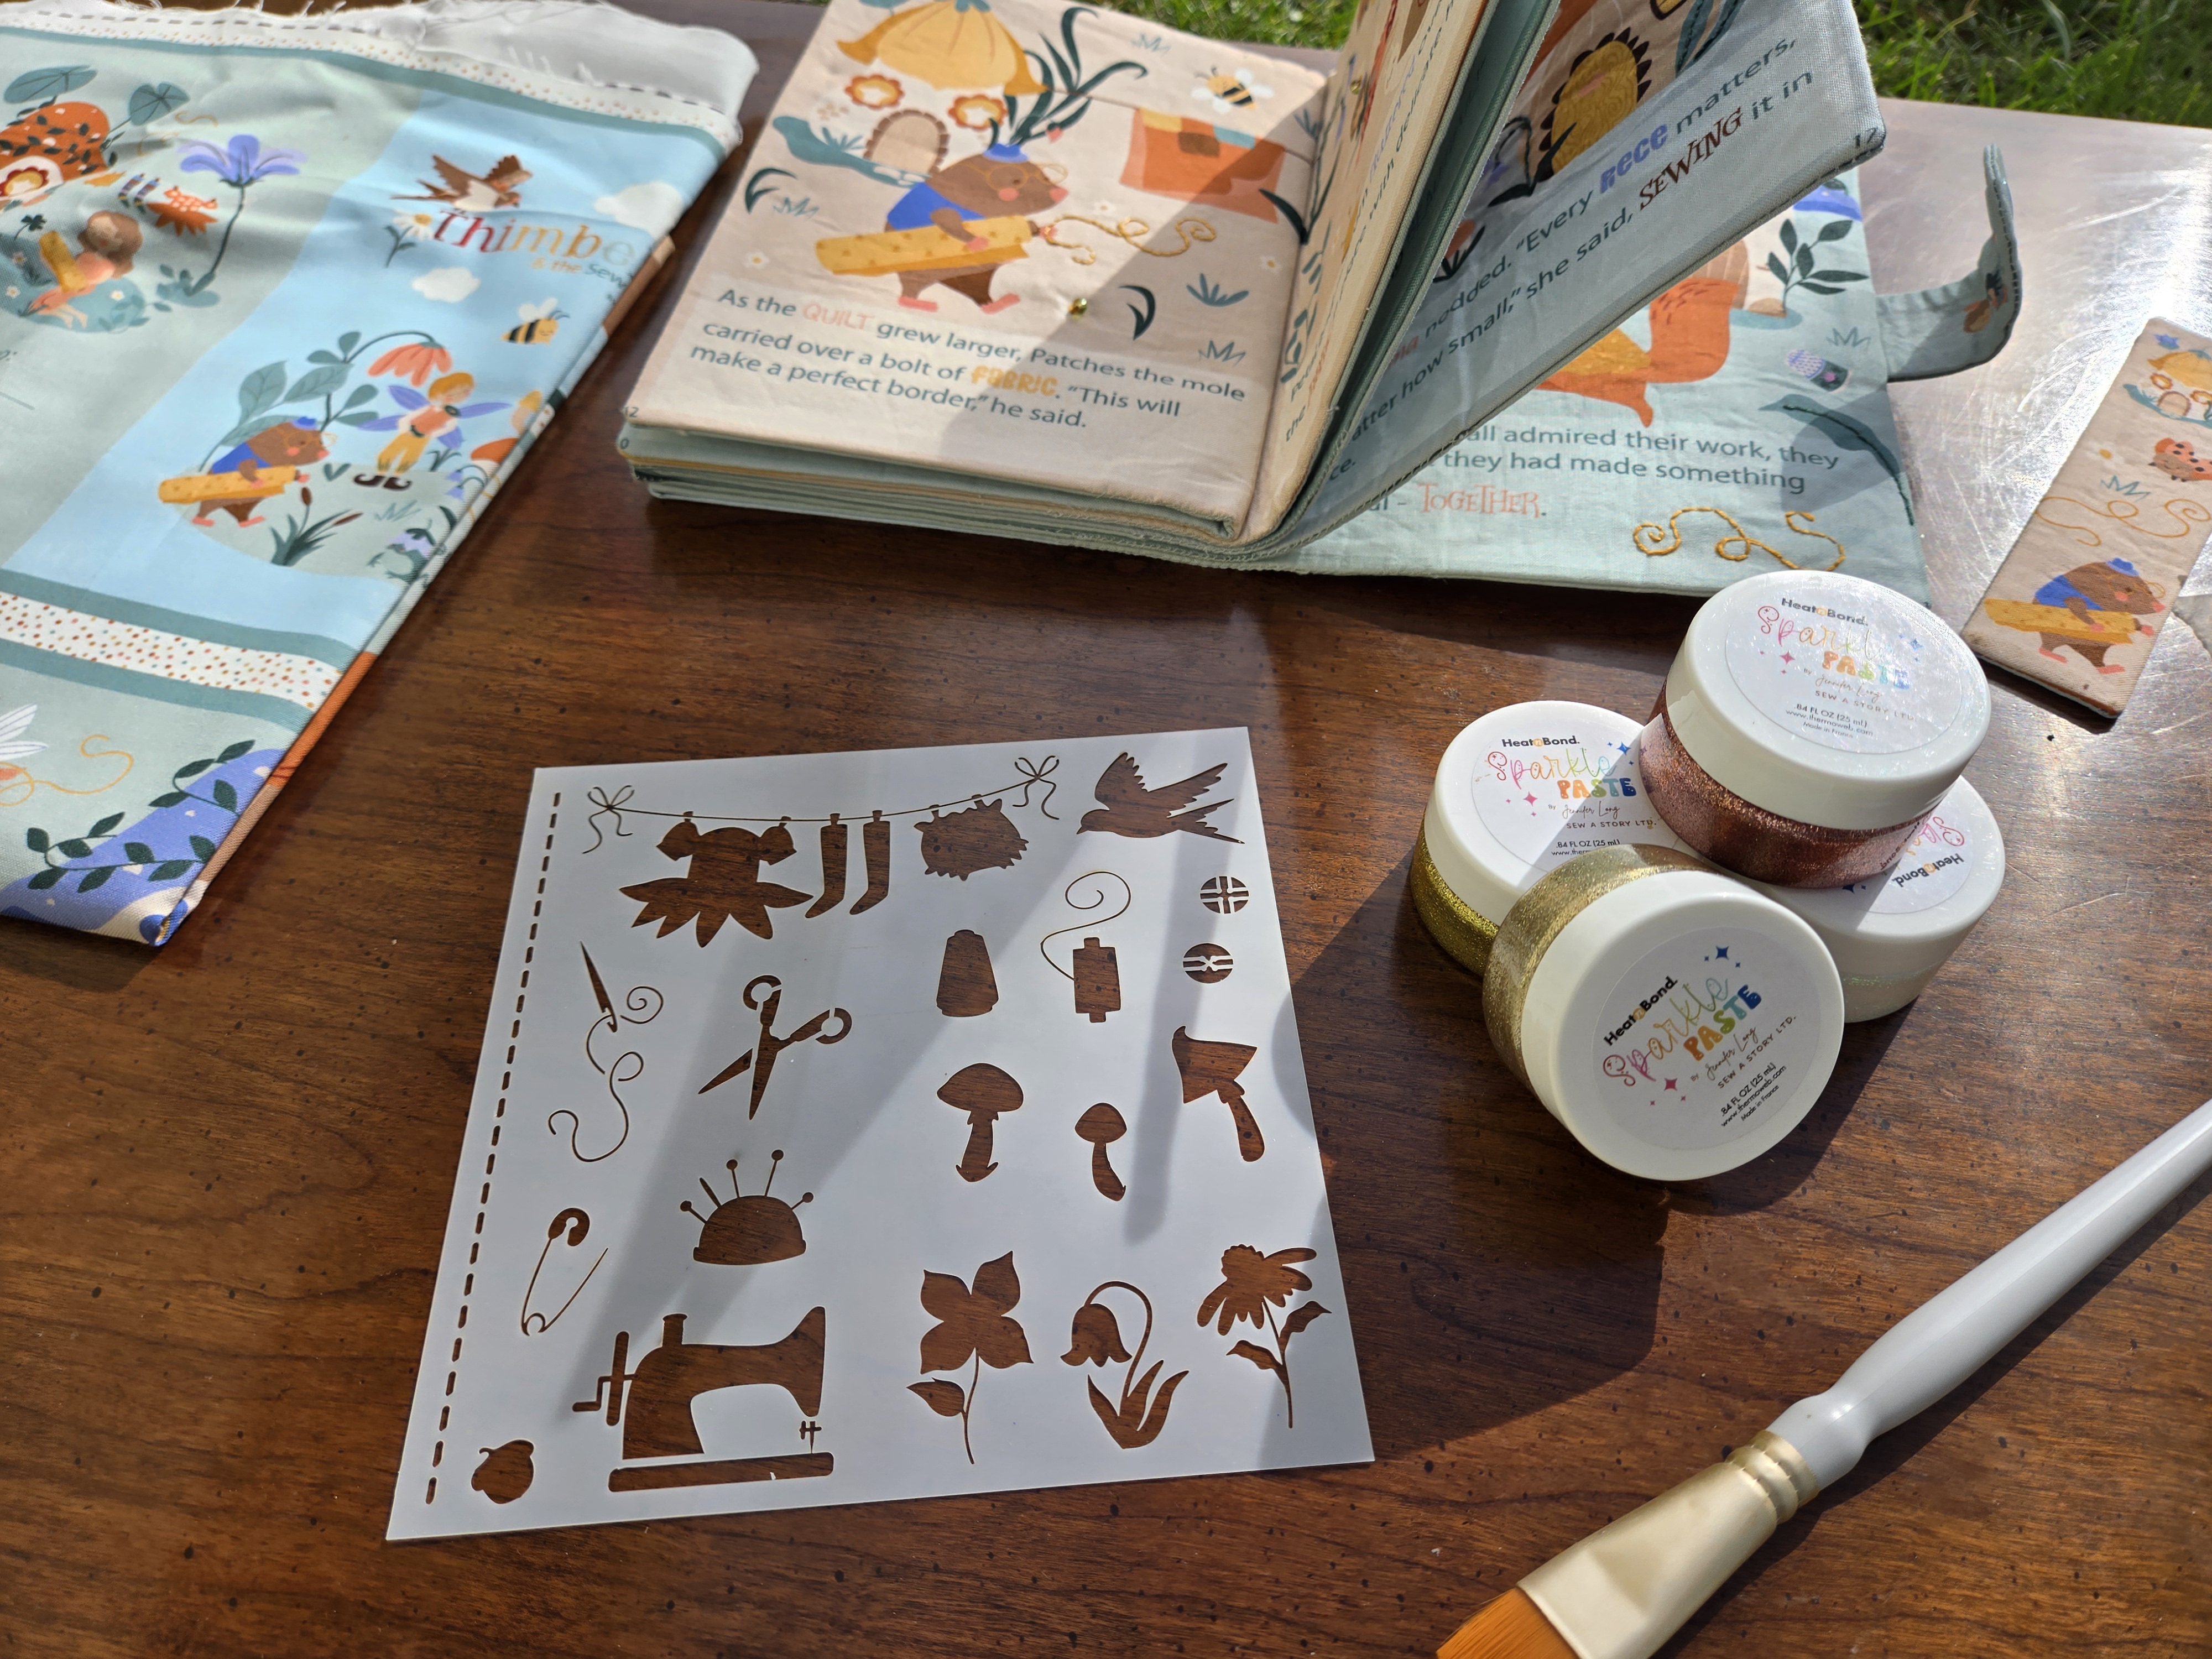
- Sparkle Paste and Sparkle Stencil (optional, once available in the shop)
How to Prepare Before Week 1
Here are a few simple steps to take now so you are ready for the first week of sewing.
1. Open and Review Your Panel
Take a few minutes to look at the layout of the Thimbelina Storybook Panel. The panel is divided into illustrated sections that will become your storybook pages.
2. Read Through the First Steps
We will begin with cutting the pages and preparing the front and back pieces. These steps and illustrations will appear inside the Week 1 blog post so you can follow along easily.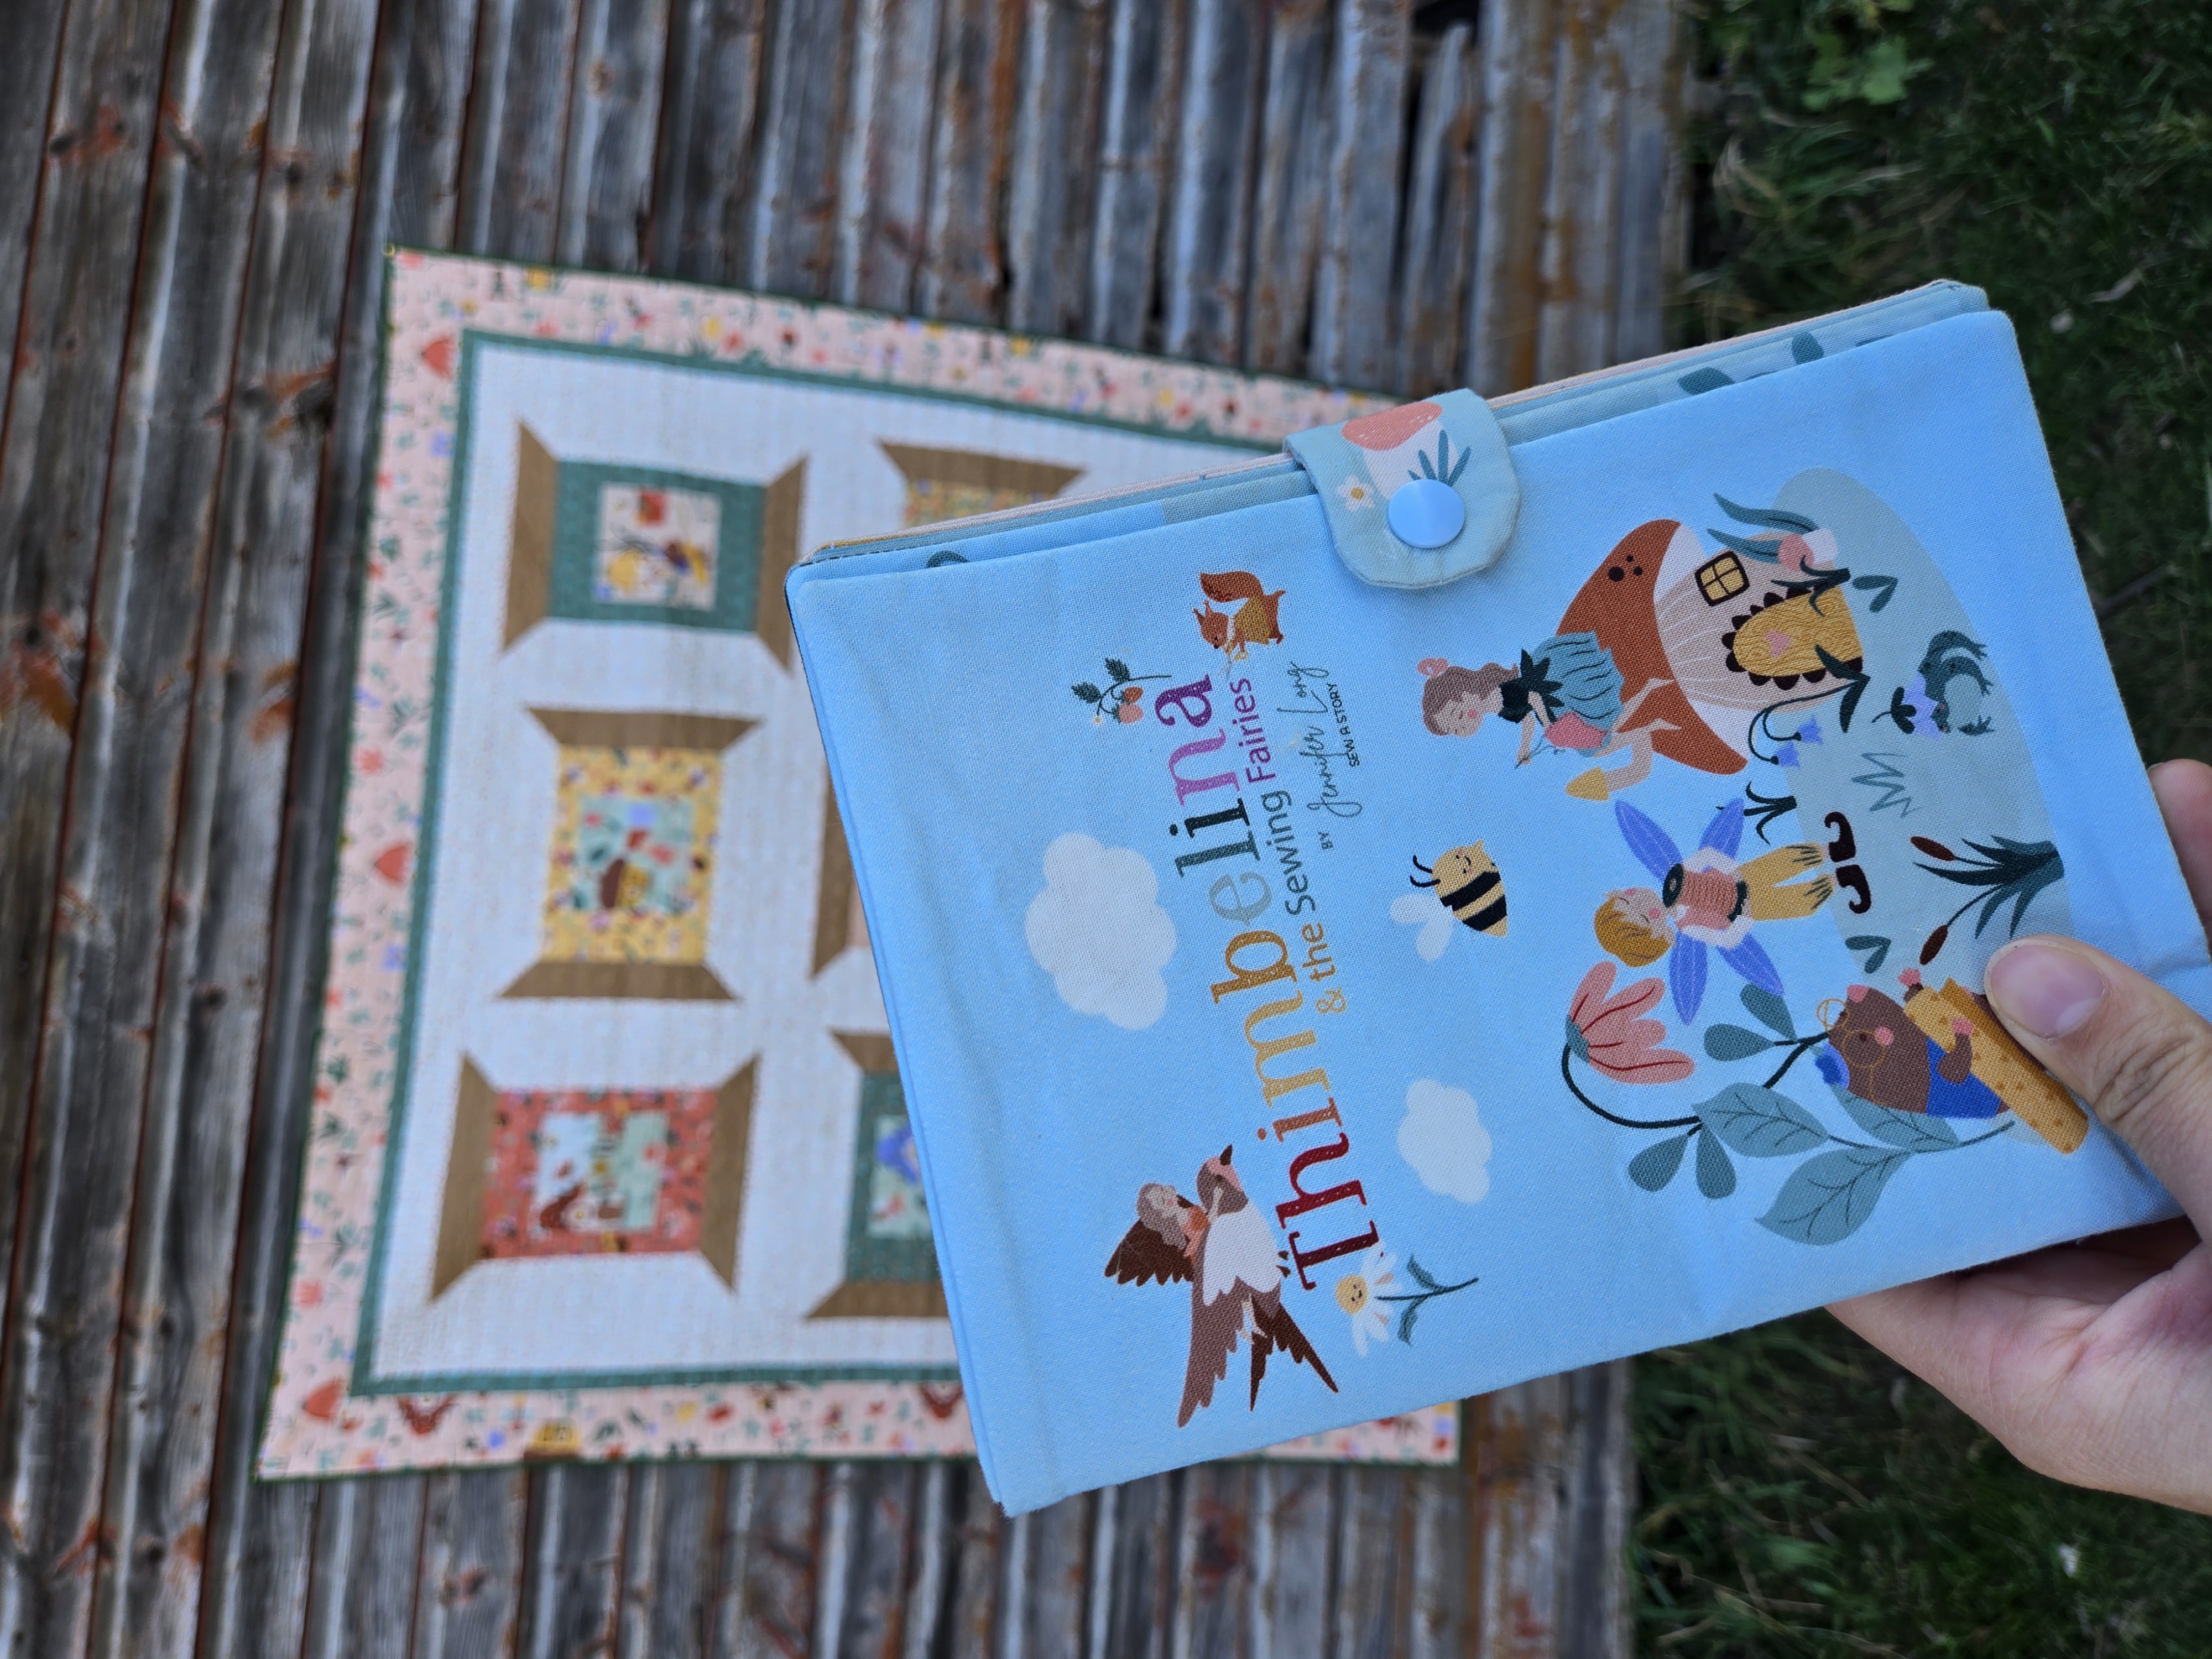
3. Set Up a Small Workspace
Prepare a table or surface where you can keep your cut pieces, embellishments, and sewing tools together throughout the four weeks.
4. Make a Plan for Embellishments
Decide whether you would like to add extra details. Small touches of stitching or trims can bring the pages to life.
Sew Along Schedule
Week 1: Preparation and Begin
Week 2: Cut and Embellish Pages
Week 3: Assemble the Book
Week 4: Finishing Touches
Each week we will walk through the exact steps shown in the printed instructions and include the matching illustrations so everything is simple and clear.
Stay Connected
Share your progress on social media using:
- #ThimbelinaStorybookPanel
- #ThimbelinaStorybookPanelSAL
- #ThimbelinaFabric
- #SewAStory
If you are part of the Sew A Story Facebook Group, feel free to post your progress there so we can cheer you on.
Whenever you are ready, gather your supplies and set aside a little time to prepare your panel. I look forward to sewing this sweet storybook with you.![]()


