Thimbelina Storybook Panel Sew-Along Week 1
Week 1: Prepare and Begin
Welcome to Week 1 of the Thimbelina Storybook Panel Sew-Along. I am so glad you are here and ready to begin this sweet and creative project. This week is all about preparation. By taking a little time to get organized and familiar with your panel, you will set yourself up for a smooth and enjoyable sewing experience.
A video tutorial is available to help you get started, and the steps for this week are outlined below.
Watch Thimbelina Soft Book Panel Tutorial HERE
This Week’s Focus: Preparation and Cutting
Step 1: Read Through the Instructions
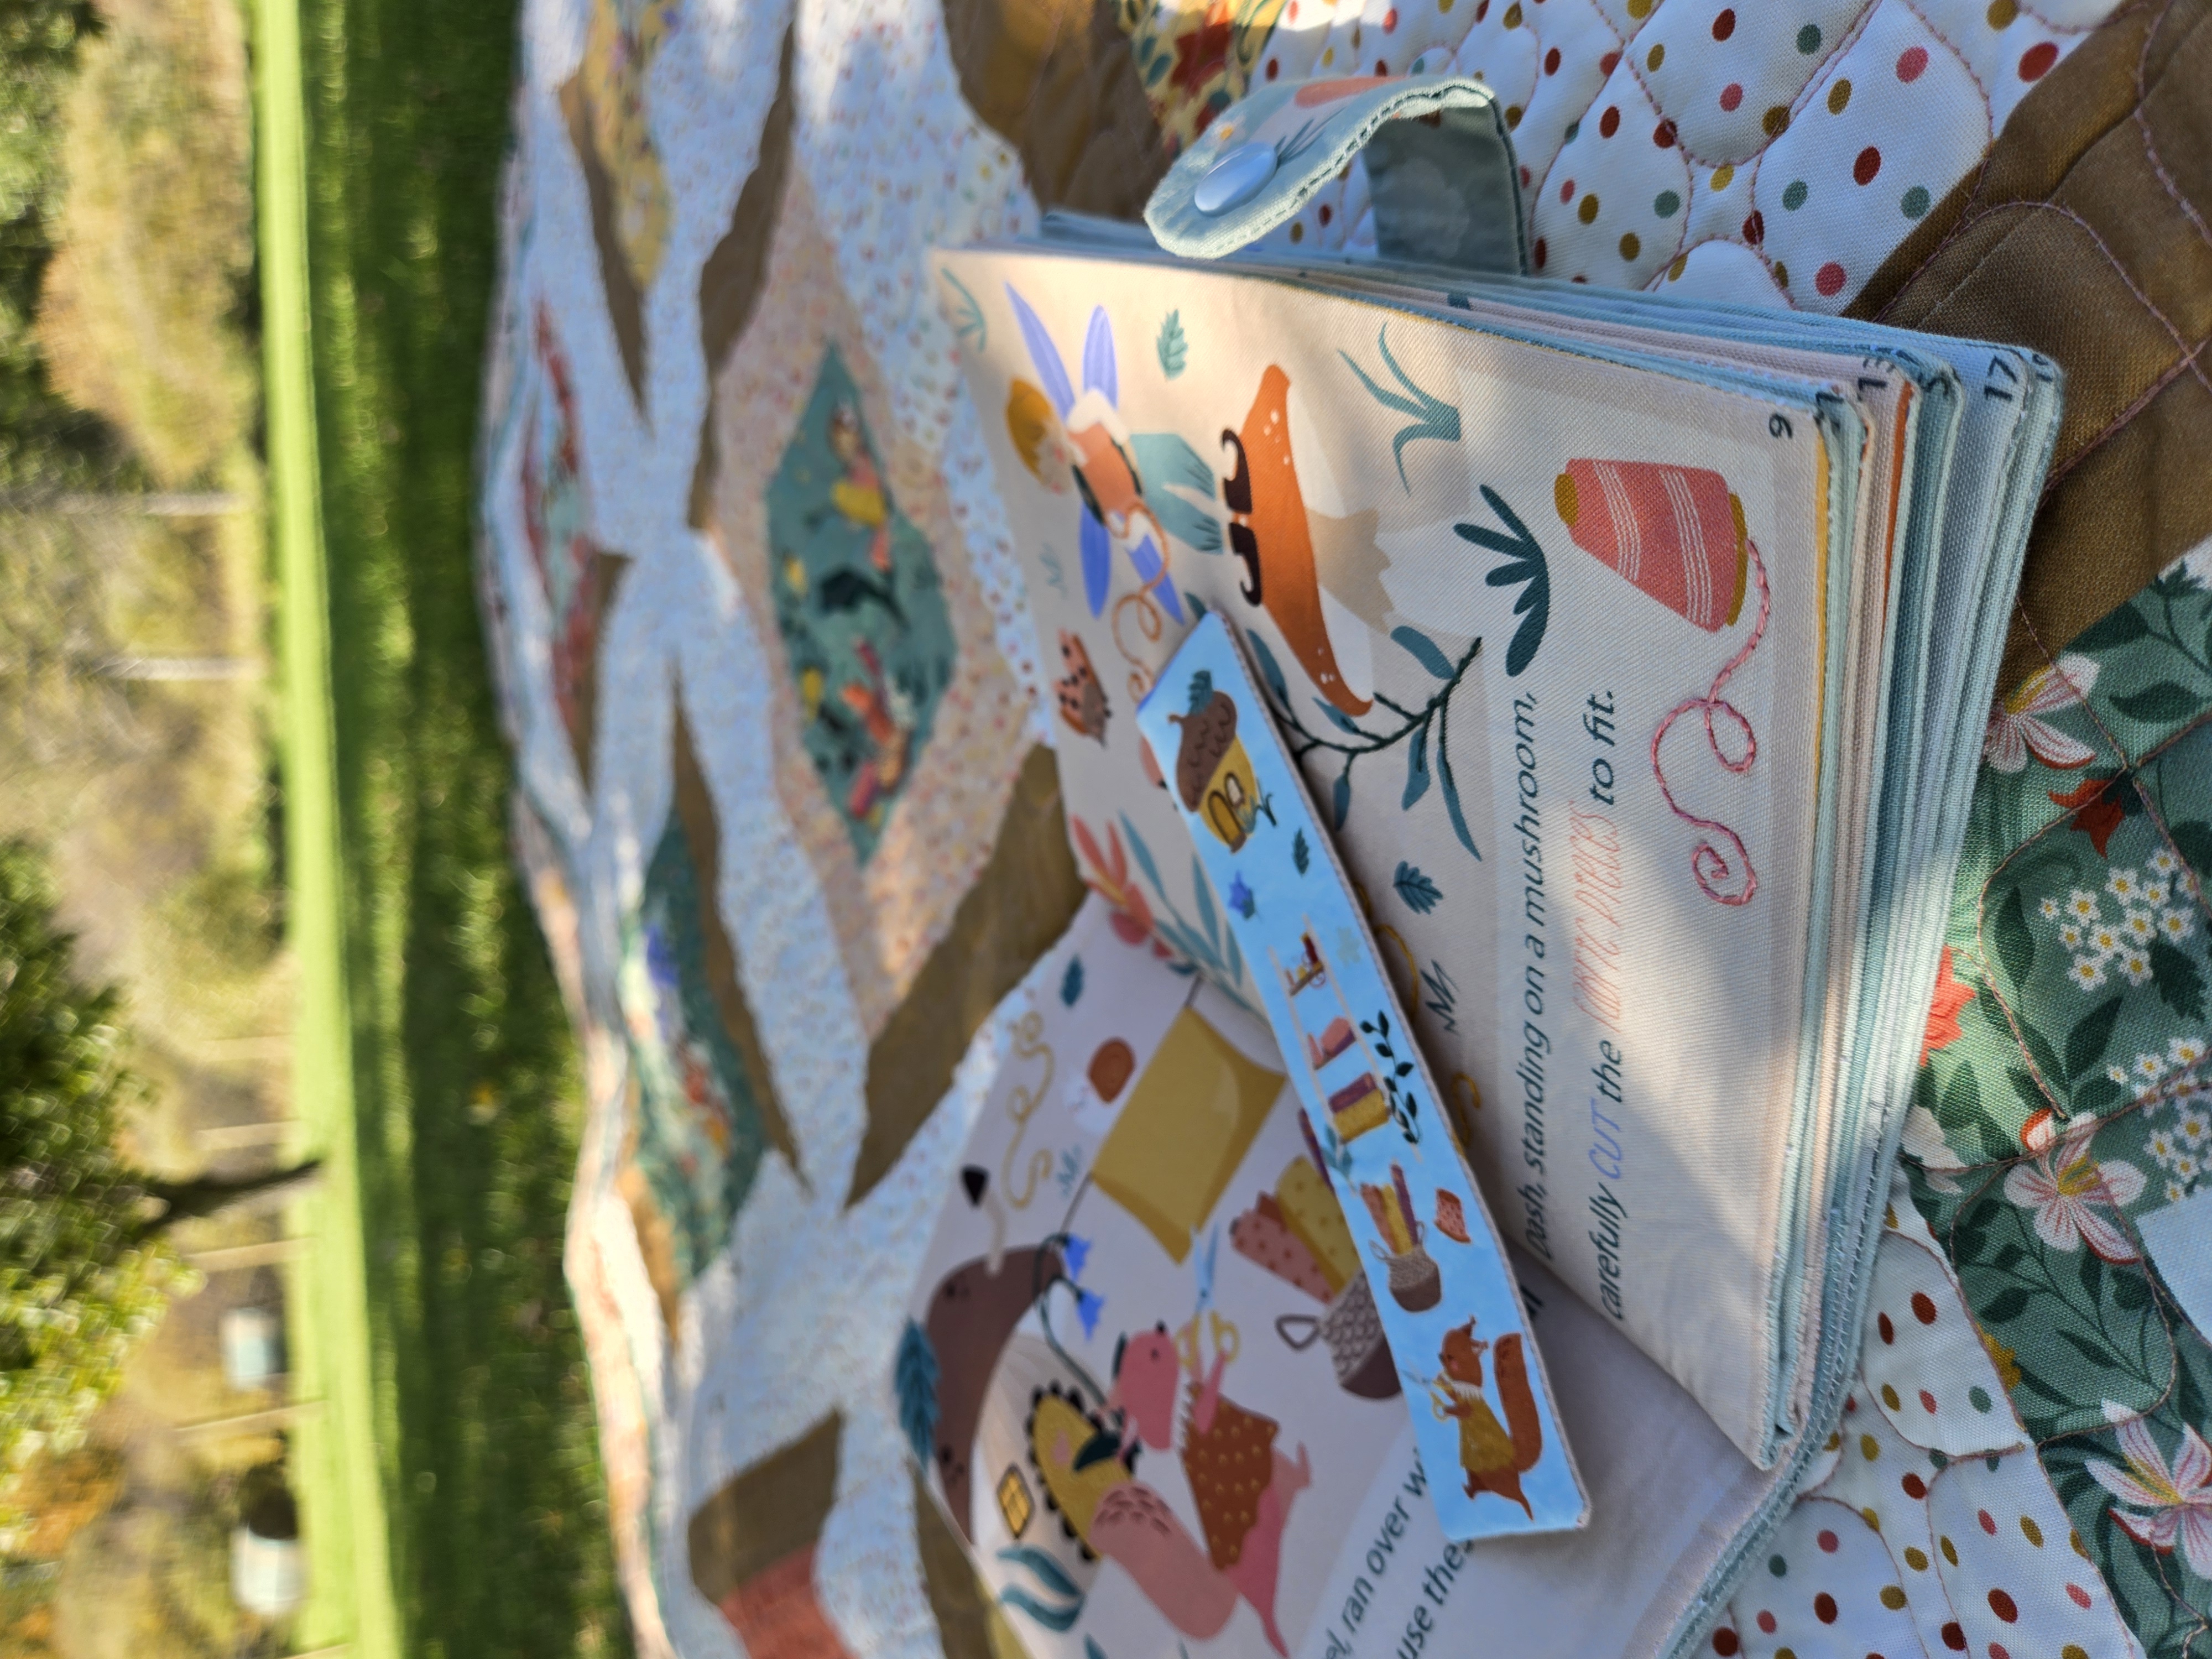
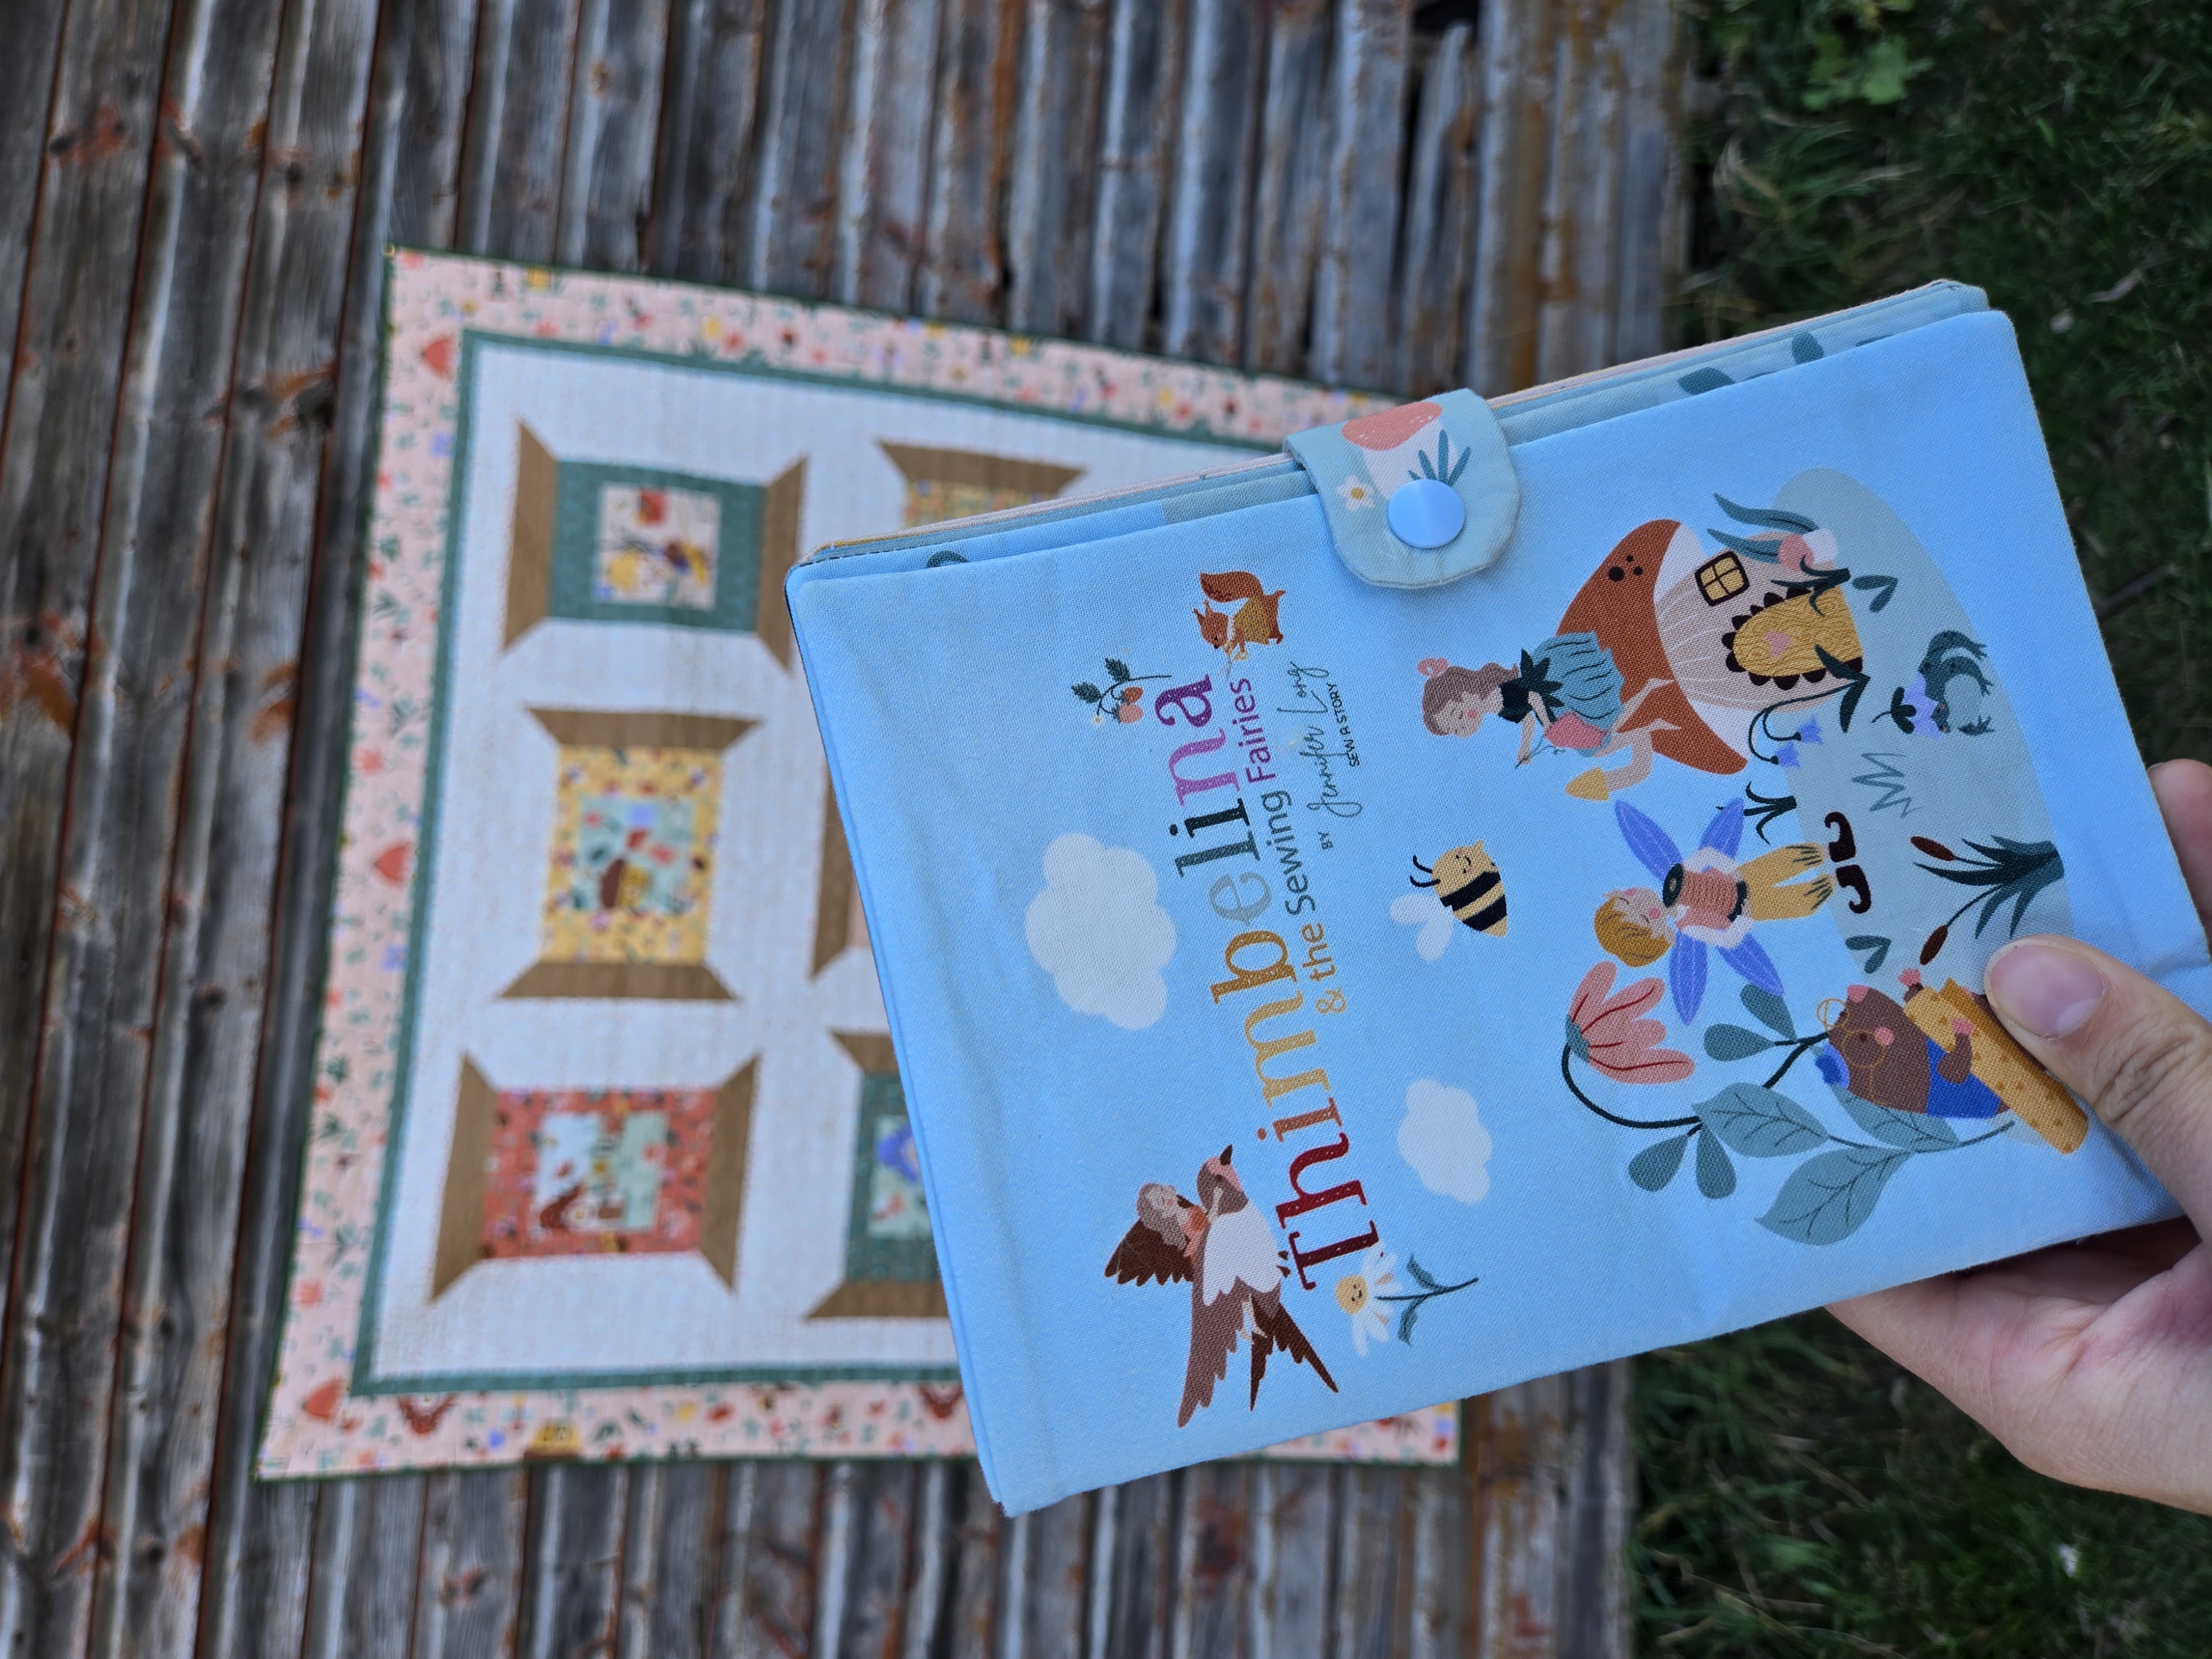
Start by reading through the full instructions printed on your panel. This gives you a clear idea of how the book will come together and helps you understand the layout of the pages.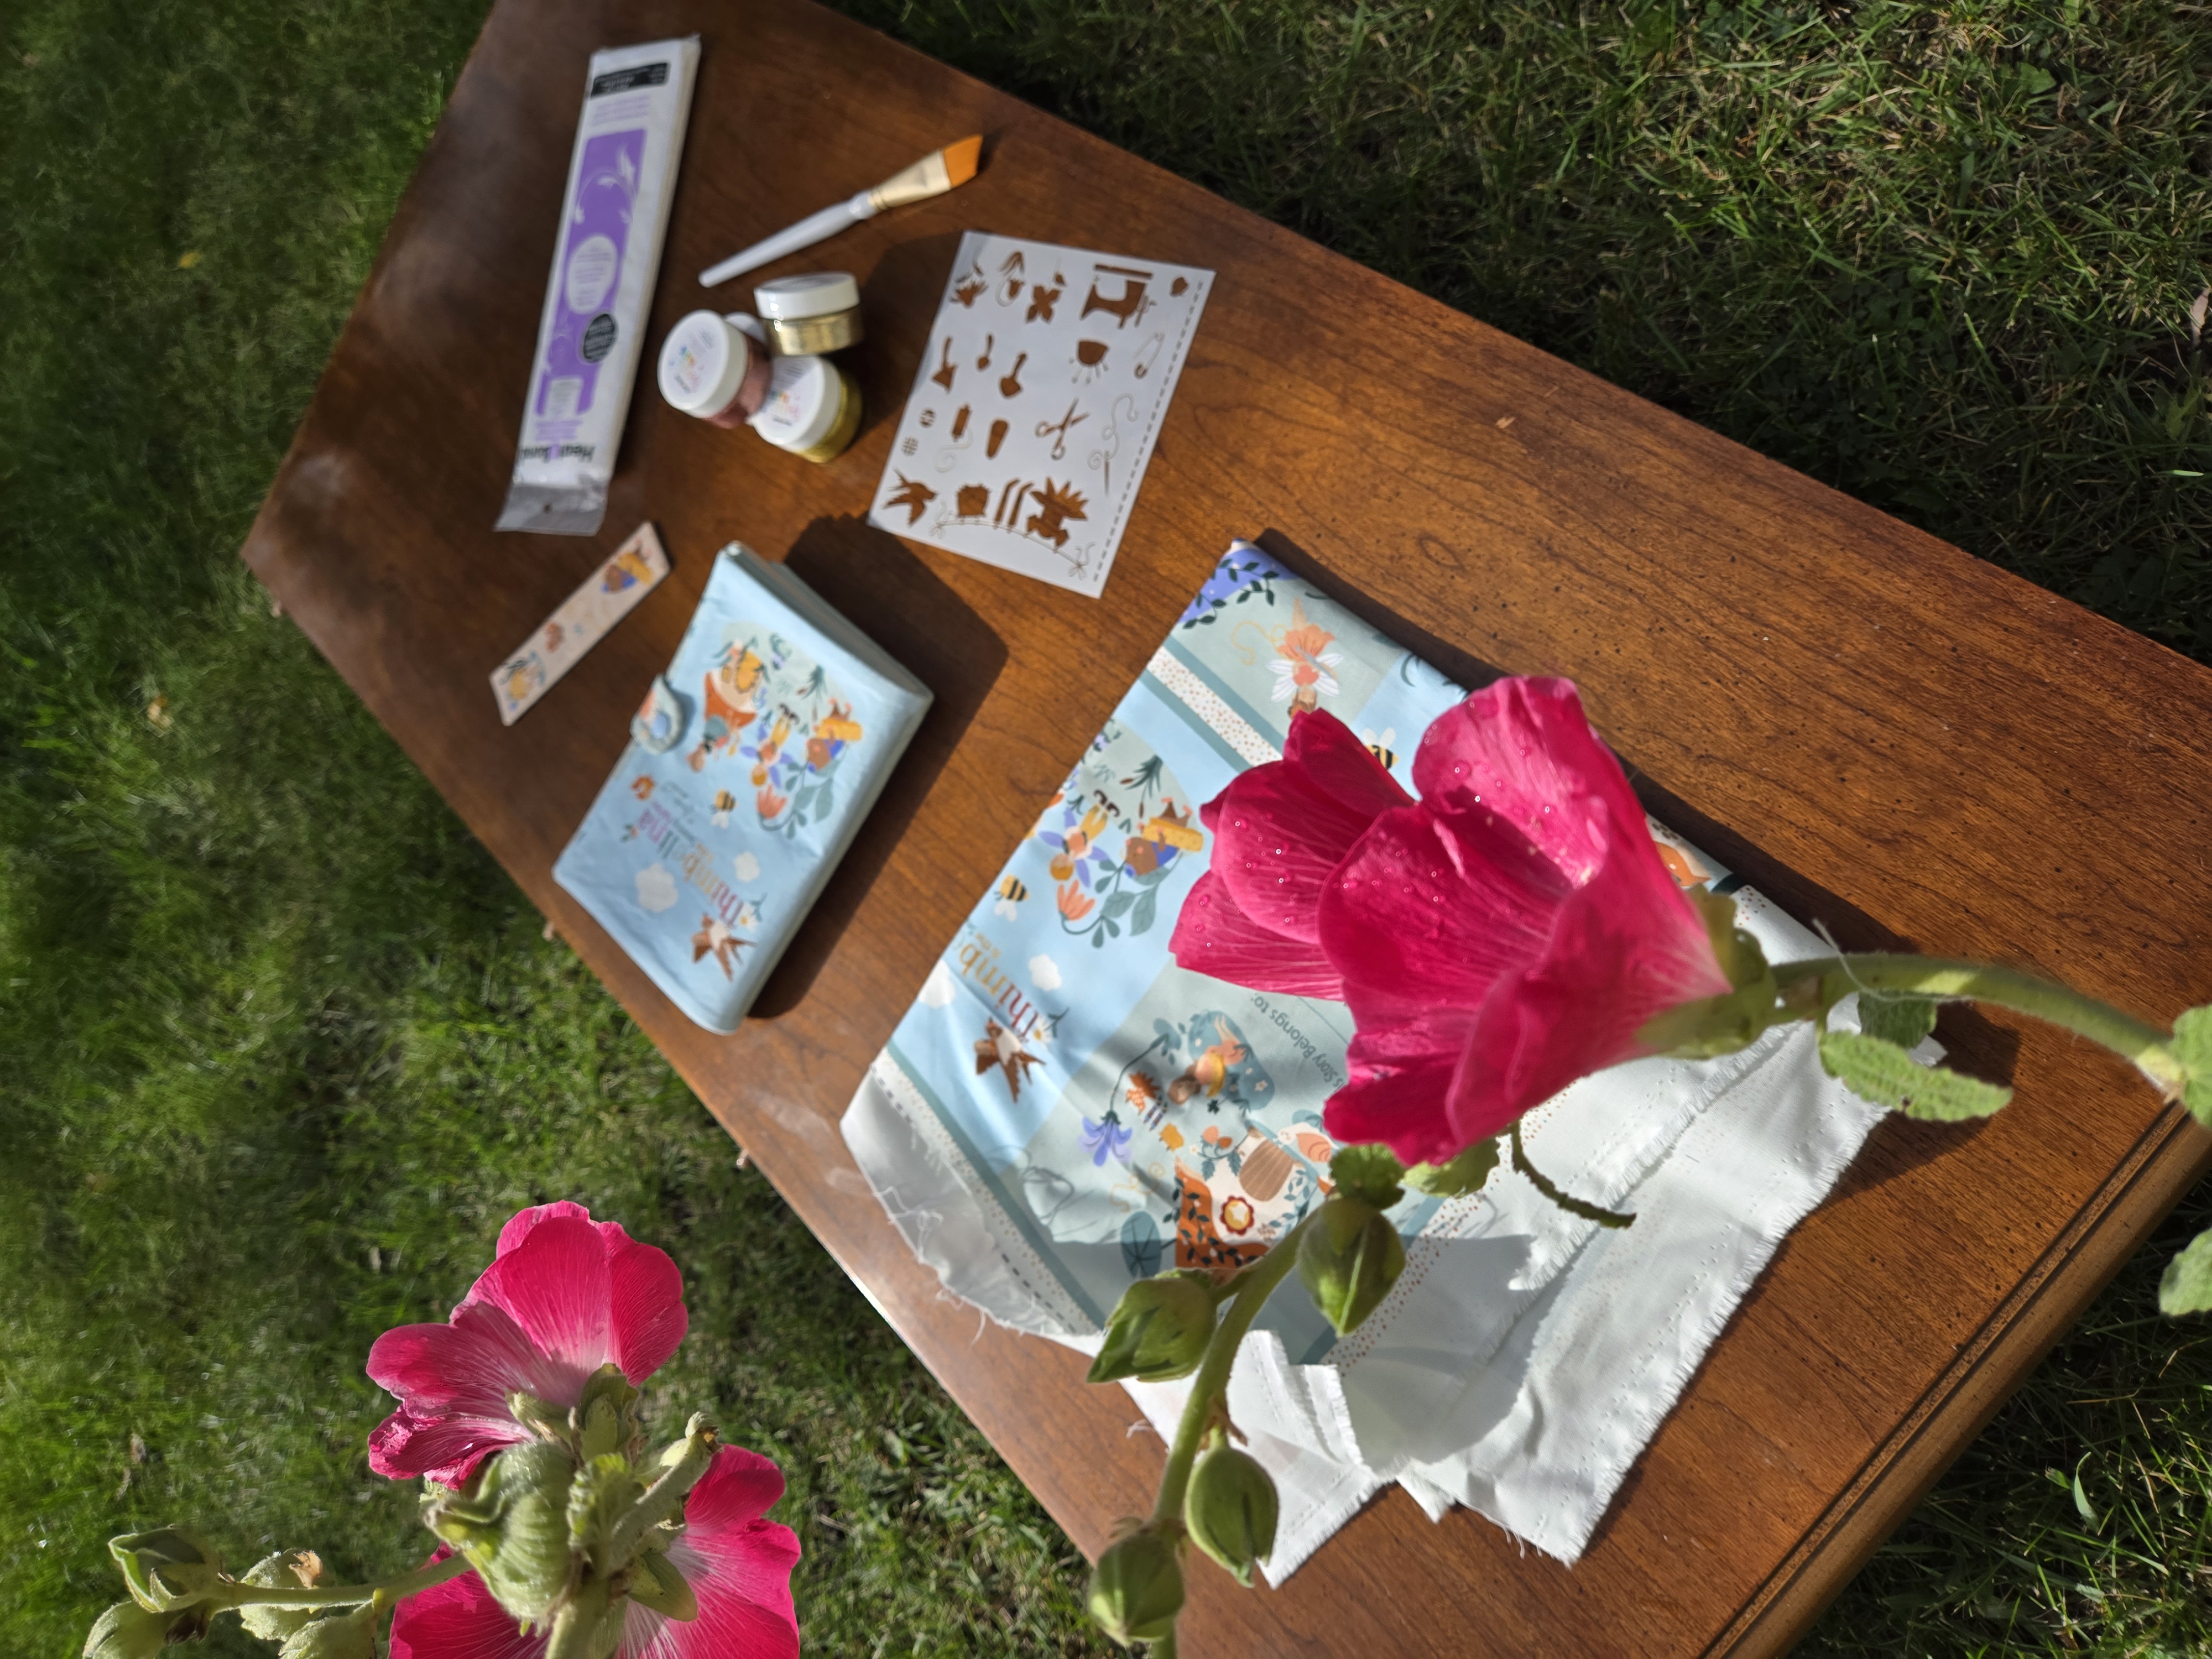
Step 2: Press the Panel
Give your panel a light press to remove any creases. A well-pressed panel helps with accurate cutting and smooth assembly.
Step 3: Cut Apart the Pieces
Using the printed cutting lines, carefully cut out each page, character, and small piece.
Here is the illustrated section from the instructions so you can follow along easily:
Tip: Keep each group of pieces organized in small piles or envelopes. This keeps everything together as we move into assembly next week.
Step 4: Prepare Optional Embellishments
If you plan to add hand stitching, trims, or small embellishments later, this is a great time to gather those supplies.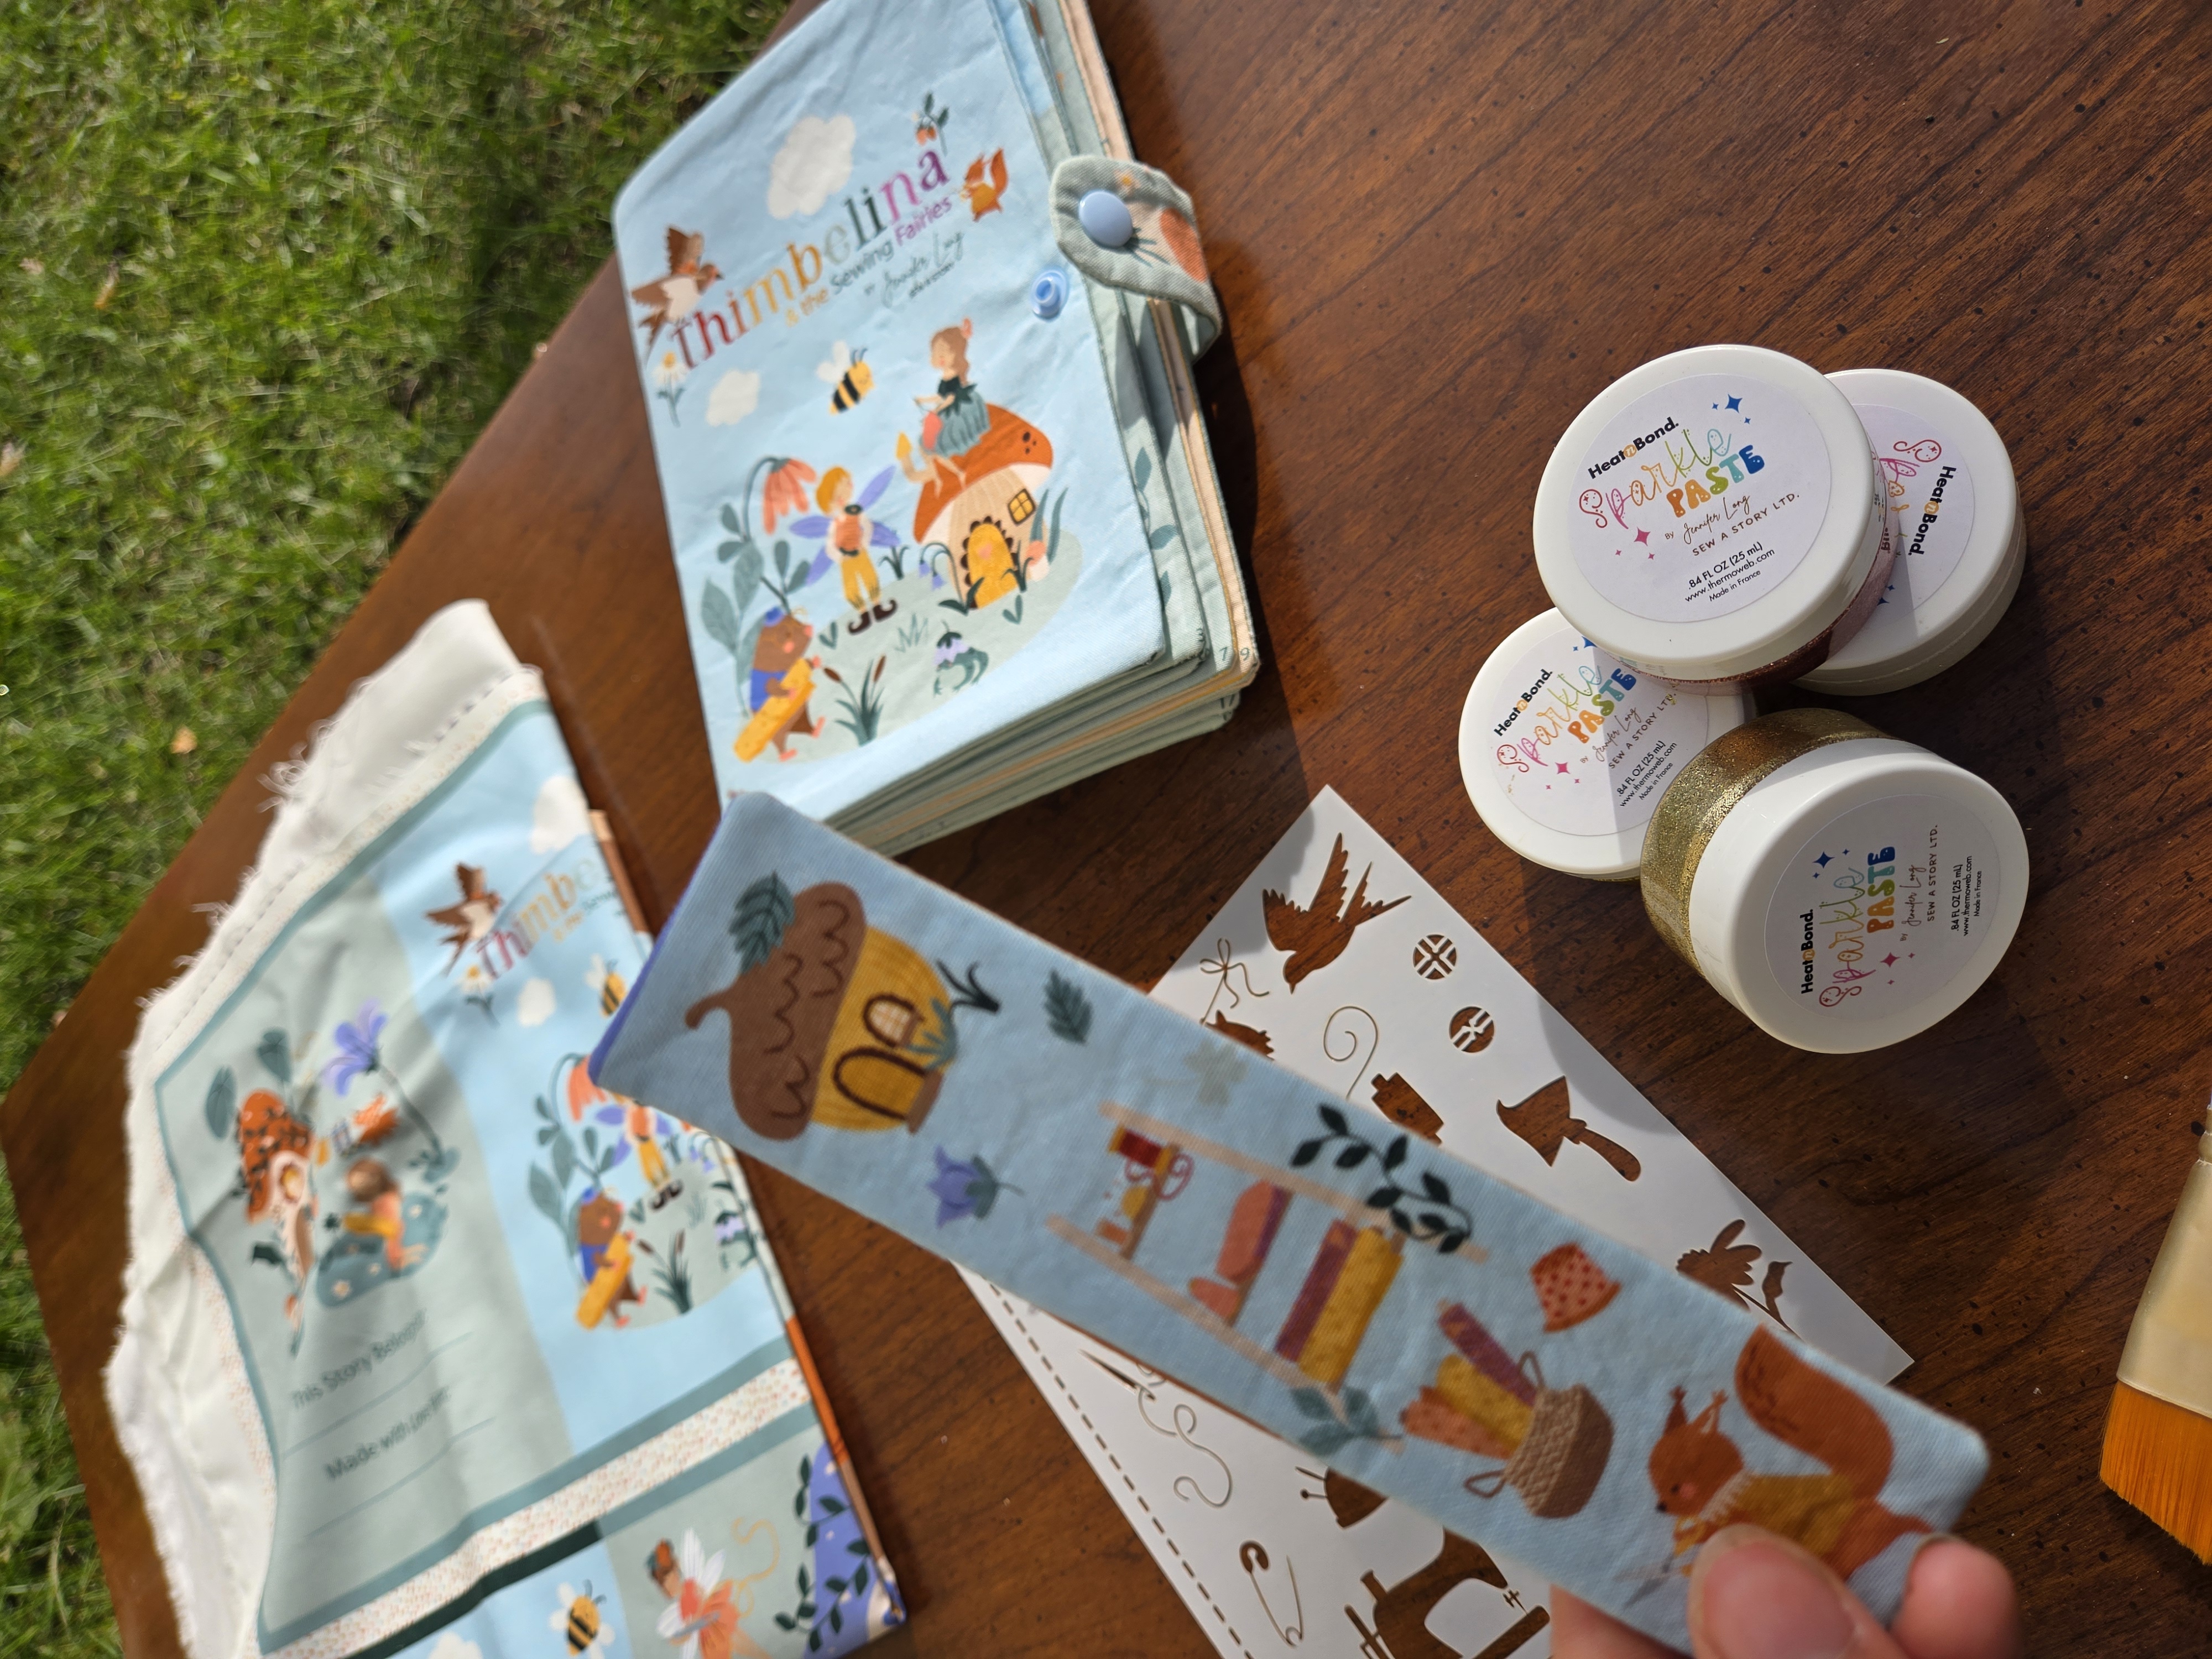
Looking Ahead
Next week, we will begin sewing the pages and assembling the character pieces. Make sure your pieces are cut and sorted so you are ready to sew.